Tag: Recipes

  • Simple Cookie Recipe

    Simple Cookie Recipe

    This cookie recipe is very simple and quick, and the cookies are good.

    Ingredients

    • 275 g of flour (I use ’00’ but normal all-purpose flour should do fine)
    • 125 g of caster sugar
    • 1 egg
    • 75 g of cold butter
    • 1 dl of vegetable oil (I use sunflower)
    • maple syrup
    • 50 g of chopped bitter chocolate

    The list can be varied in many ways. Add orange zest with the chocolate; replace the chocolate with finely chopped nuts or hazelnuts; or with a spoonful of cinnamon; or just leave out the chocolate all together.

    If you want more wholesome, less sweet cookies, replace 50 g of sugar with the same about of whole flour.

    The cookies can be decorated with glazing afterwards.

    Procedure

    Photo of the cookie ingredients  - flour, sugar, syrup, vegetable oil, an egg, butter and chocolate

    These are all the ingredients: flour, maple syrup, sugar, vegetable oil, an egg, butter and chocolate.

    Photo of flour and butter in a food processor

    Mix the cold butter and the flour in a food processor. Use the knife insert at high speed, not the dough hook.

    Afterwards the butter should be completely mixed with the flour, with no visible lumps.

    Photo of an egg and sugar added to the mixture in the food processor

    Add sugar and the egg and mix at slow speed for a short while until the mixture is homogenous.

    Photo of the mixture in the food processor with chocolate added.

    Add the chopped chocolate bits and mix at slow speed just to blend the ingredients.

    Photo of the cookie dough before adding the final bit of syrup.

    While blending in the food processor, pour in the vegetable oil slowly. The dough should start sticking together and form lumps.

    Adjust the consistency of the dough with a little bit of maple syrup at a time, until the dough starts sticking more together.

    It should remain somewhat granular in the food processor and not stick to the sides of the machine.

    Photo of the cookie dough rolls ready to go into the fridge

    The dough has to rest in the fridge for at least an hour.

    I form the dough into two ‘sausages’ which I wrap in plastic foil. That’s because I lazy

    Photo of the cookie dough roll being cut into slices

    Cut the dough into slices with a sharp knife. The cookies will be less fancy looking but the taste is the same, and it is much easier.

    To make sure the dough is hard enough for slicing, I either leave it overnight in the fridge, or put it in the freezer for half an hour.

    Photo of the cookies before baking

    This is how the sliced cookies look before baking. They’re not exactly round because the dough ‘sausage’ flattens a bit in the fridge.

    I don’t mind, because I’m lazy.

    Photo of how the cookies look straight out of the oven.

    I have a combo oven, so I bake the cookies about 15 minutes at 170ºC ventilated with 350W microwaves. Without the microwaves baking time will be longer.

    The cookies shouldn’t become too hard in the oven, as they harden a bit more when they cool.
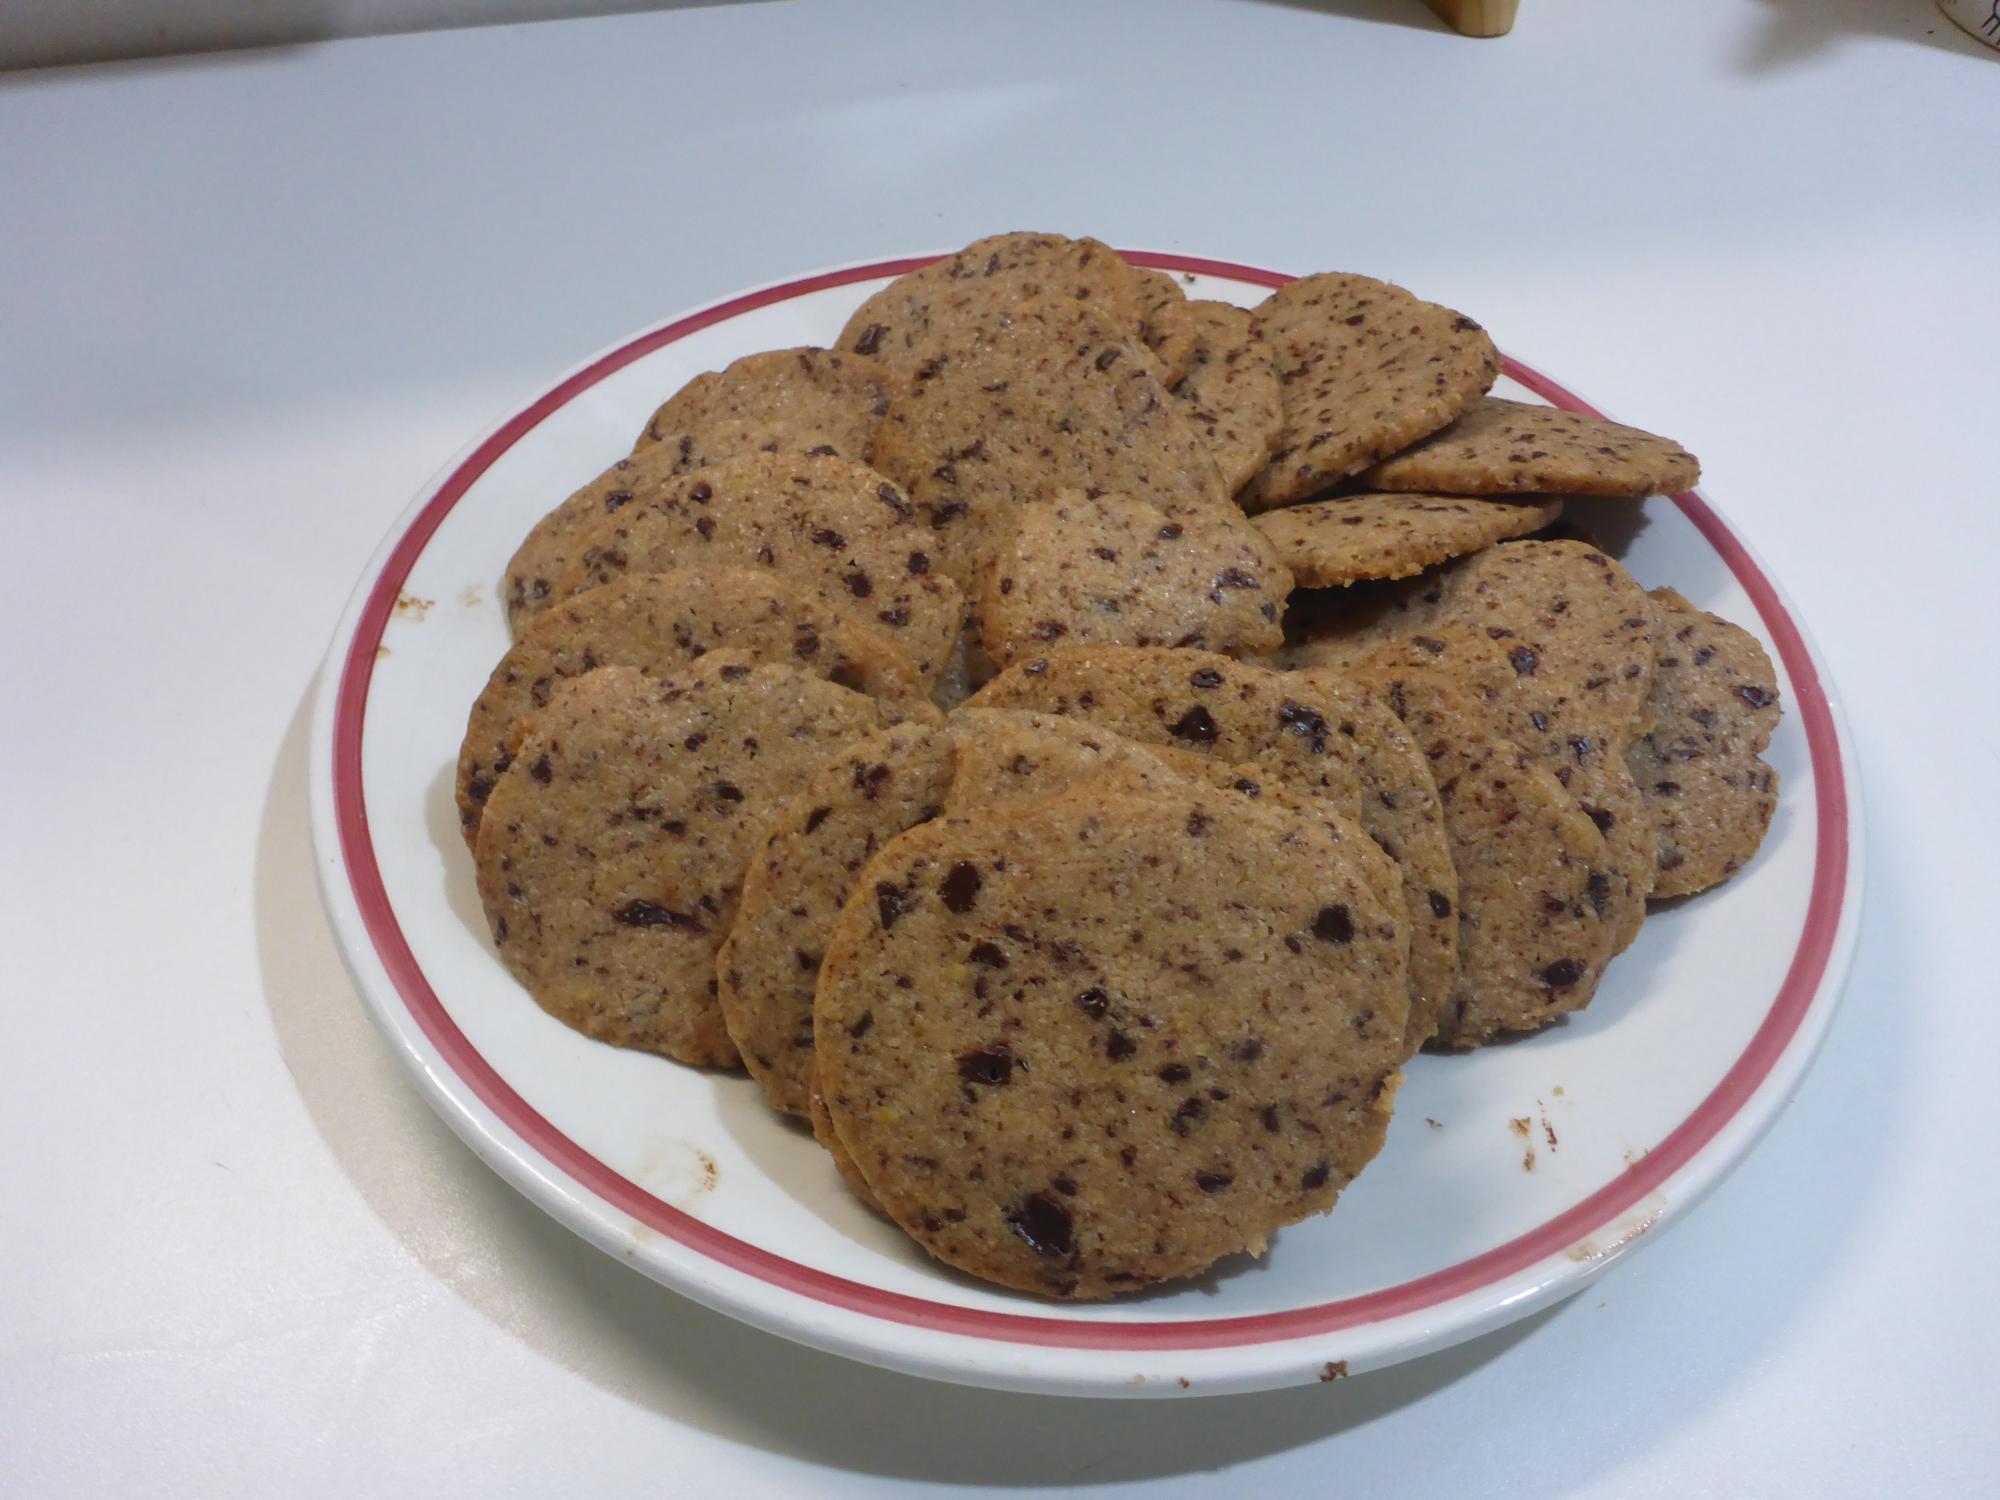
    Photo of the baked cookies on a plate

    Allow the cookies to cool on the baking paper. They’re more brittle when warm, so they break more easily.

    These are the finished cookies

    The difficult bits

    Any recipe, no matter how simple, has its difficult points.

    Consistency of the cookie dough

    The exact consistency of the dough depends on whether you want to roll out the dough and cut the cookies in shape, of if you’re lazy like me.

    For rolling the dough you need it more flexible and more moist, but not too sticky.

    When you take the dough out of the food processor, it should be fairly soft, as it will become harder and hence more difficult to roll out after it has rested in the fridge.

    Baking time

    The exact time your cookies should be in the oven depends on your oven, how thick you make the cookies, and how moist the cookie dough is.

    As always in the kitchen, you need to experiment.

    Credits

    I started from this Danish cookie recipe and made my own modifications.
  • Simple cake recipe with variations

    Simple cake recipe with variations

    Every once in a while I bake a cake, and its almost always a variation of a simple cake recipe that’s very easy to remember.

    Ingredients

    • 2 or 3 eggs
    • 200g caster sugar
    • 270g plain flour (’00’ in Italy)
    • 1 tsp baking powder
    • 2dl milk
    • optionally 1dl of cooking oil (sesame seed or maize)

    Procedure

    • Put eggs and sugar in a bowl and whisk until the mixture is creamy and airy. The creamier the mixture, the lighter the cake. Adding a third egg will make the cake fluffier.
    • Mix in the flour and the baking powder by hand. It doesn’t have to be worked a lot, just mixed in. The mixture will become almost solid.
    • Add the milk (and optionally the cooking oil) and mix again until the batter is smooth.
    • Pour the batter in a buttered cake mould and bake 15-20 minutes at 170ºC. Use a toothpick to check if completely baked at the centre. If not, add a few more minutes.
    • Take the cake out of the oven and let it rest a few minutes before taking it out of the mold. Leave to cool on a grill.

    I have a ventilated combi-oven so I do 12 minutes at 170ºC plus 350W microwave.

    Adding cooking oil to the batter makes the cake more moist. Leaving it out makes the cake drier.

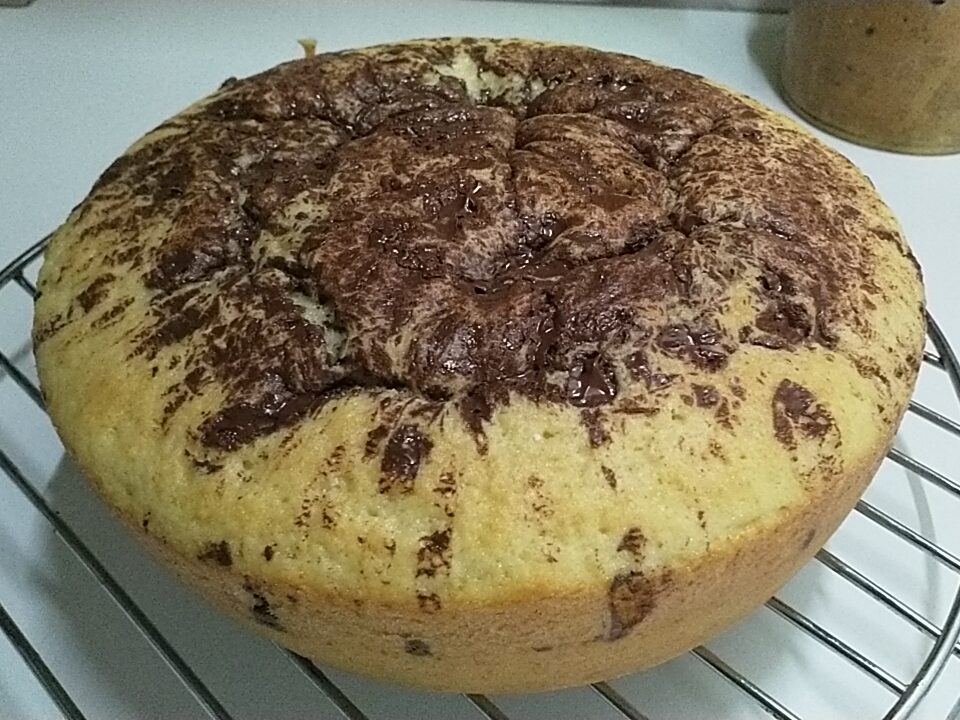
    Chocolate cake

    There are several easy chocolate variations, that each makes for a different cake.

    • Take a bar of bitter chocolate, put it in the freezer a day before, then grate it and mix the grated chocolate in the batter at the end; or
    • Add a couple of spoonfuls of cocoa powder to the batter with the flour; or
    • Melt a bar of bitter chocolate in the milk, either in a pot or in the microwave, before adding the milk to the mixture. Be careful not to let the milk boil, as that changes the flavour.

    Chocolate and orange zest go well together. If you can find pesticide-free oranges, grate some of the zest into the batter.

    You can add 75-100g of walnuts or hazelnuts, cut into small pieces or chopped in a blender.

    Lemon cake

    Add some grated lemon zest to the batter, and a bit of lemon juice.

    After the cake is done, make a glazing with 100g glazing sugar and the juice of a lemon, heated lightly in the microwave to melt the sugar. Pour the glazing over the hot cake and let it cool.

    Cinnamon cake

    Add a few spoonfuls of cinnamon along with the flour when making the batter.

    Mix a bit of caster sugar with cinnamon and dust it over the cake before it goes into the oven.

    Apple cake

    Before you start on the batter, peel and clean one or two apples and cut them into pieces or slices. Leave them in water with a bit of lemon juice so they don’t go brown.

    When the batter is ready, strain the apple pieces, optionally mix them with cinnamon and sugar, and either add them to the batter, or put them on top after the batter is poured in the cake mold.

    Cooking time will be longer, up to 40-45 minutes, depending on the size of the pieces of apple.

  • Home made chickpea flour pasta

    Home made chickpea flour pasta

    My doctor has told me to lose weight, and instructed me to eat less carbs, especially pasta. I have a Philips Pasta Maker machine for making home made pasta. The two things together lead me to home made chickpea flour pasta.

    It is surprisingly easy.

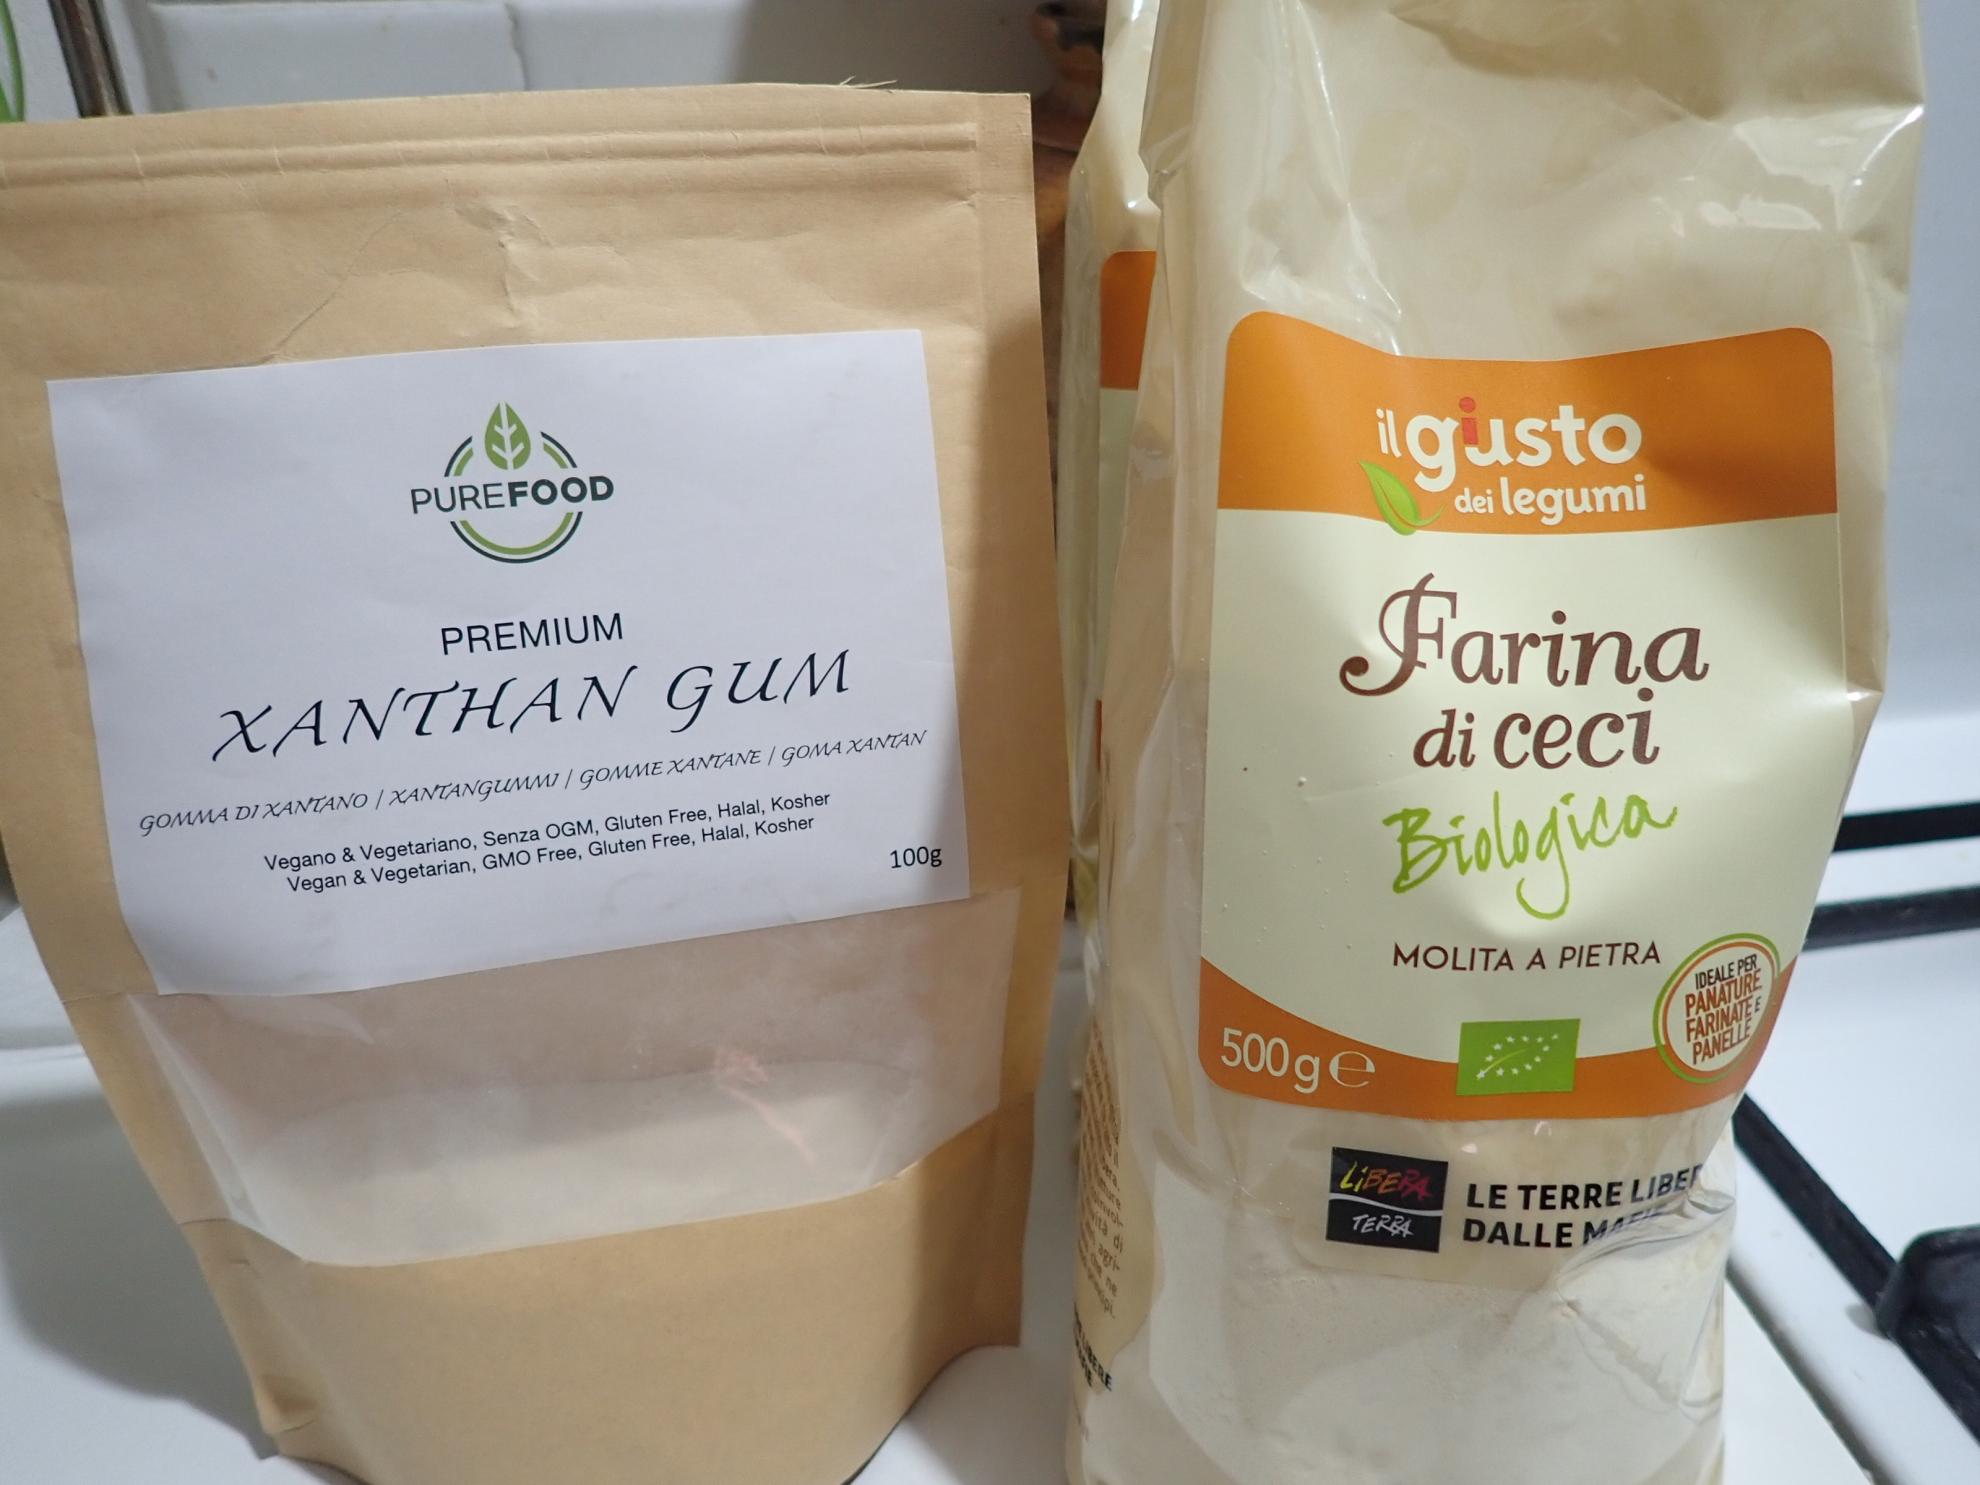
    Chickpea flour and zanthan gum
    Chickpea flour and zanthan gum

    The basic recipe is this (4 servings):

    • 300g of chickpea flour
    • half a tsp of zanthan gum (1-2g)
    • a pinch of salt
    • 90ml water

    Pour chickpea flour, zanthan gum and salt in the pasta maker, and start it. Add the water a bit at a time as the machine works the dough. When the machine is ready, it’ll start extruding the dough, and all you have to do is cut the pasta at the proper length as it comes out of the machine.

    Instead of zanthan gum you can use an egg, and reduce the water quantity so whisked egg and water gets to 90ml.

    The correct consistency of the dough

    The dough should appear as a granulate before extrusion, not as a block of dough. If you put in too much water it sticks together as a block, and the machine will not be able to extrude it. If that happens, stop the machine, take the dough out, cut it into small pieces with a kitchen knife, mix it with a bit more chickpea flour, then return it into the machine and set it to extrusion only.

    I usually stir the finished pasta with a bit of normal flour to make sure the pieces don’t stick together, but if the proportion of chickpea flour to water is correct, the pasta shouldn’t be sticky.

    The pasta maker comes with a tool for cutting the pasta. If you use a knife to cut the pasta as it comes out of the machine, keep the knife blade wet so it doesn’t get sticky.

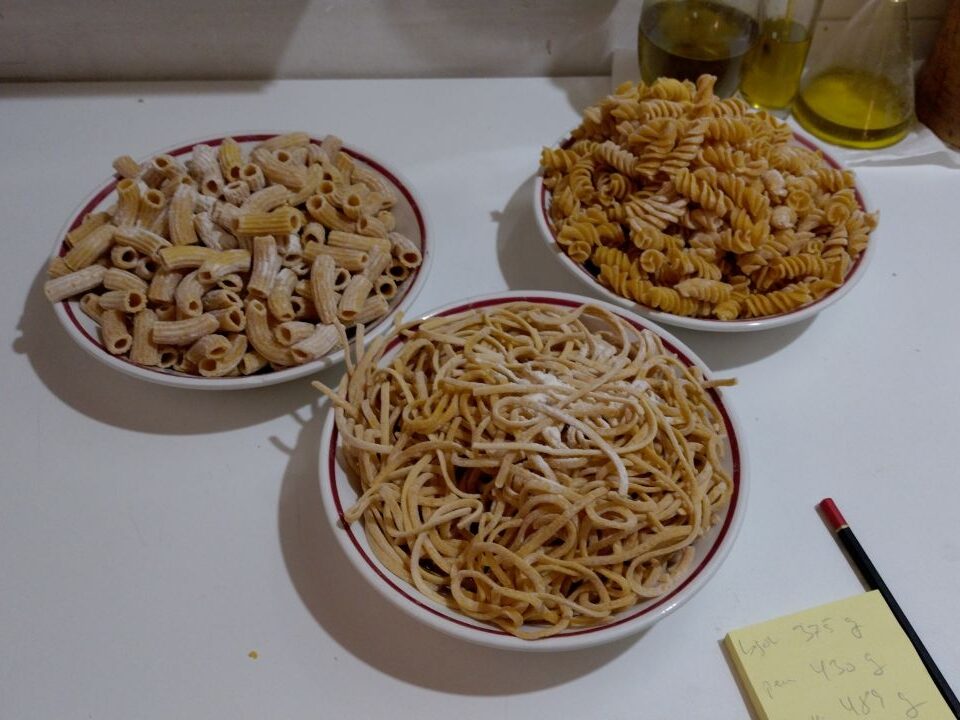
    About 40g of dough will remain inside the machine no matter what you do, so this recipe will get you approximately 350g of pasta, which is enough for four servings of 80-90g each. Chickpea pasta sates more than wheat pasta, so a slightly smaller serving makes it feel the same.

    Cooking the chickpea pasta

    Cooking time depends on the shape and thickness of the pasta, but you don’t really need to time it. Home made chickpea pasta will tell you when it’s cooked.

    Fill a pot half with water, bring it to a boil, add a bit of salt and the pasta. Stir lightly with a spoon or fork to make sure it doesn’t stick to the bottom of the pot.

    The pasta will soon rise to the surface, at bit like gnocchi, and after some time it will start to produce a dense white foam. Turn off the heat and stir slowly until the foams disappears, and your home made chickpea flour pasta is cooked.

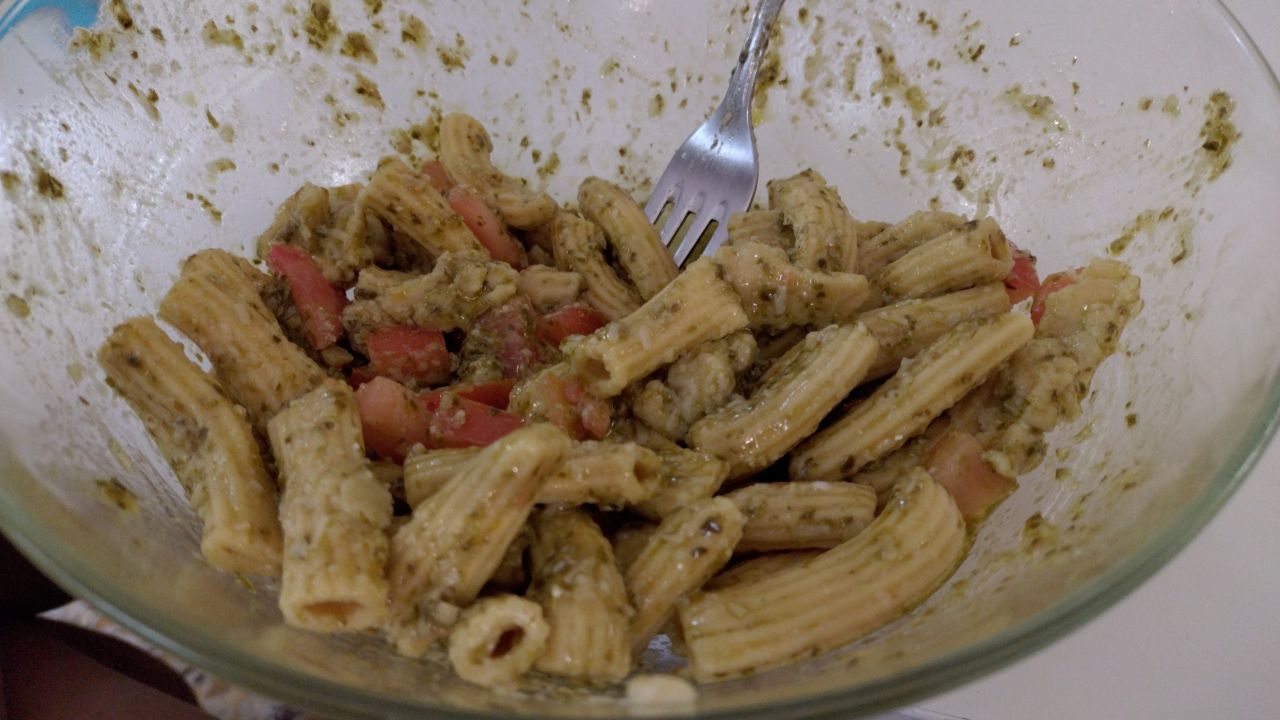
    Chickpea pasta with pesto and fresh tomatoes
    Chickpea pasta with pesto and fresh tomatoes

    Chickpea flour pasta has a flavour of its own, slightly more pronounced that wheat pasta, but most sauces that aren’t too delicate will work well. We eat it with tomato sauce, pesto, amatriciana, puttanesca, gorgonzola, bigoli in salsa, tuna and whatever we feel like. I suspect it’ll work less well with asparagus and similar delicate flavours.

    Storage of home made chickpea pasta

    The pasta will keep in a closed container or a plastic bag in the fridge for 1-2 days, after which it’ll get a bit sticky.

    It’ll keep for much longer in plastic bags in the freezer. There’s no need to thaw the pasta before cooking. It can go directly from the freezer into the cooking water.

    I have taken to making three different types of pasta each time, which then goes into the freezer. It reduces the waste of that bit of dough that never comes out of the machine. For the first batch I use 350g flour to 105ml water, and then revert to 300g/90ml for the following. The dough that gets stuck in the machine just goes in with the next batch of pasta.

    We’re two persons, so this will make enough pasta for six meals, of three different kinds.

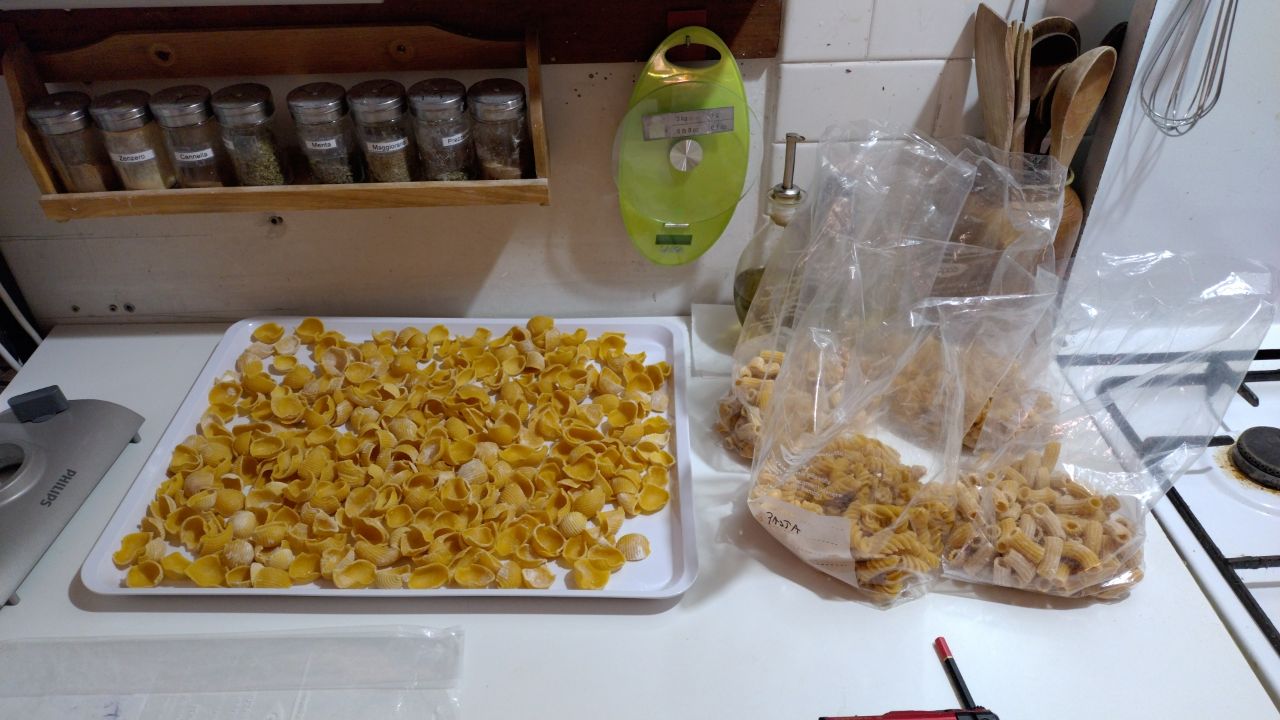
    Freshly made chickpea flour pasta ready for the freezer
    Freshly made chickpea flour pasta ready for the freezer

    Fediverse Reactions