
My doctor has told me to lose weight, and instructed me to eat less carbs, especially pasta. I have a Philips Pasta Maker machine for making home made pasta. The two things together lead me to home made chickpea flour pasta.
It is surprisingly easy.
The basic recipe is this (4 servings):
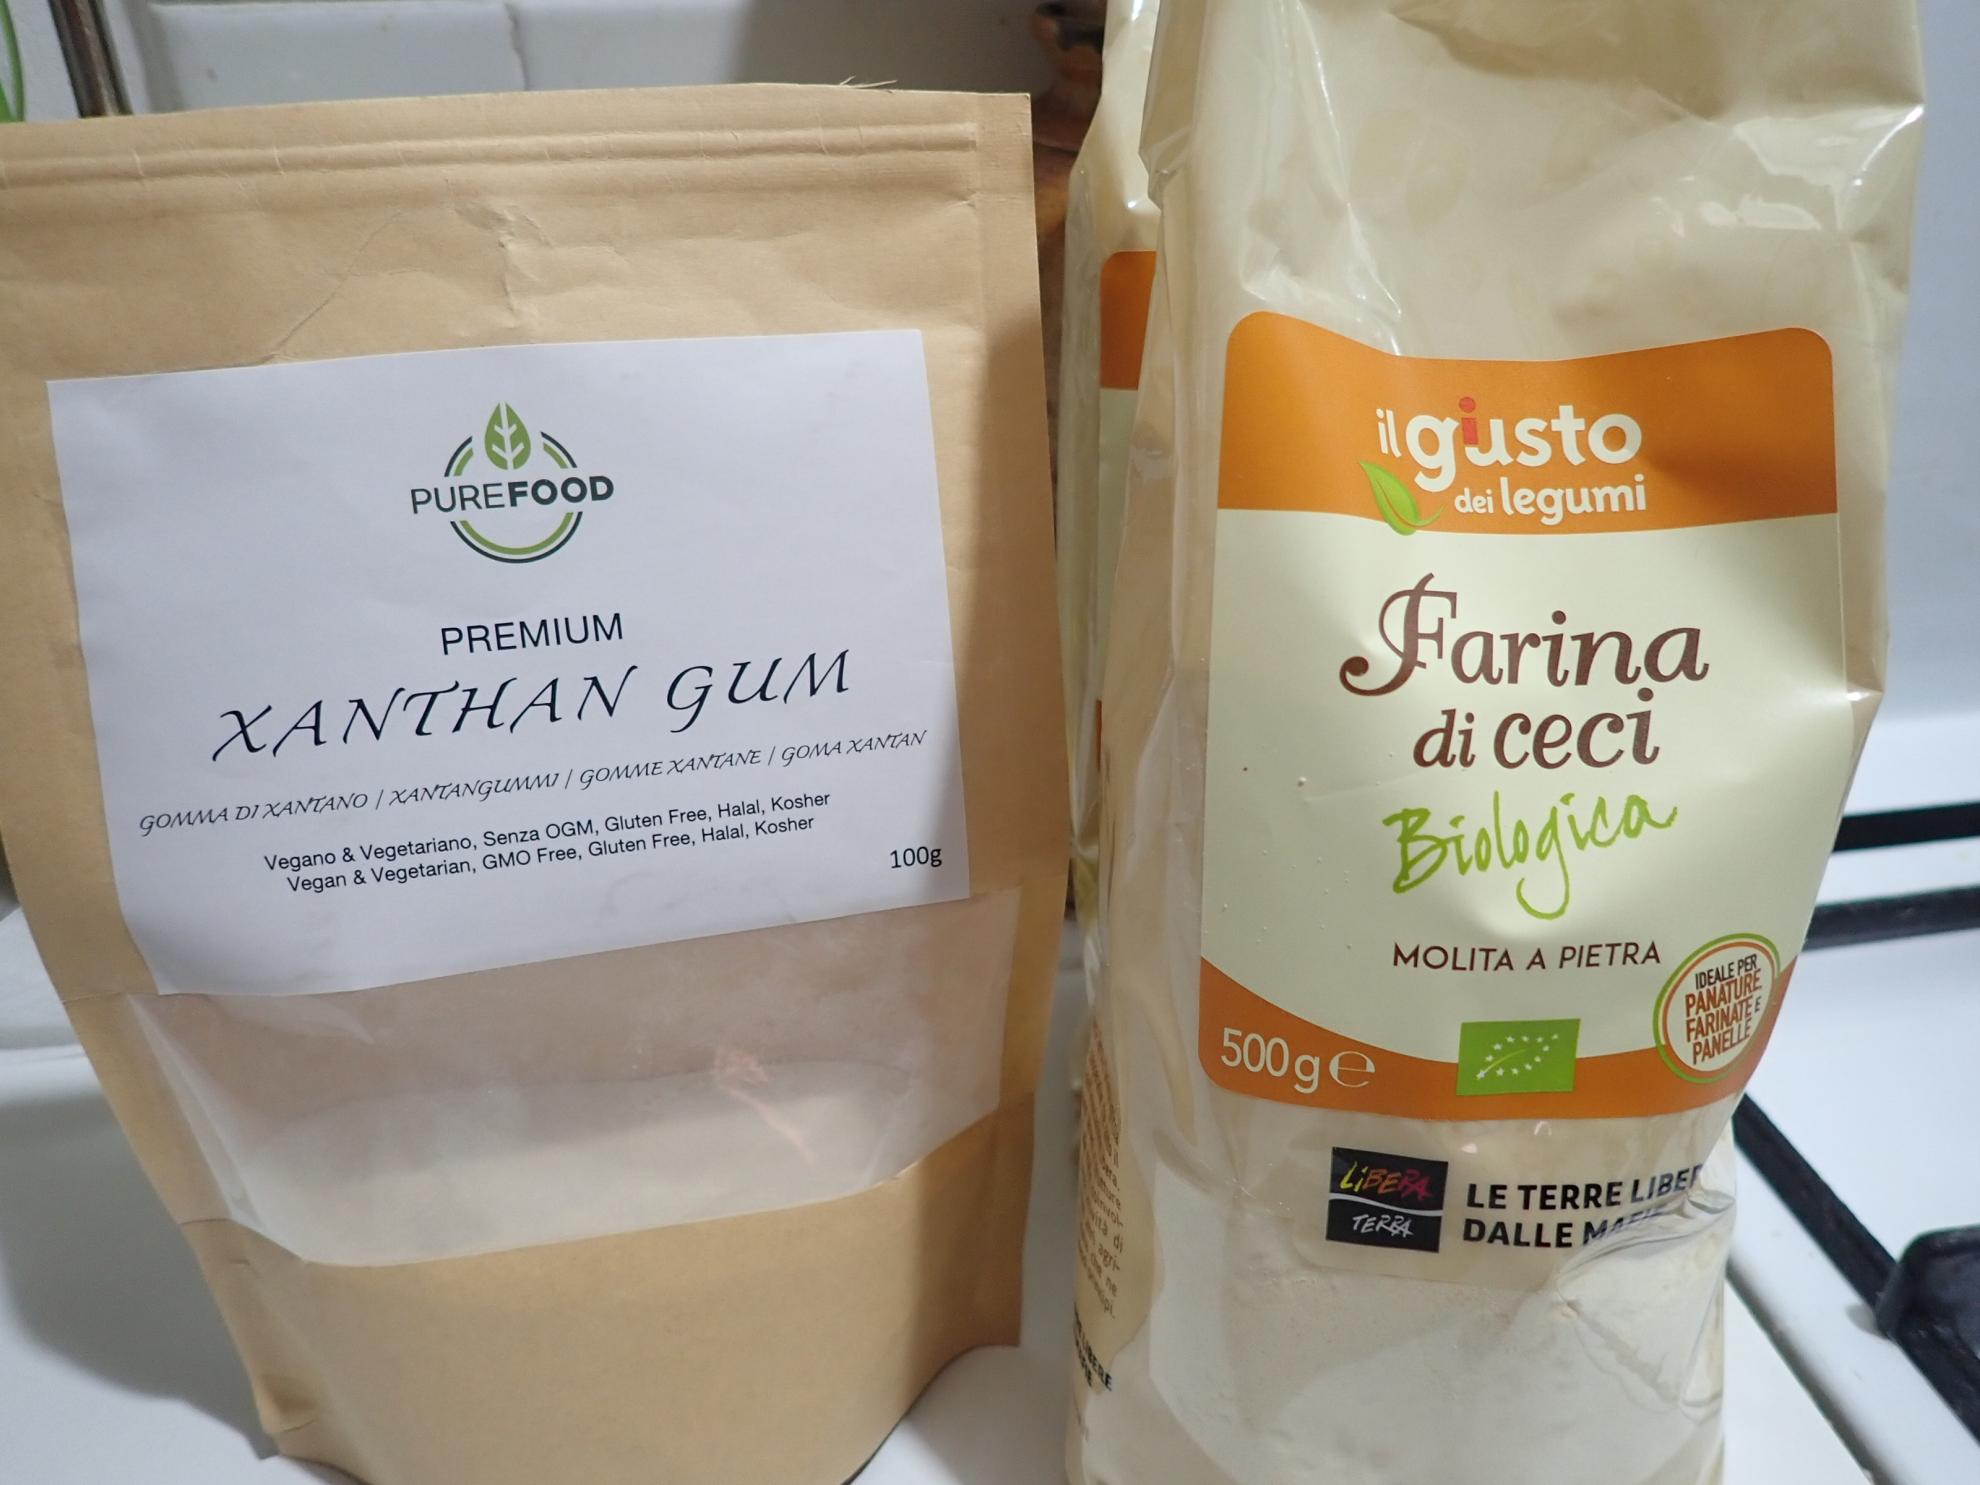
- 300g of chickpea flour
- half a tsp of zanthan gum (1-2g)
- a pinch of salt
- 90ml water
Pour chickpea flour, zanthan gum and salt in the pasta maker, and start it. Add the water a bit at a time as the machine works the dough. When the machine is ready, it’ll start extruding the dough, and all you have to do is cut the pasta at the proper length as it comes out of the machine.
Instead of zanthan gum you can use an egg, and reduce the water quantity so whisked egg and water gets to 90ml.
The dough should appear as a granulate before extrusion, not as a block of dough. If you put in too much water it sticks together as a block, and the machine will not be able to extrude it. If that happens, stop the machine, take the dough out, cut it into small pieces with a kitchen knife, mix it with a bit more chickpea flour, then return it into the machine and set it to extrusion only.
I usually stir the finished pasta with a bit of normal flour to make sure the pieces don’t stick together, but if the proportion of chickpea flour to water is correct, the pasta shouldn’t be sticky.
The pasta maker comes with a tool for cutting the pasta. If you use a knife to cut the pasta as it comes out of the machine, keep the knife blade wet so it doesn’t get sticky.
About 40g of dough will remain inside the machine no matter what you do, so this recipe will get you approximately 350g of pasta, which is enough for four servings of 80-90g each. Chickpea pasta sates more than wheat pasta, so a slightly smaller serving makes it feel the same.
Cooking the chickpea pasta
Cooking time depends on the shape and thickness of the pasta, but you don’t really need to time it. Home made chickpea pasta will tell you when it’s cooked.
Fill a pot half with water, bring it to a boil, add a bit of salt and the pasta. Stir lightly with a spoon or fork to make sure it doesn’t stick to the bottom of the pot.
The pasta will soon rise to the surface, at bit like gnocchi, and after some time it will start to produce a dense white foam. Turn off the heat and stir slowly until the foams disappears, and your home made chickpea flour pasta is cooked.
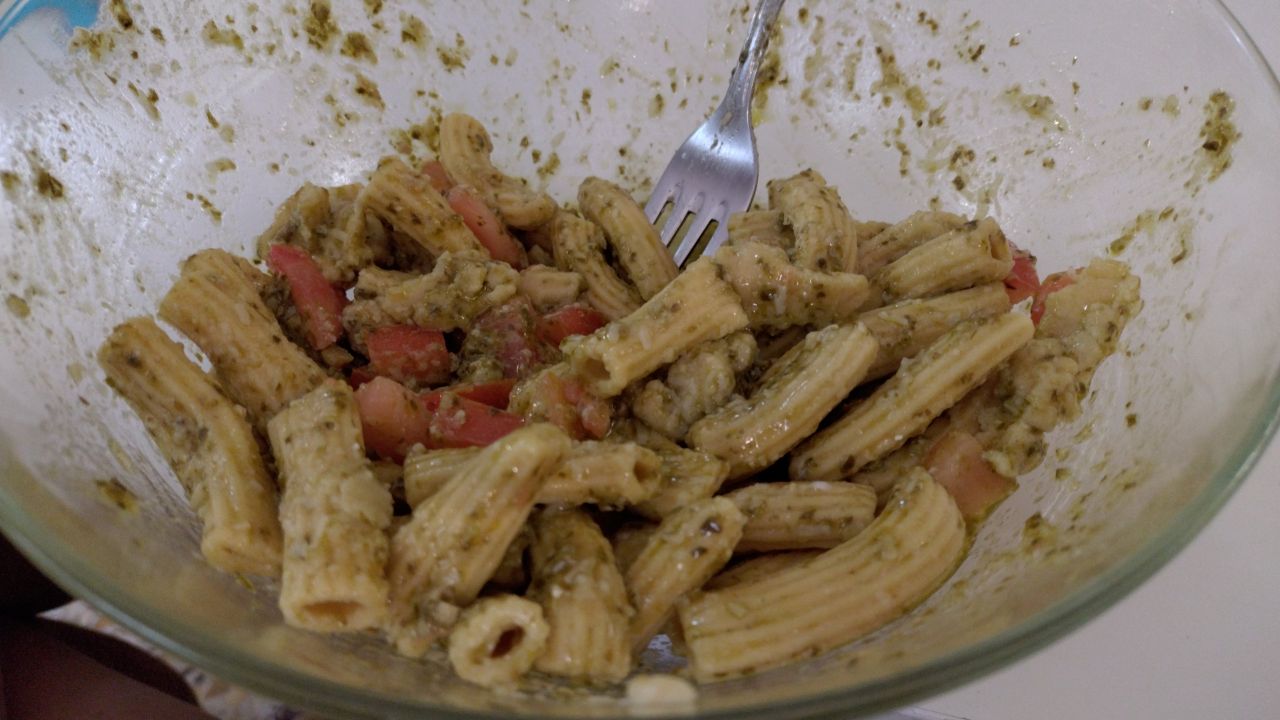
Chickpea flour pasta has a flavour of its own, slightly more pronounced that wheat pasta, but most sauces that aren’t too delicate will work well. We eat it with tomato sauce, pesto, amatriciana, puttanesca, gorgonzola, bigoli in salsa, tuna and whatever we feel like. I suspect it’ll work less well with asparagus and similar delicate flavours.
Storage of home made chickpea pasta
The pasta will keep in a closed container or a plastic bag in the fridge for 1-2 days, after which it’ll get a bit sticky.
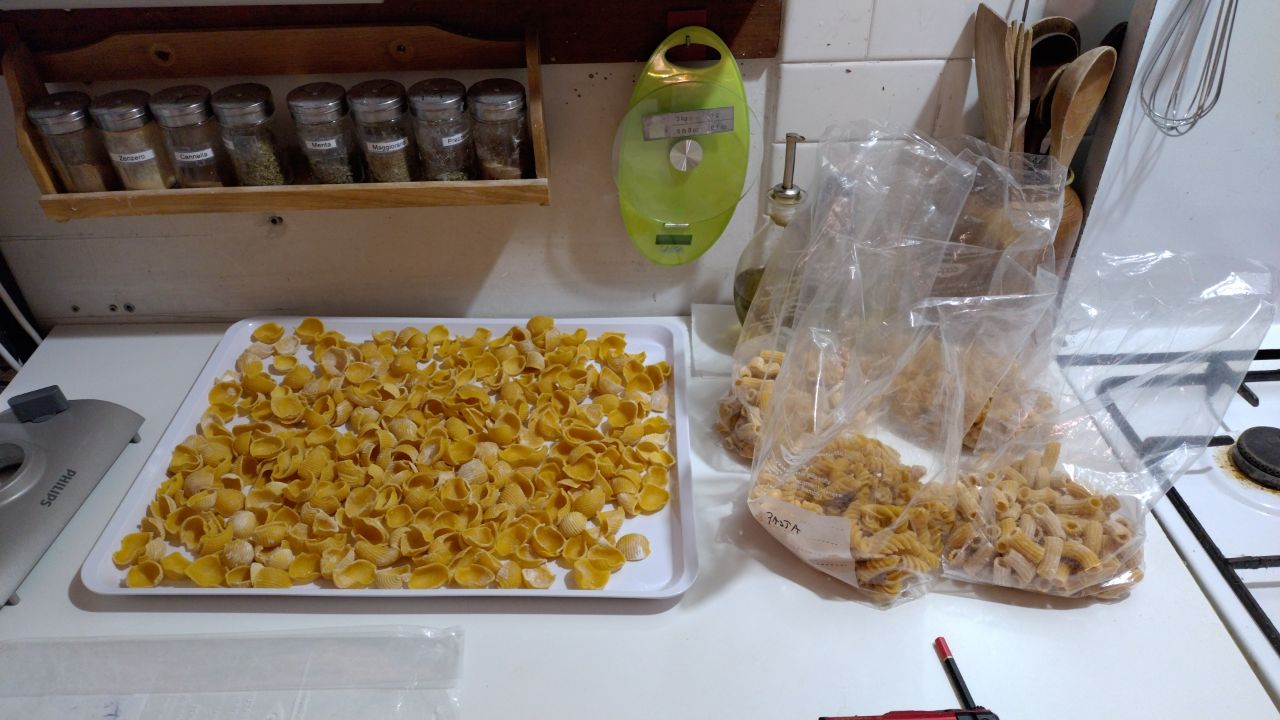
It’ll keep for much longer in plastic bags in the freezer. There’s no need to thaw the pasta before cooking. It can go directly from the freezer into the cooking water.
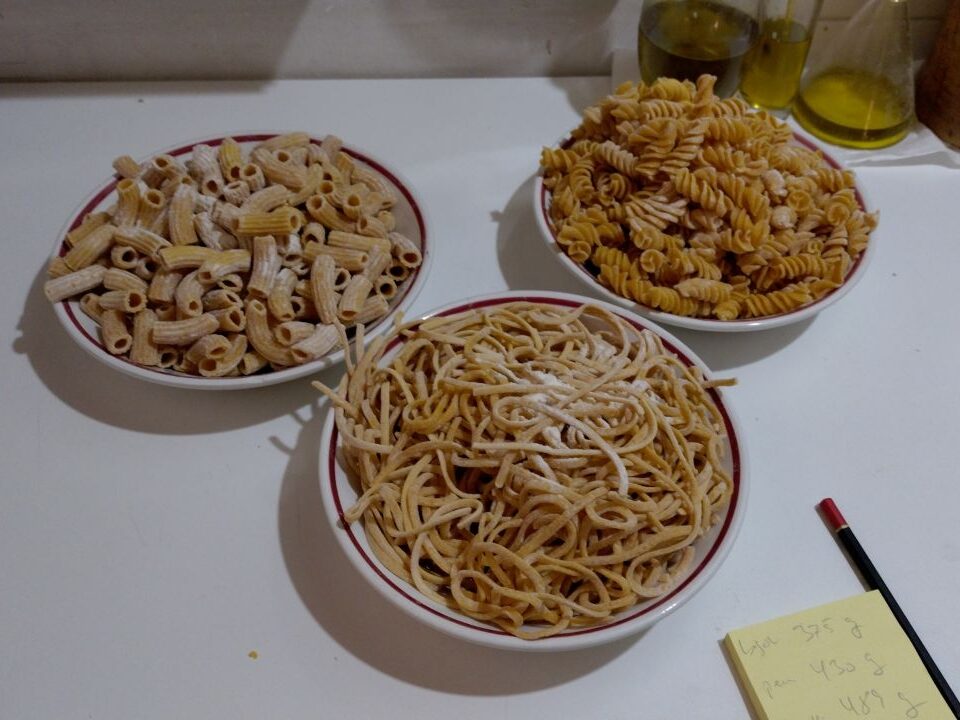
I have taken to making three different types of pasta each time, which then goes into the freezer. It reduces the waste of that bit of dough that never comes out of the machine. For the first batch I use 350g flour to 105ml water, and then revert to 300g/90ml for the following. The dough that gets stuck in the machine just goes in with the next batch of pasta.
We’re two persons, so this will make enough pasta for six meals, of three different kinds.
Leave a Reply