

I did a basic level photography course back in the spring, and in September and October I did the next level course.
The teacher was Marc De Tollenaere.
This course covered several themes which all build on the basics from the first course, requiring manual adjustments to ISO, aperture and shutter speed to get the required result.
- panning,
- using a flash in low light situations,
- low light photography with a tripod,
- photography of architecture,
- street photograhy.
Panning
The first exercise was panning.
The general idea is to create a sense of movement by turning with a moving subject, while using a slower shutter speed and corresponding smaller aperture for correct exposure.
It can be a bit tricky getting the right settings and moving the right way, but the effect is quite interesting.
Most of the photos below are taken at ISO 100, shutter speeds between 1/10th and 1/20th second, and apertures between f/20-f/36.
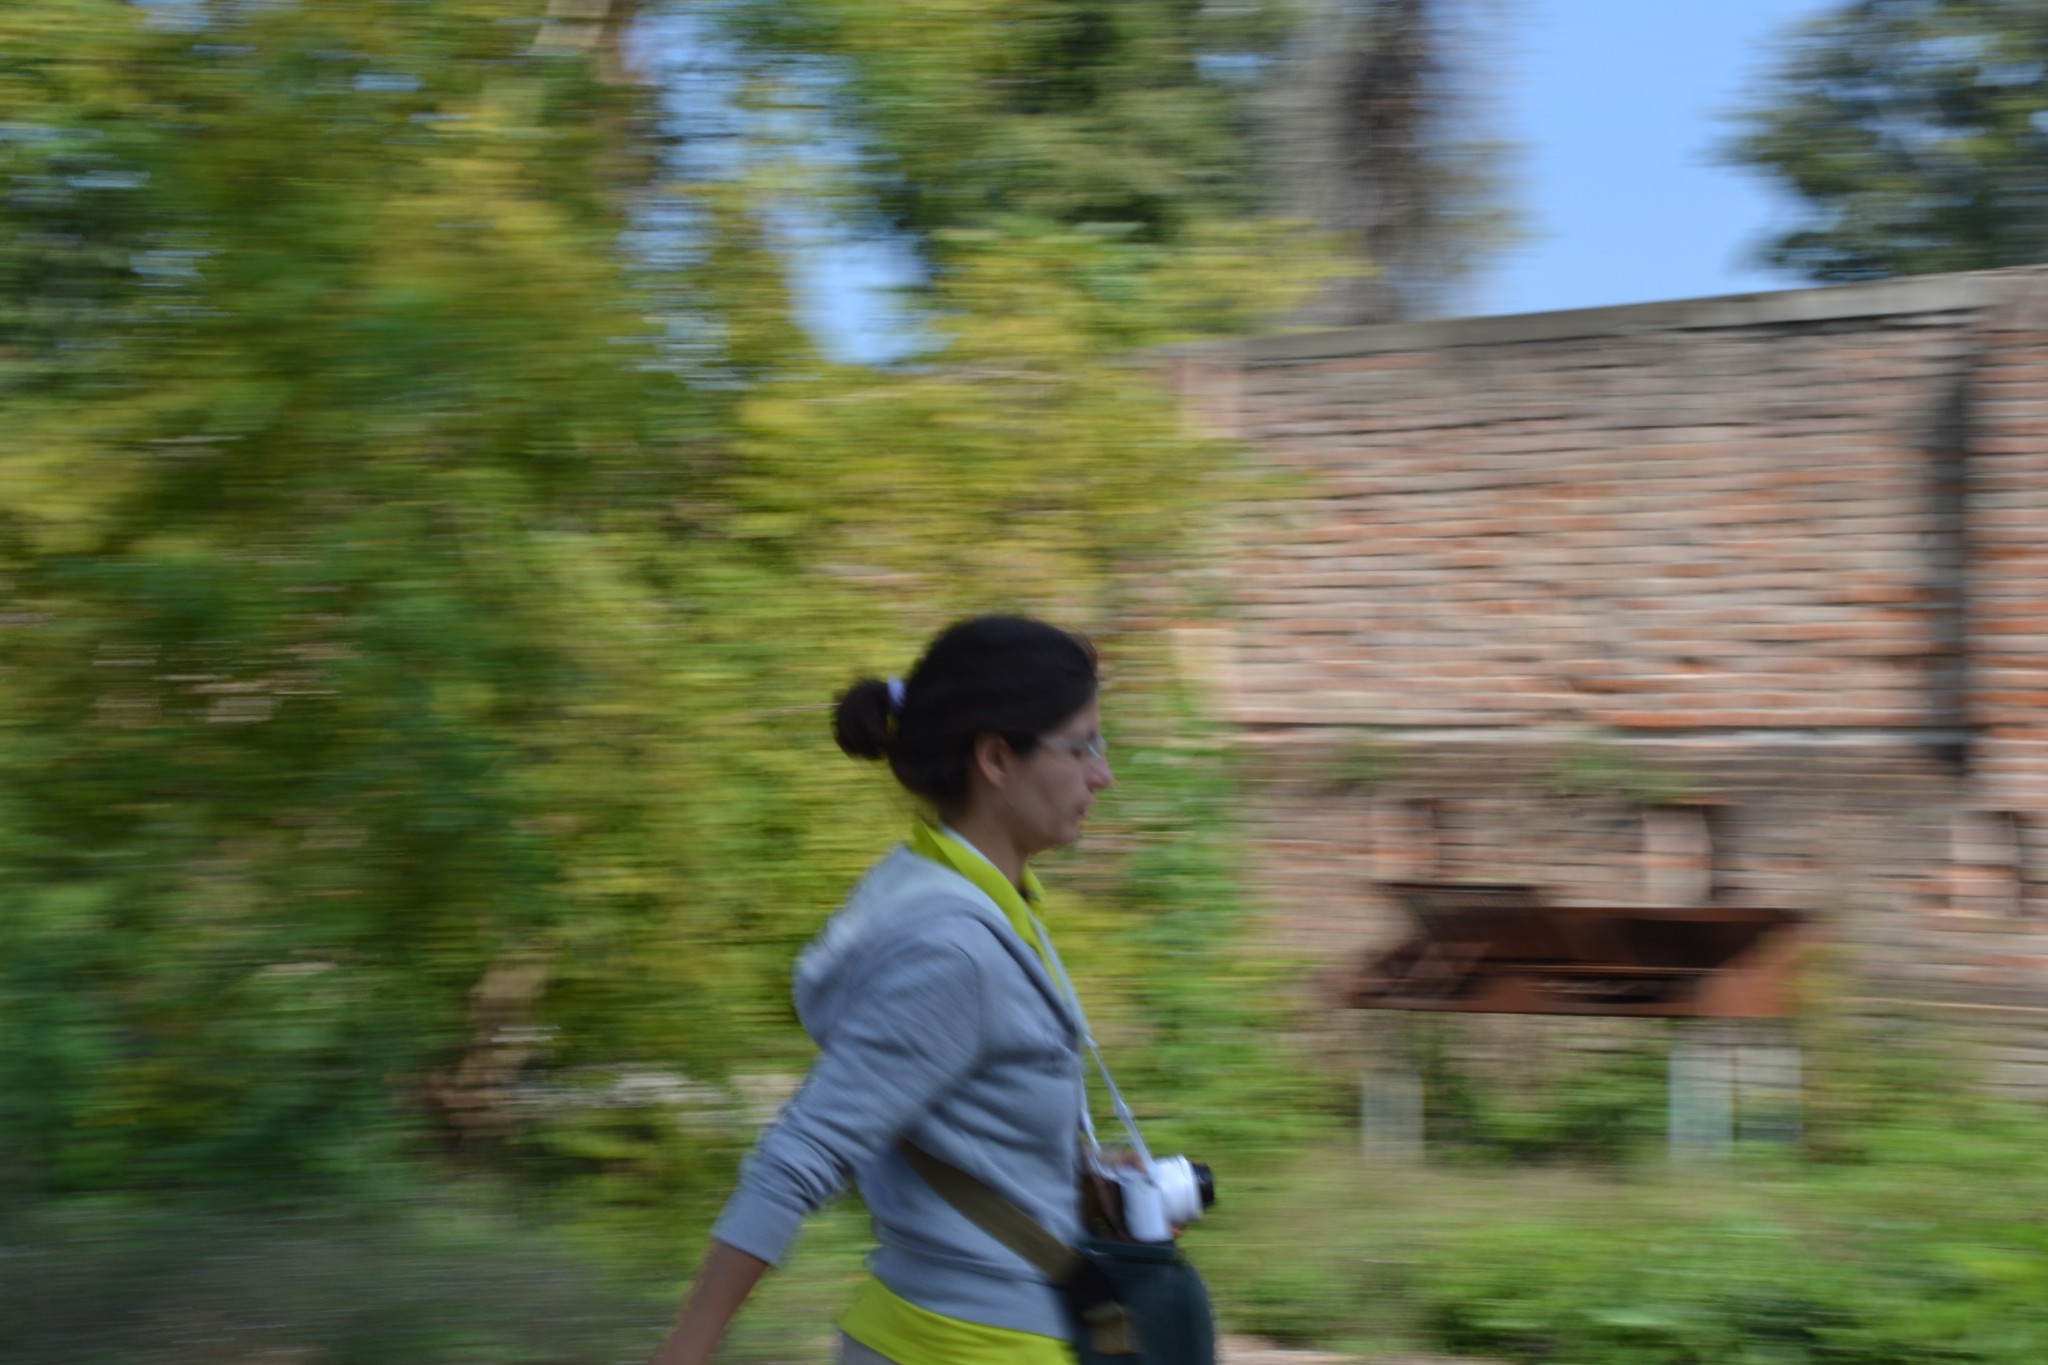
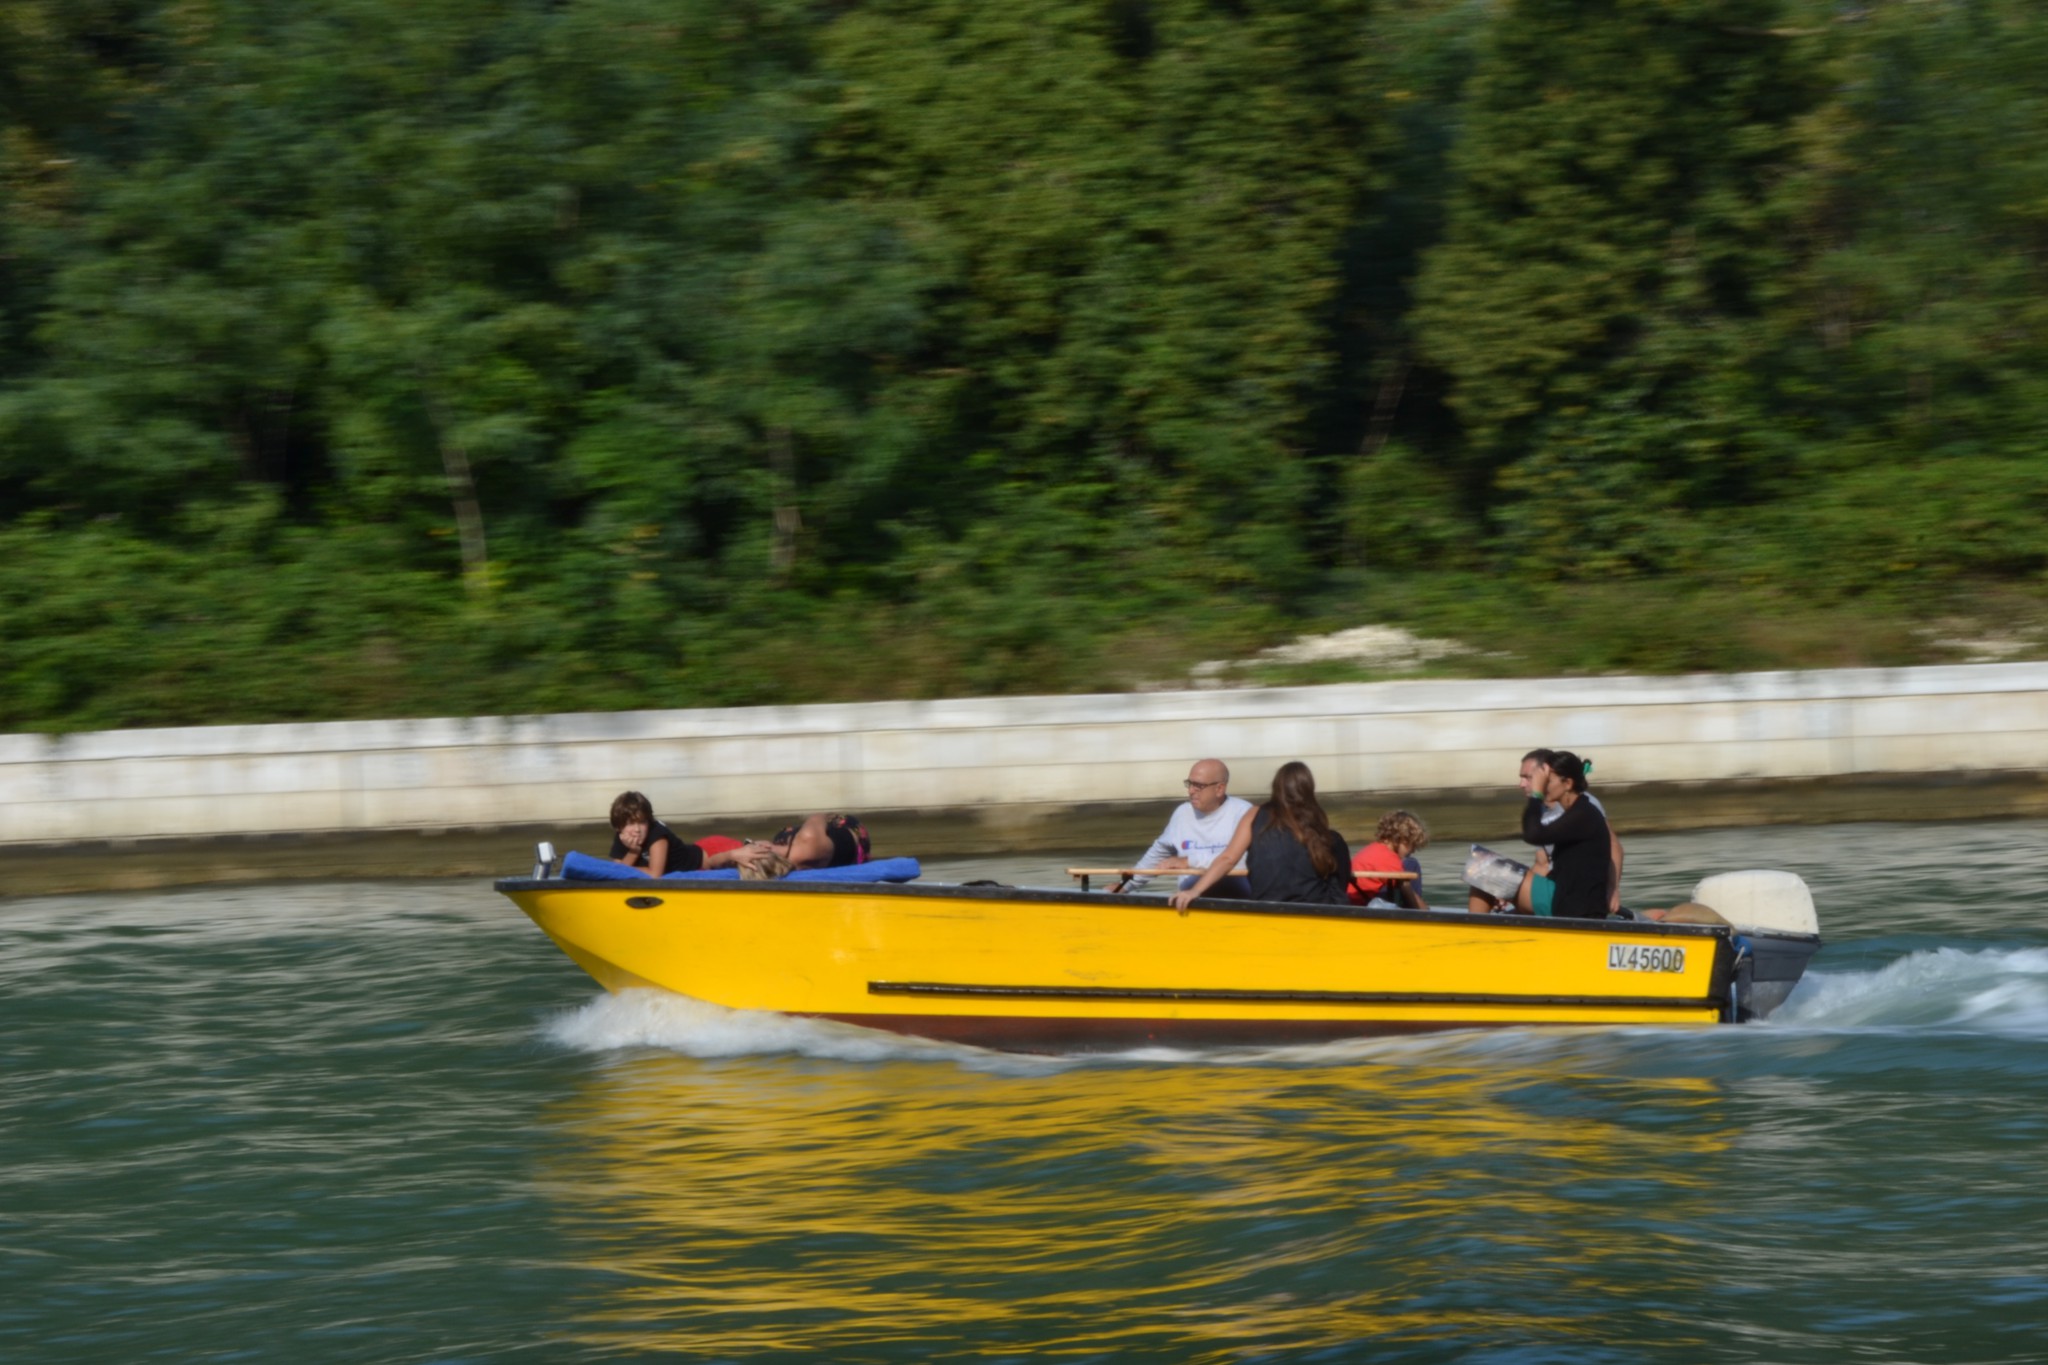
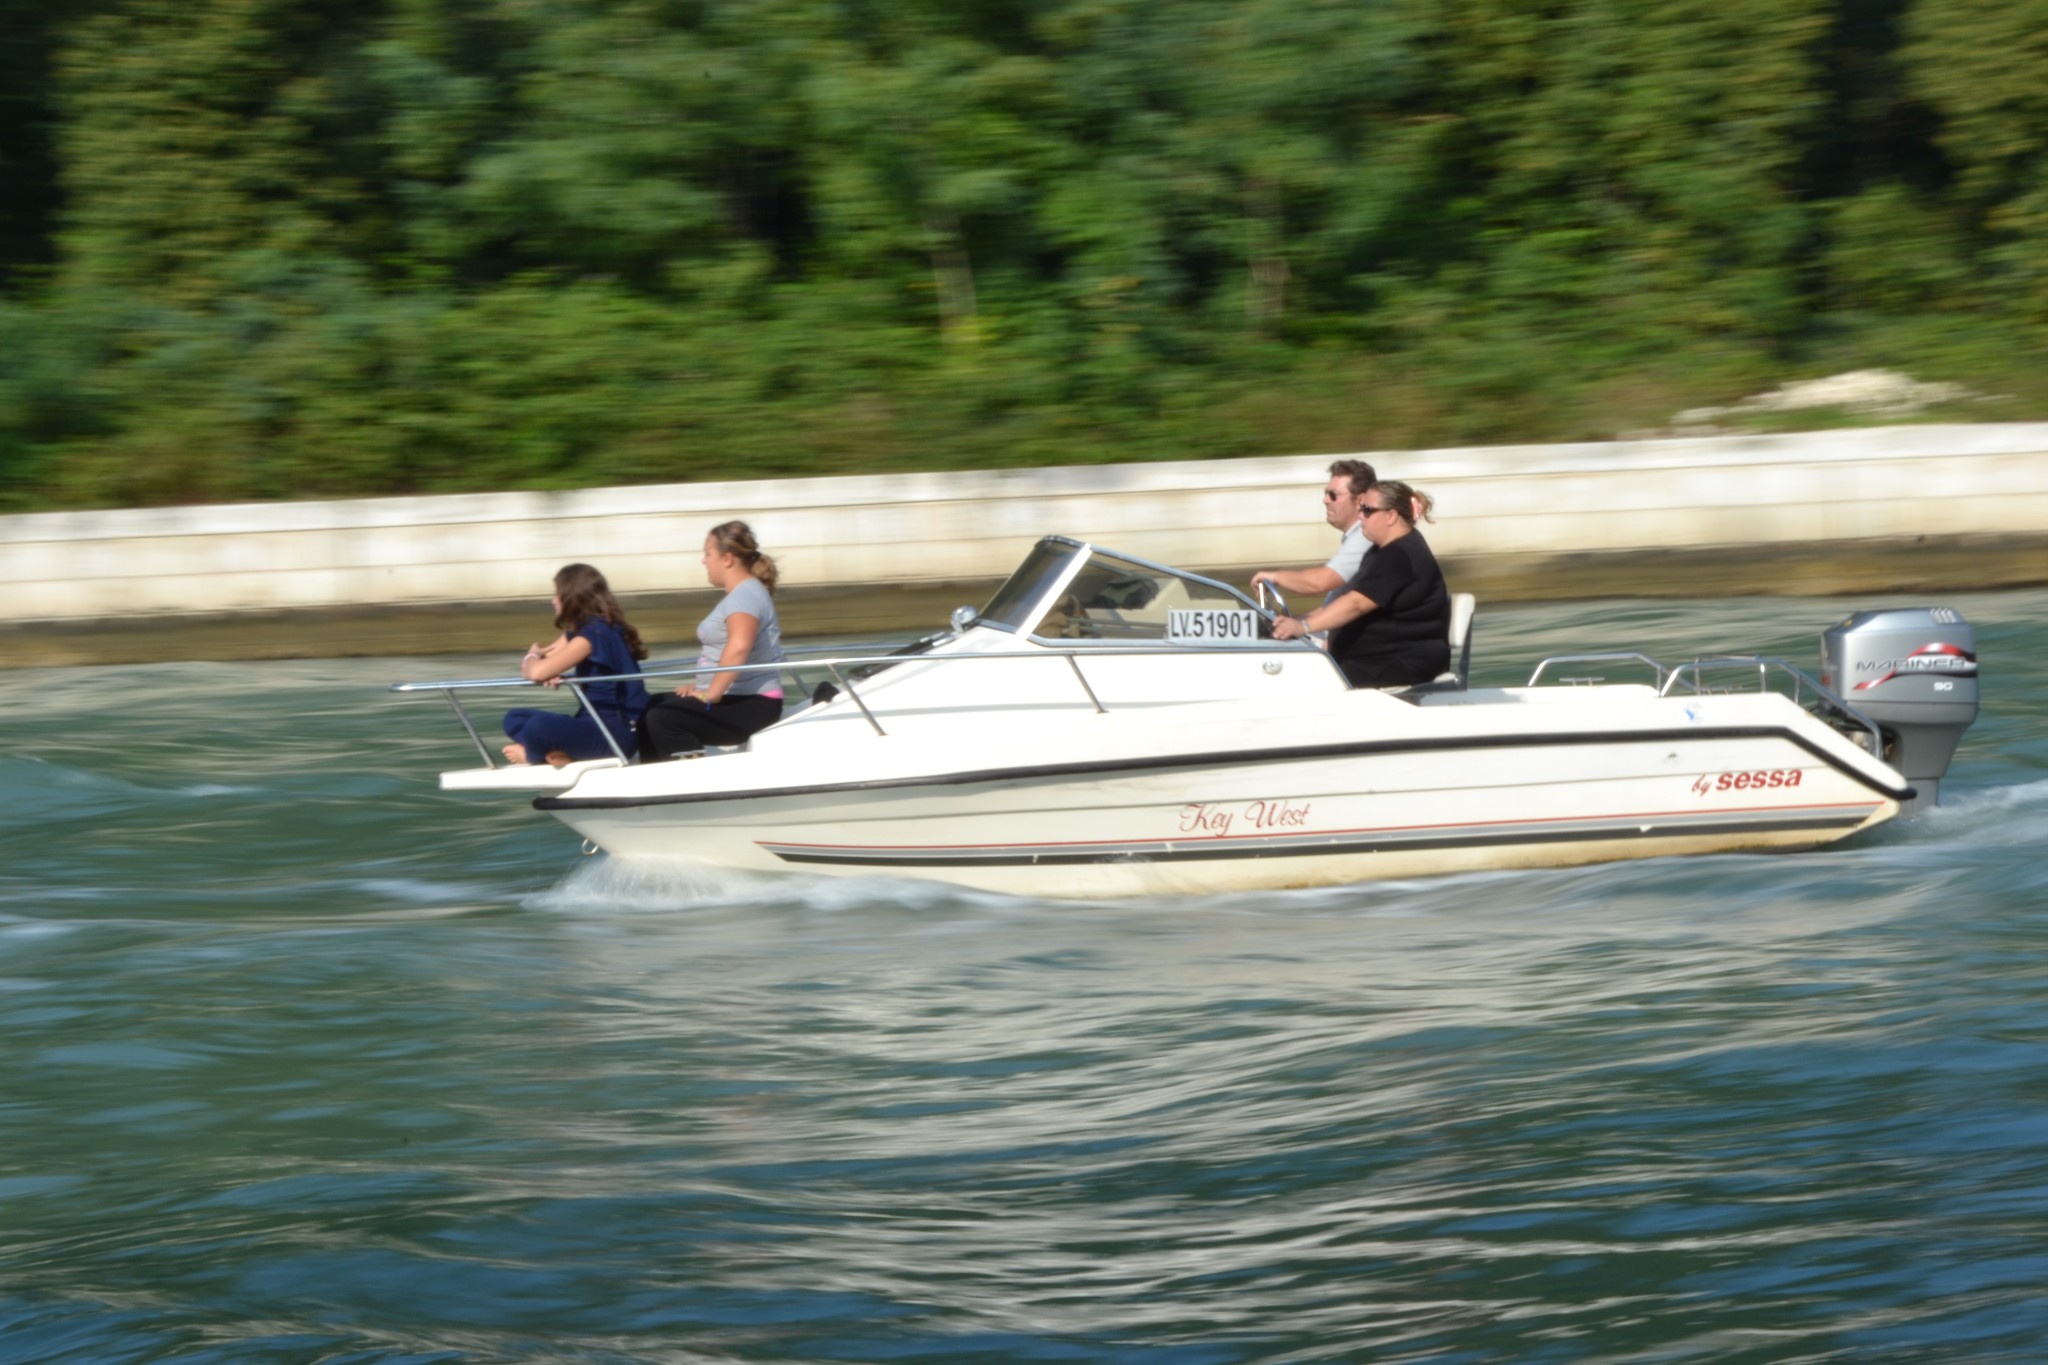
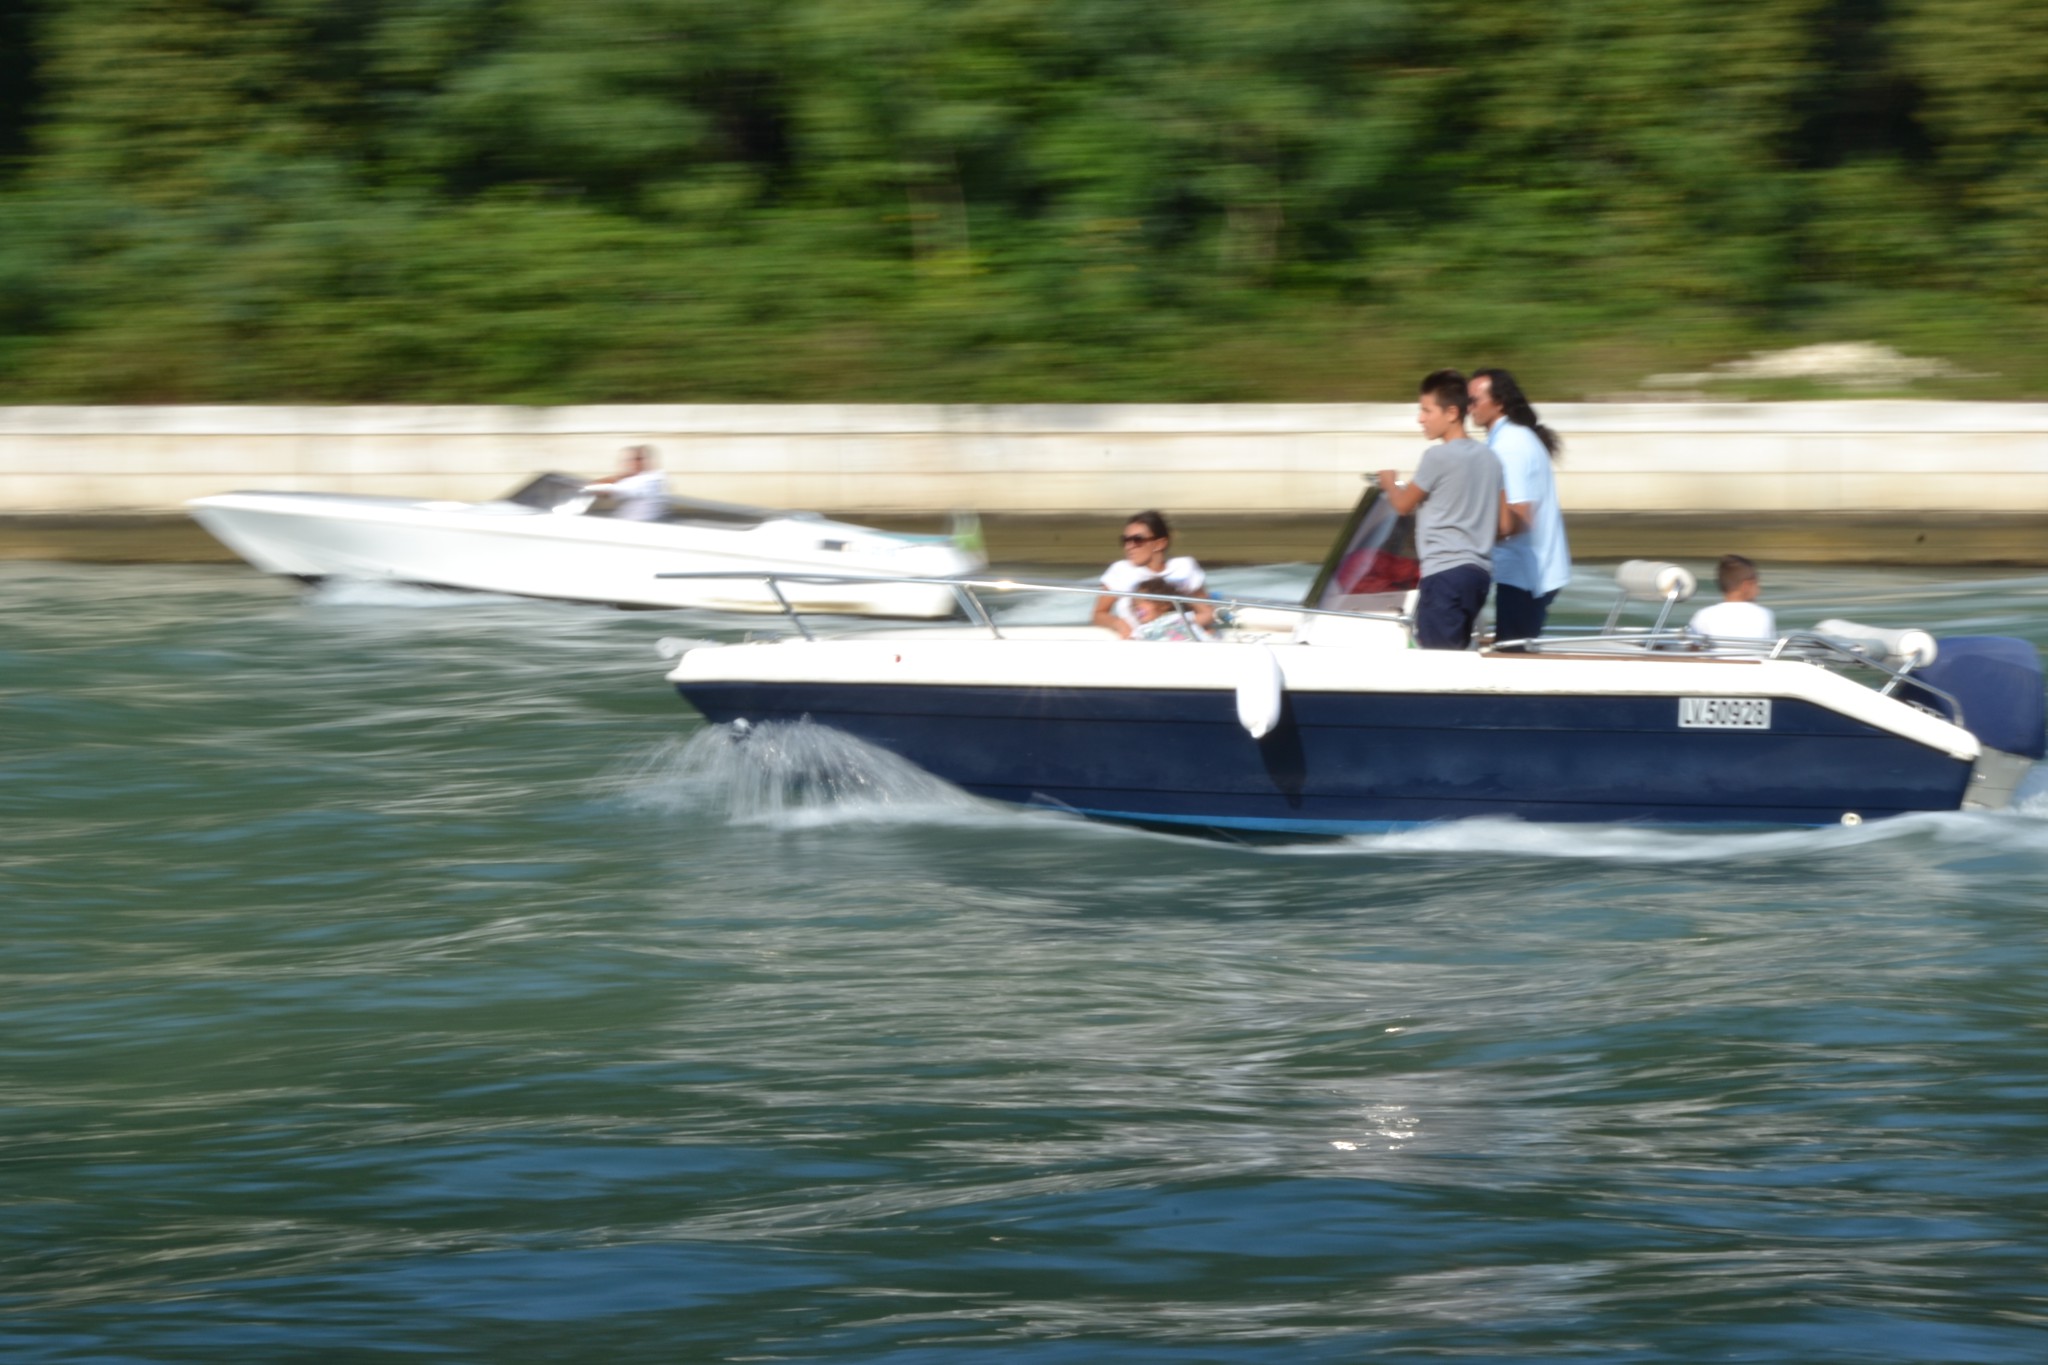
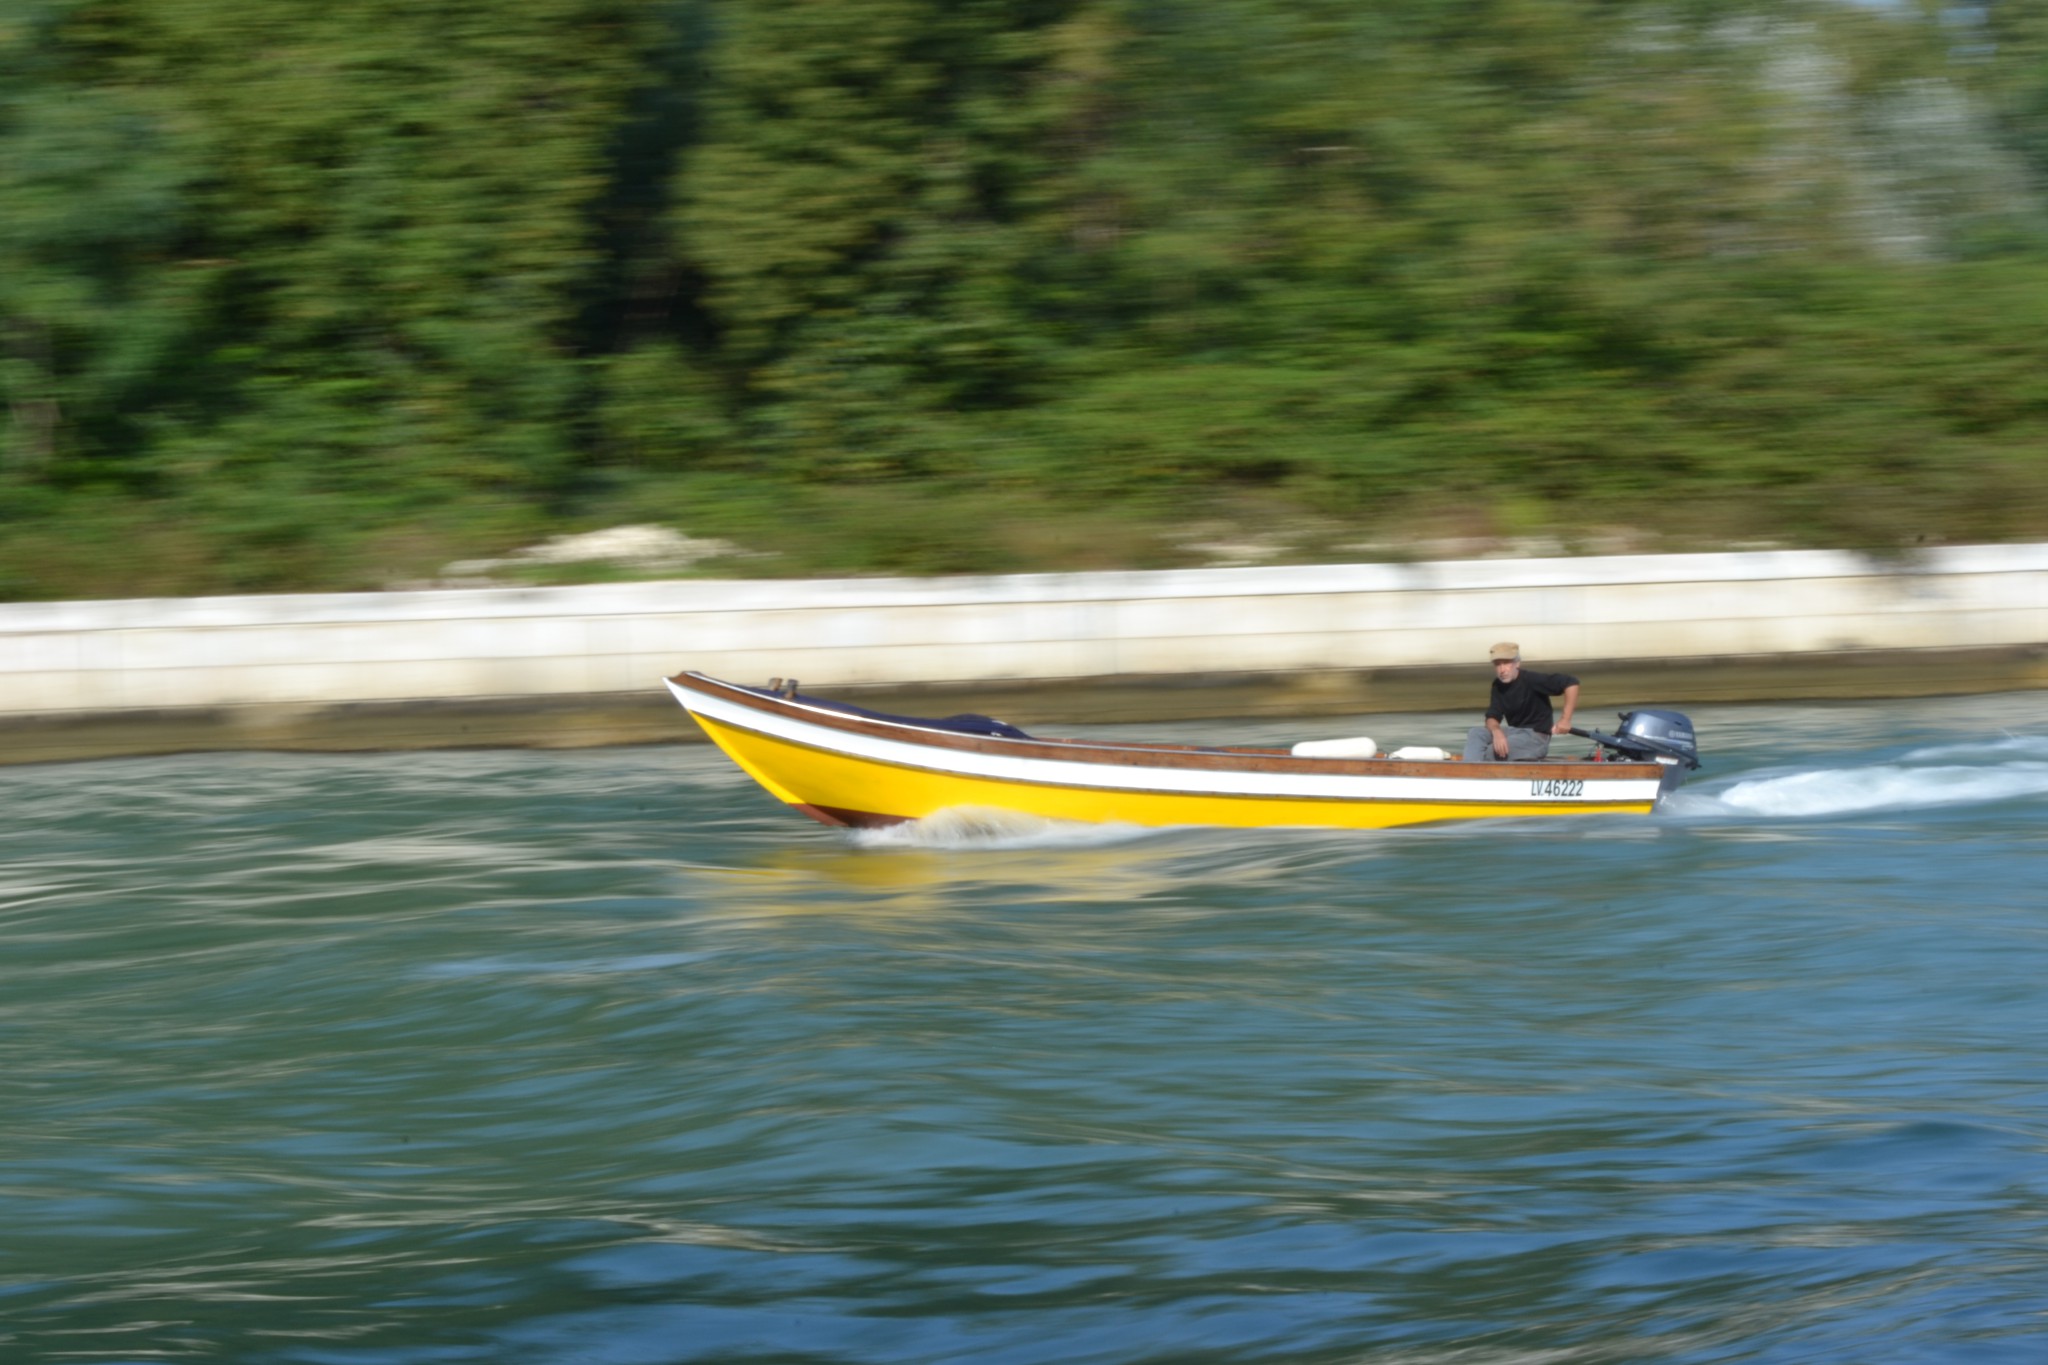
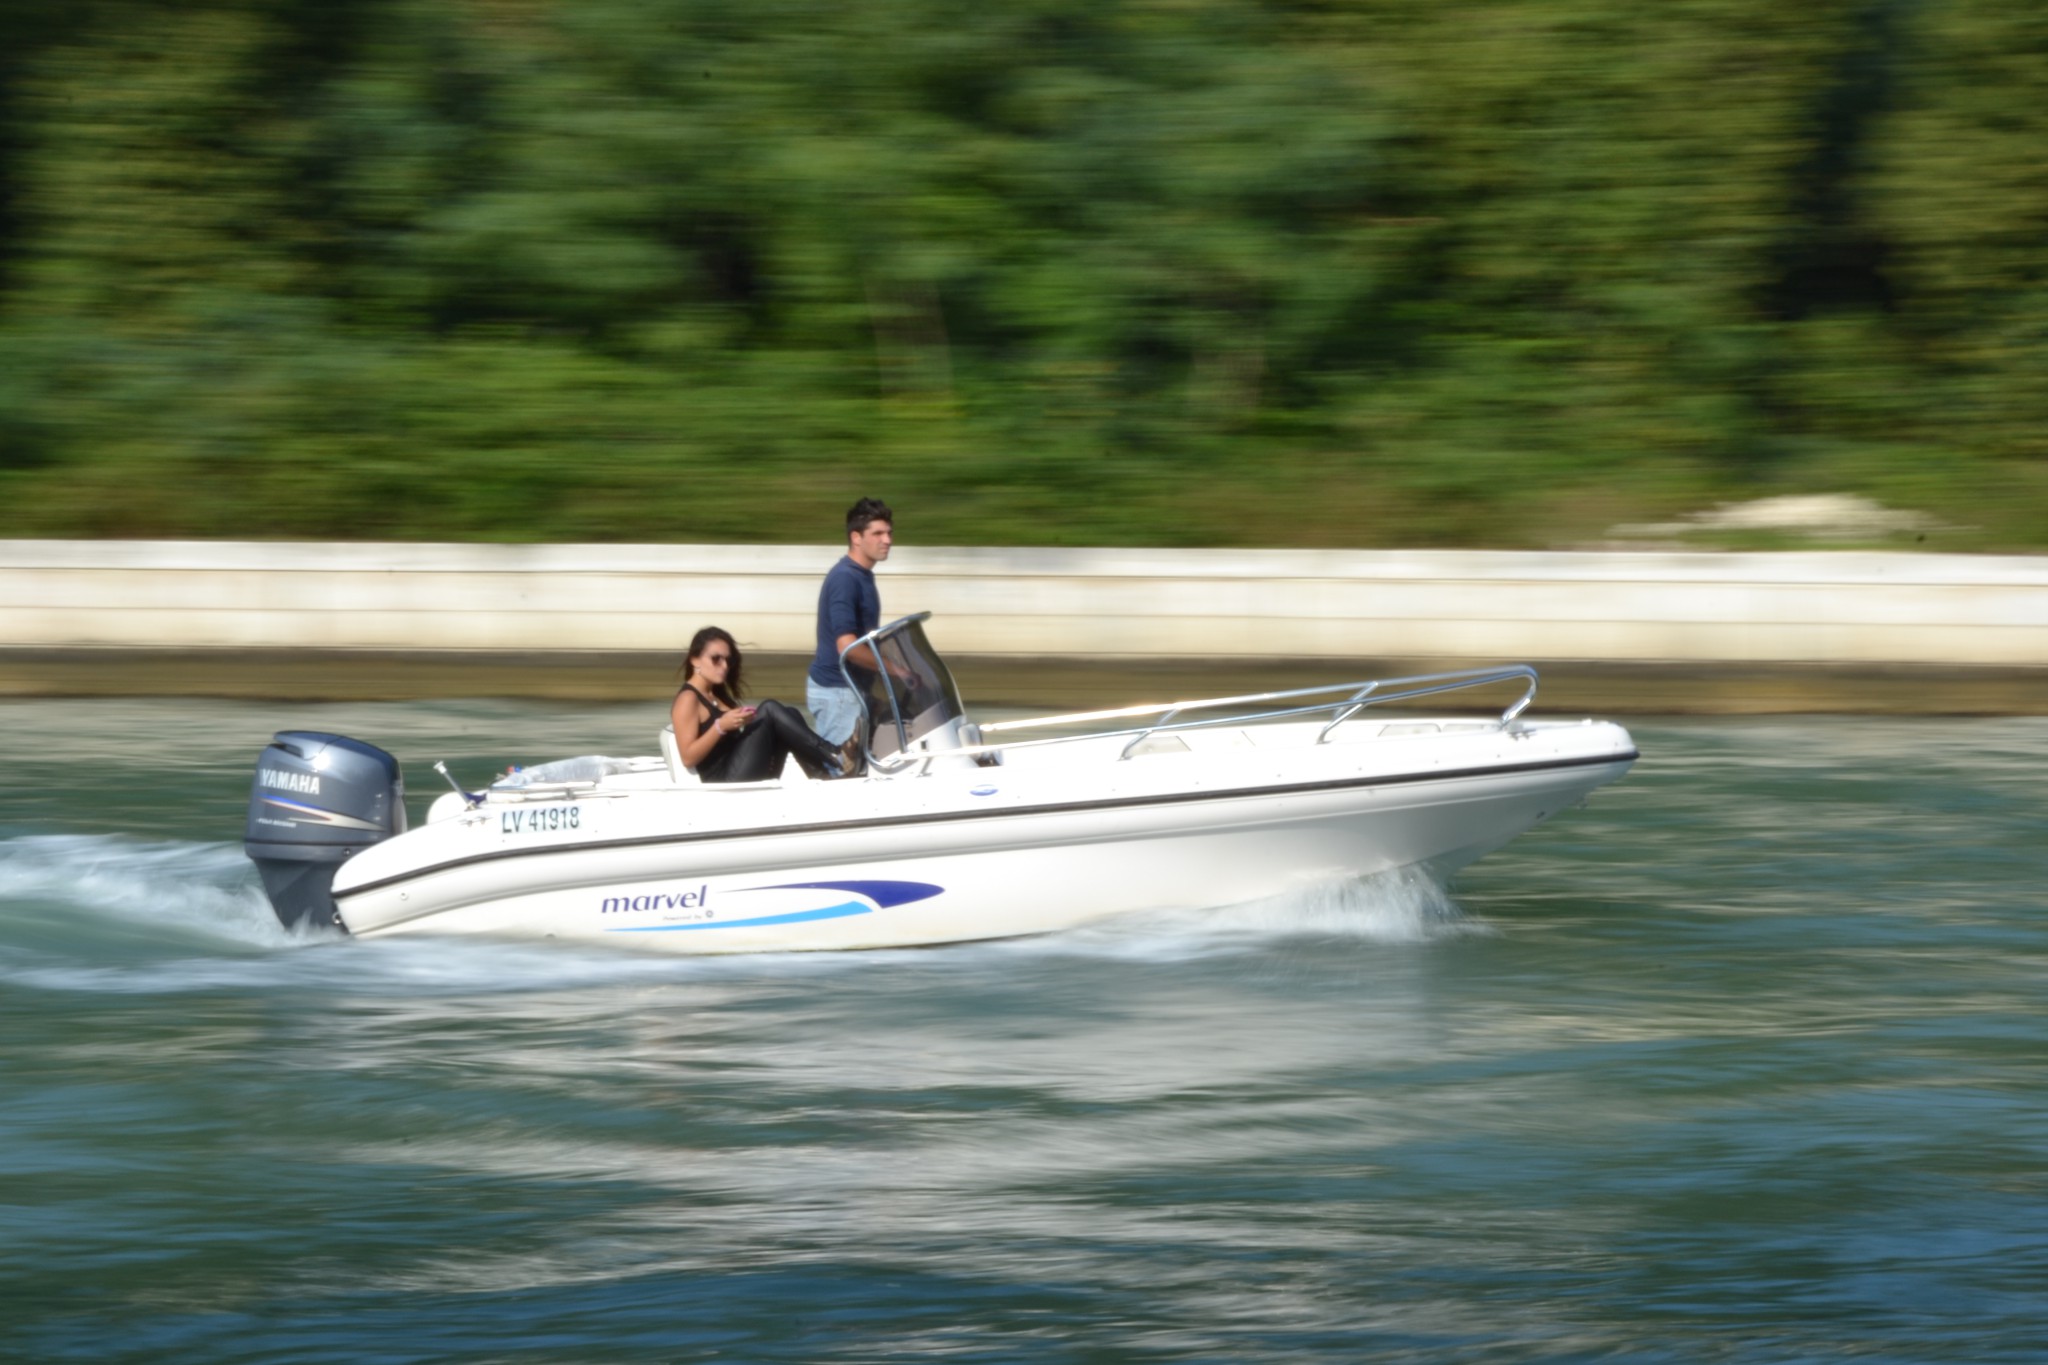
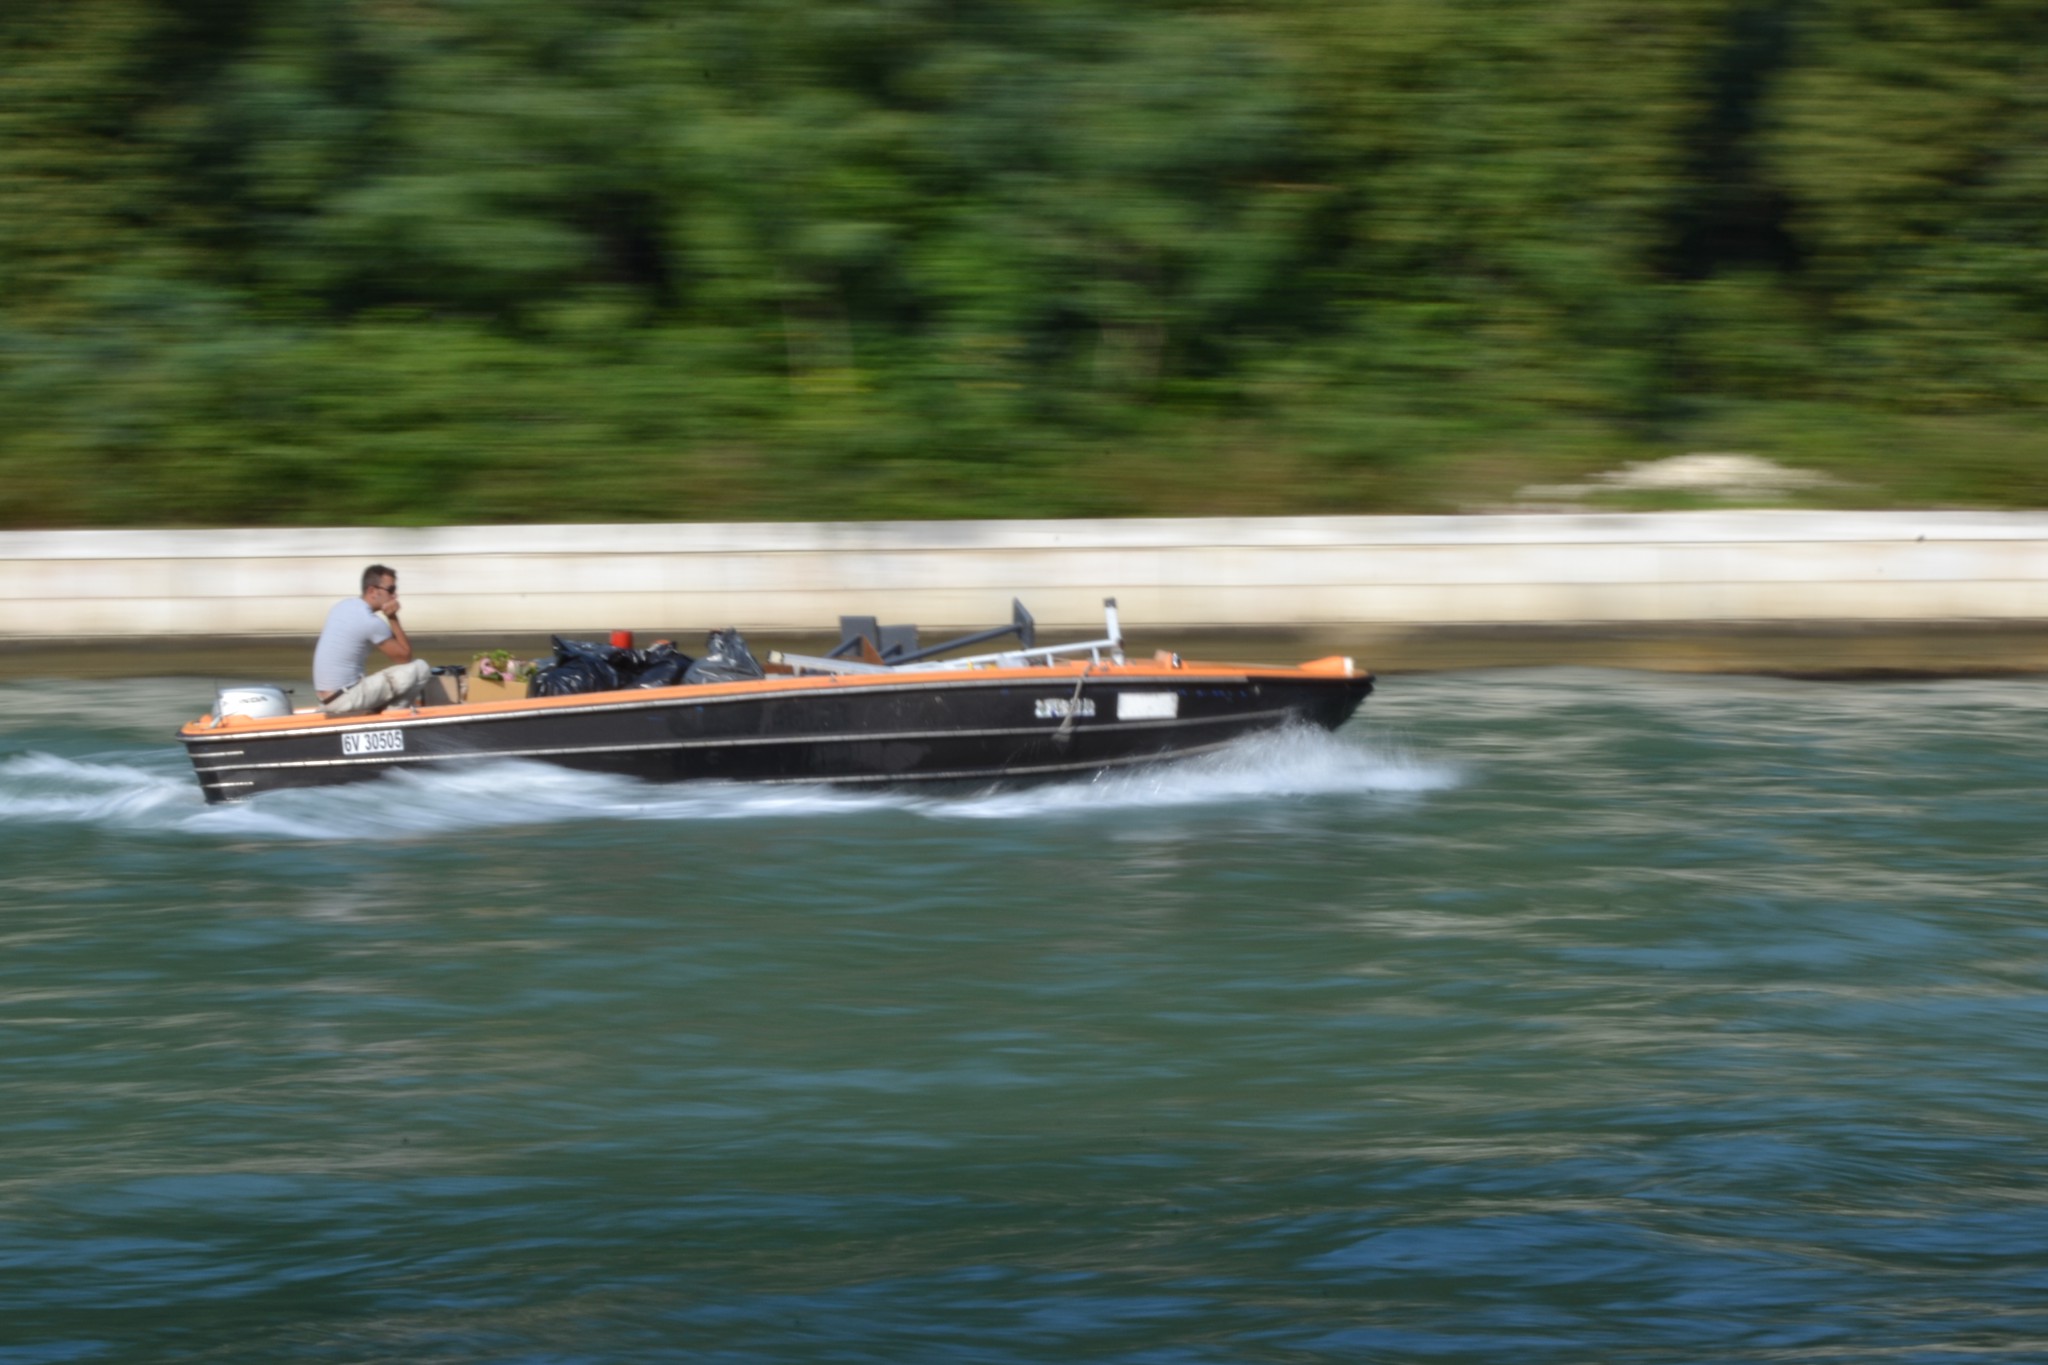
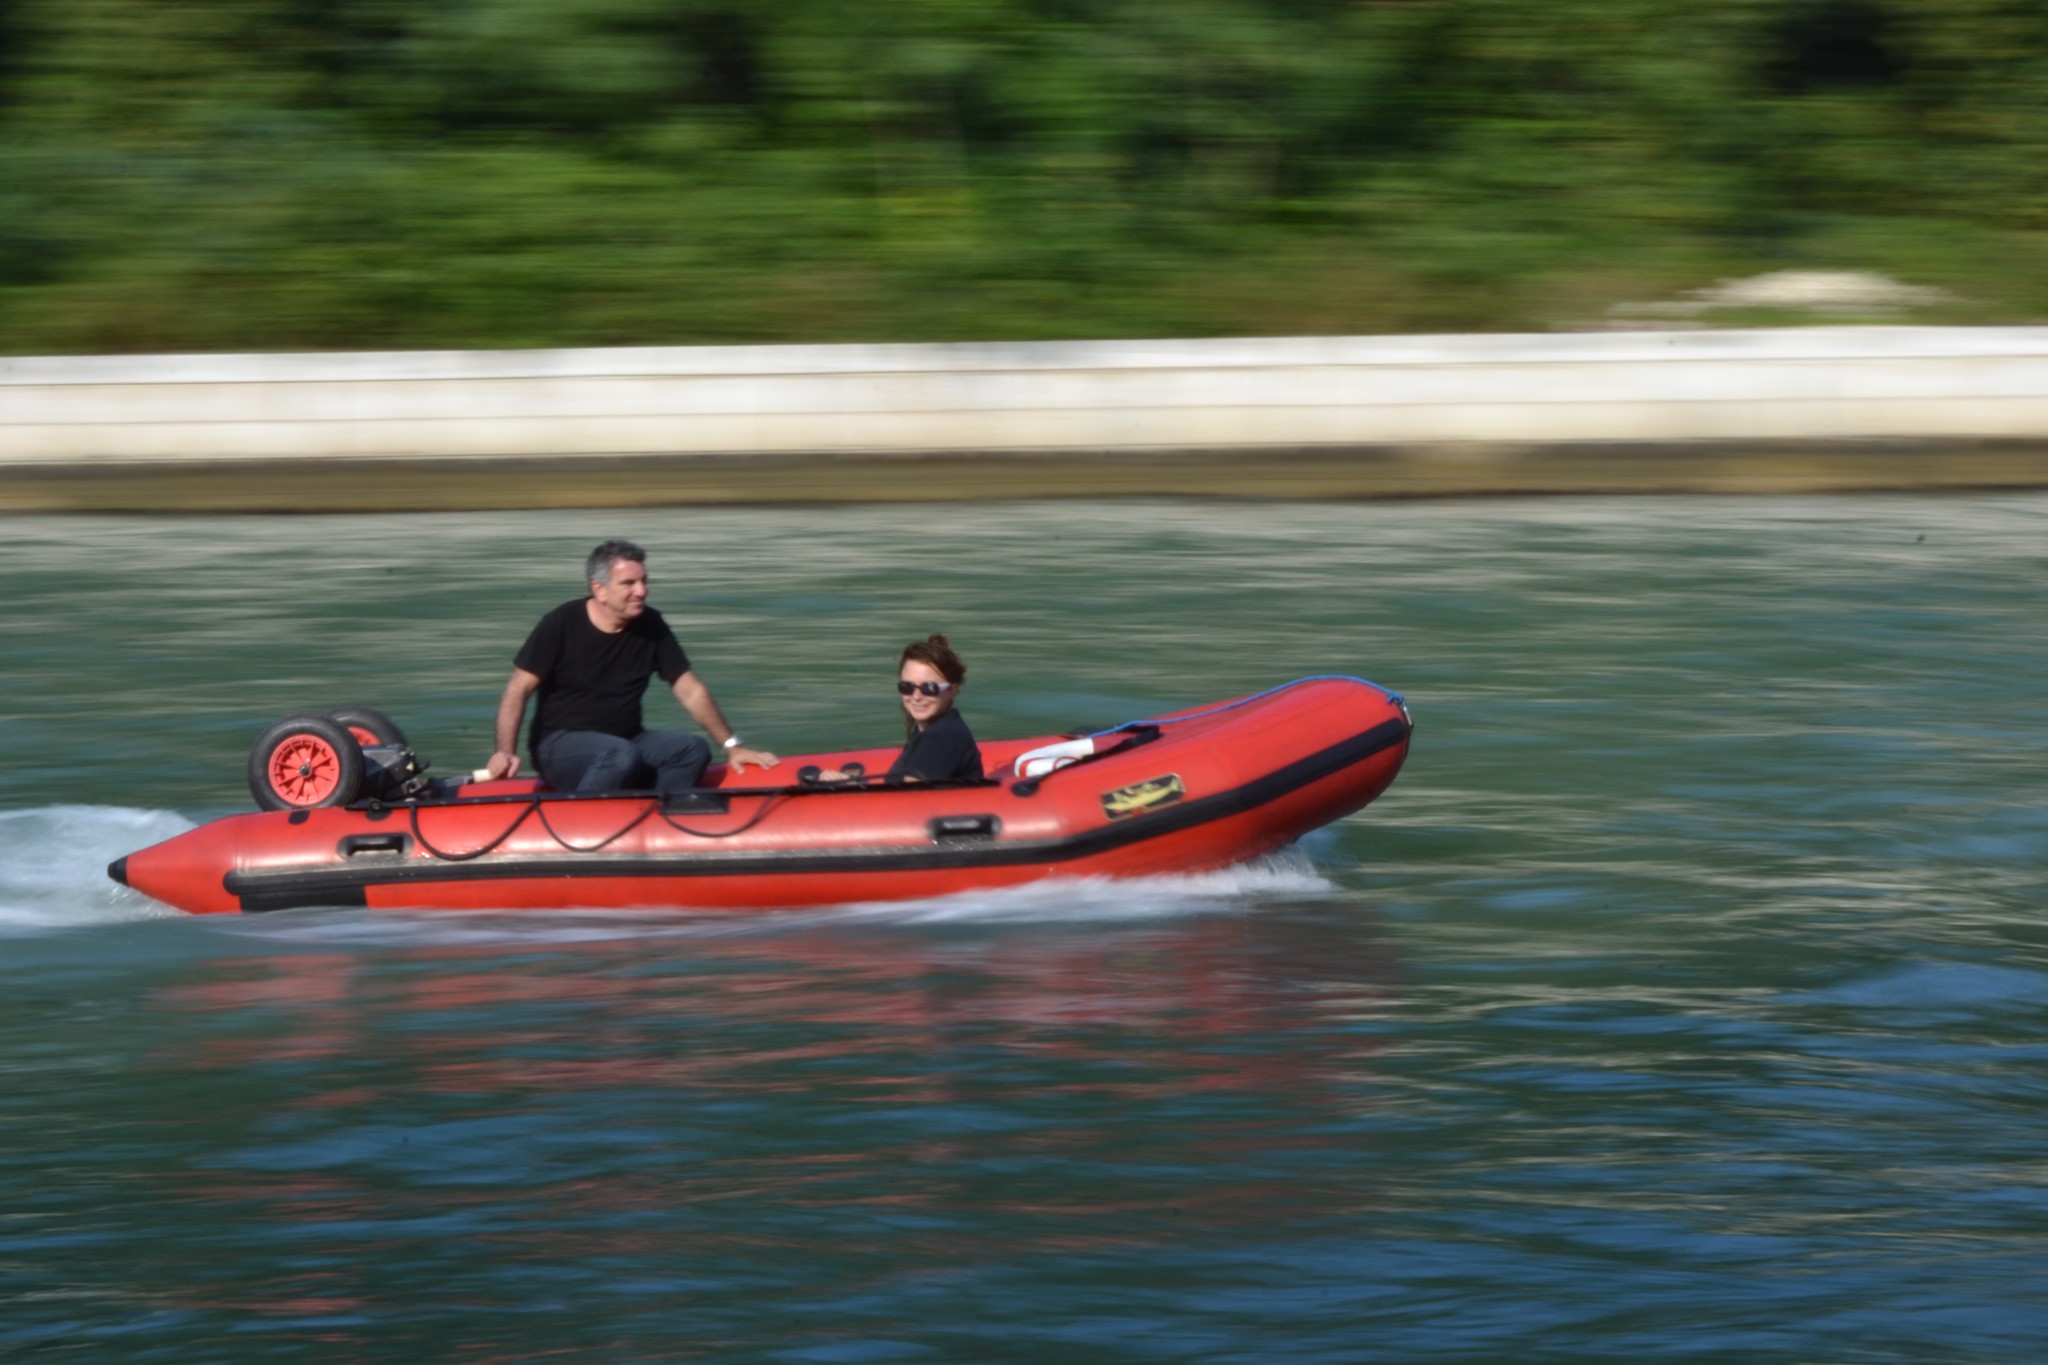
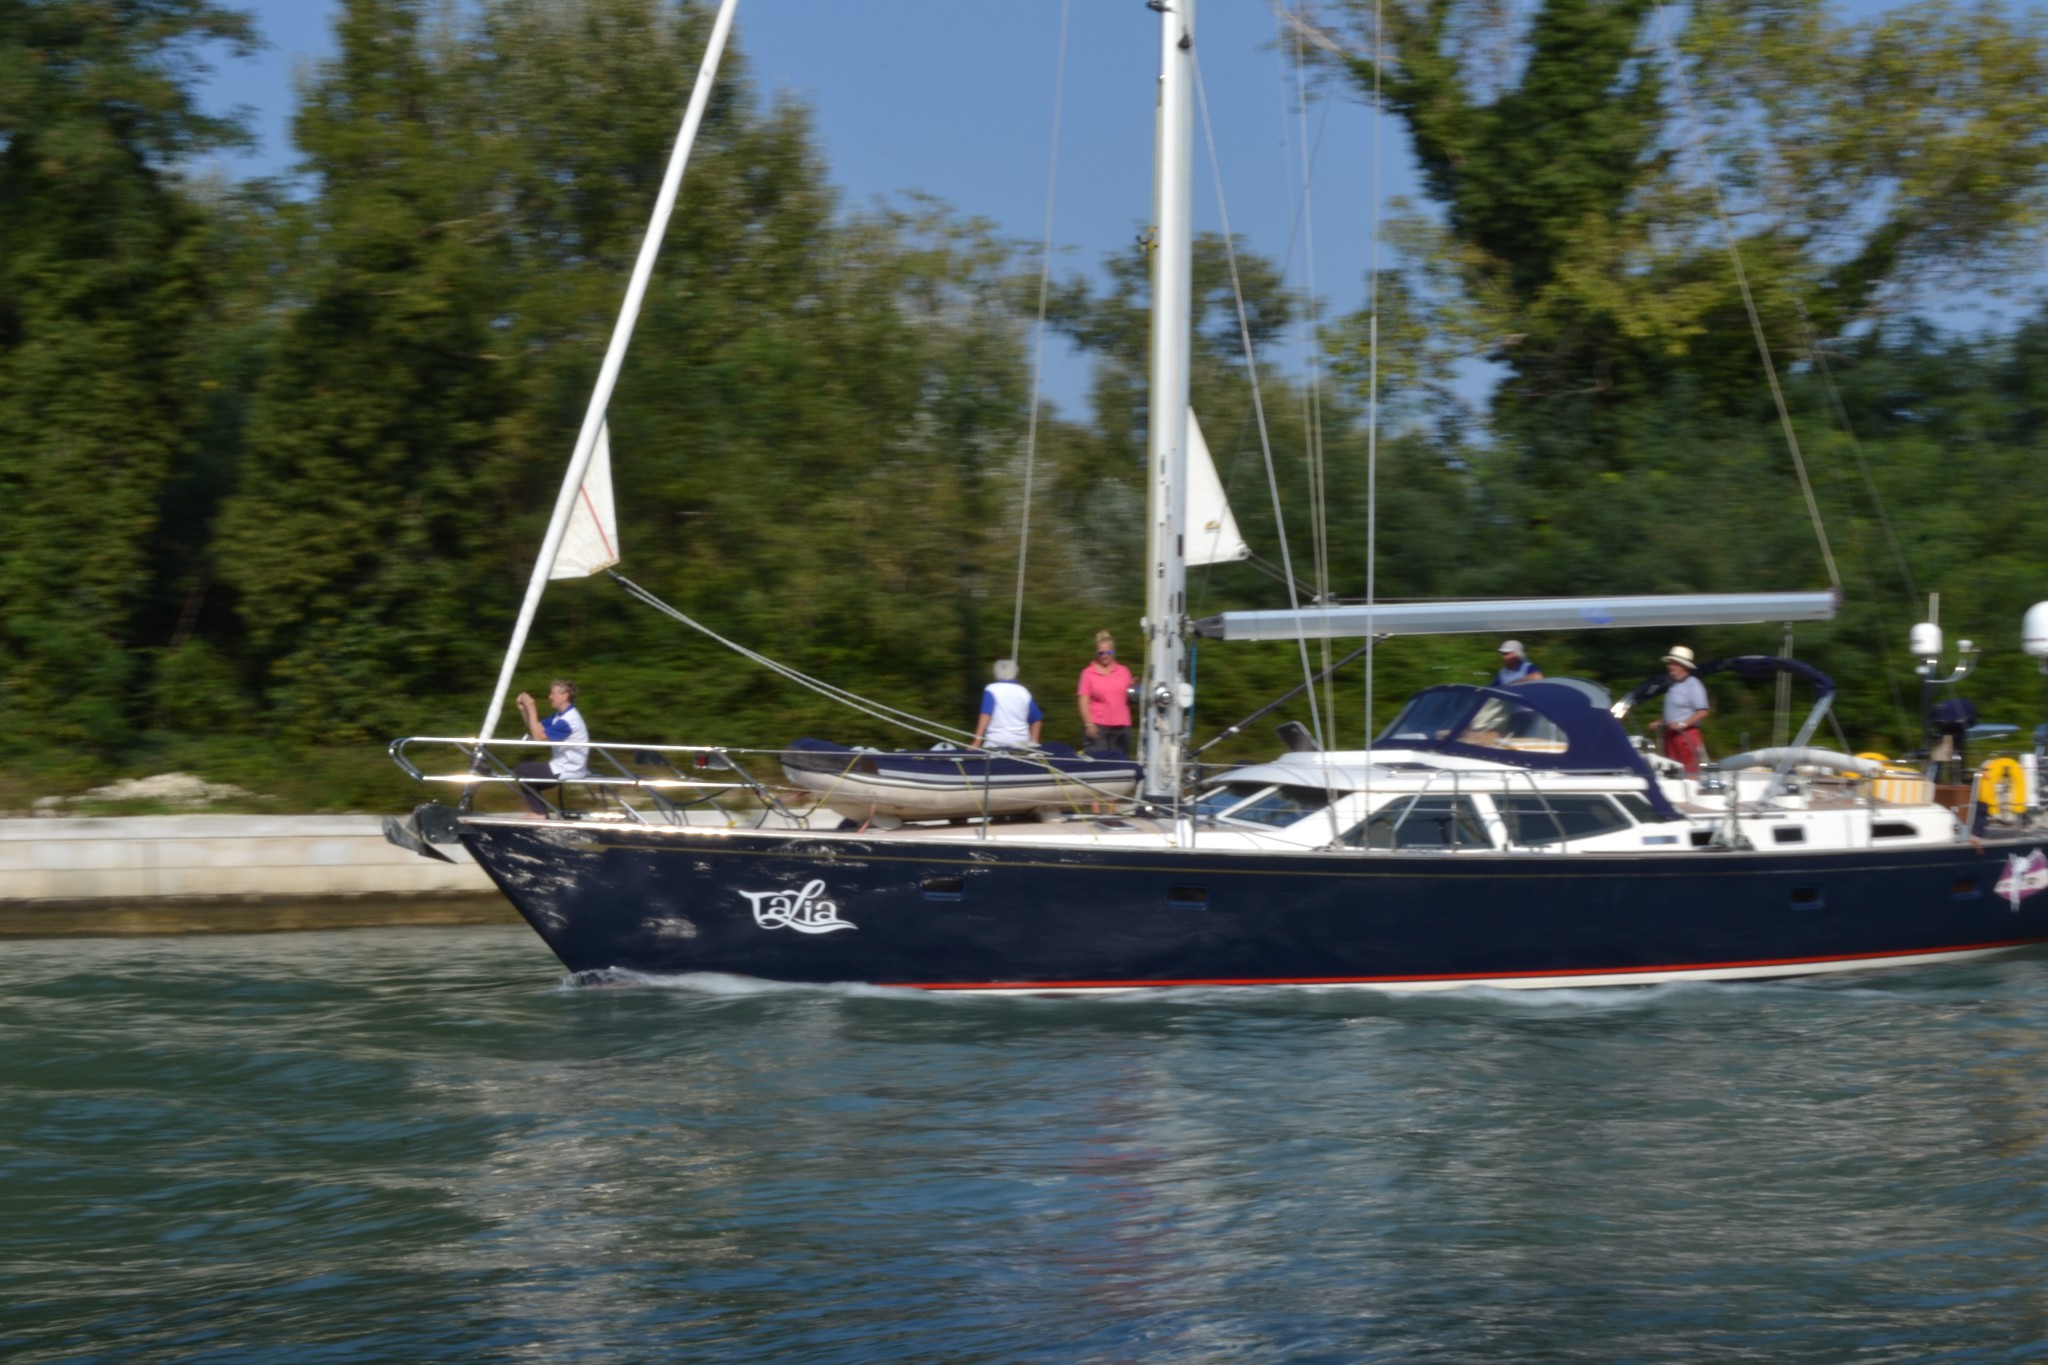
We did the exercises at the Certosa island during a weekend, so we walked down where loads of boats move up and down a fairly narrow canal. Panning only really works if you have a background to blur.
Flash
The next time we talked about using a flash in low light situations without making it obvious that you have used a flash.
On the automatic setting the camera will chose a mid-range shutter speed (mine will do 1/50th) and expose entirely for the subject in the flash. The background will be dark and anonymous as the flash doesn’t reach there.
The technique Marc taught us was to move to manual mode, turn ISO up depending on the natural light available, set the aperture to the maximum available, and shoot with very low shutter speeds.
That way the camera will take in as much as possible of the natural light, and the flash will only be on for a small fraction of the exposure time to illuminate the closest part of the composition.
All the photos below are taken at ISO 400, f/3.5 (maximum aperture for my lens at the shortest focal length of 27mm) at progressively slower shutter speeds. The shutter speed is shown by moving the mouse over the photo.The first three photos form one series, and the last six photos another series.
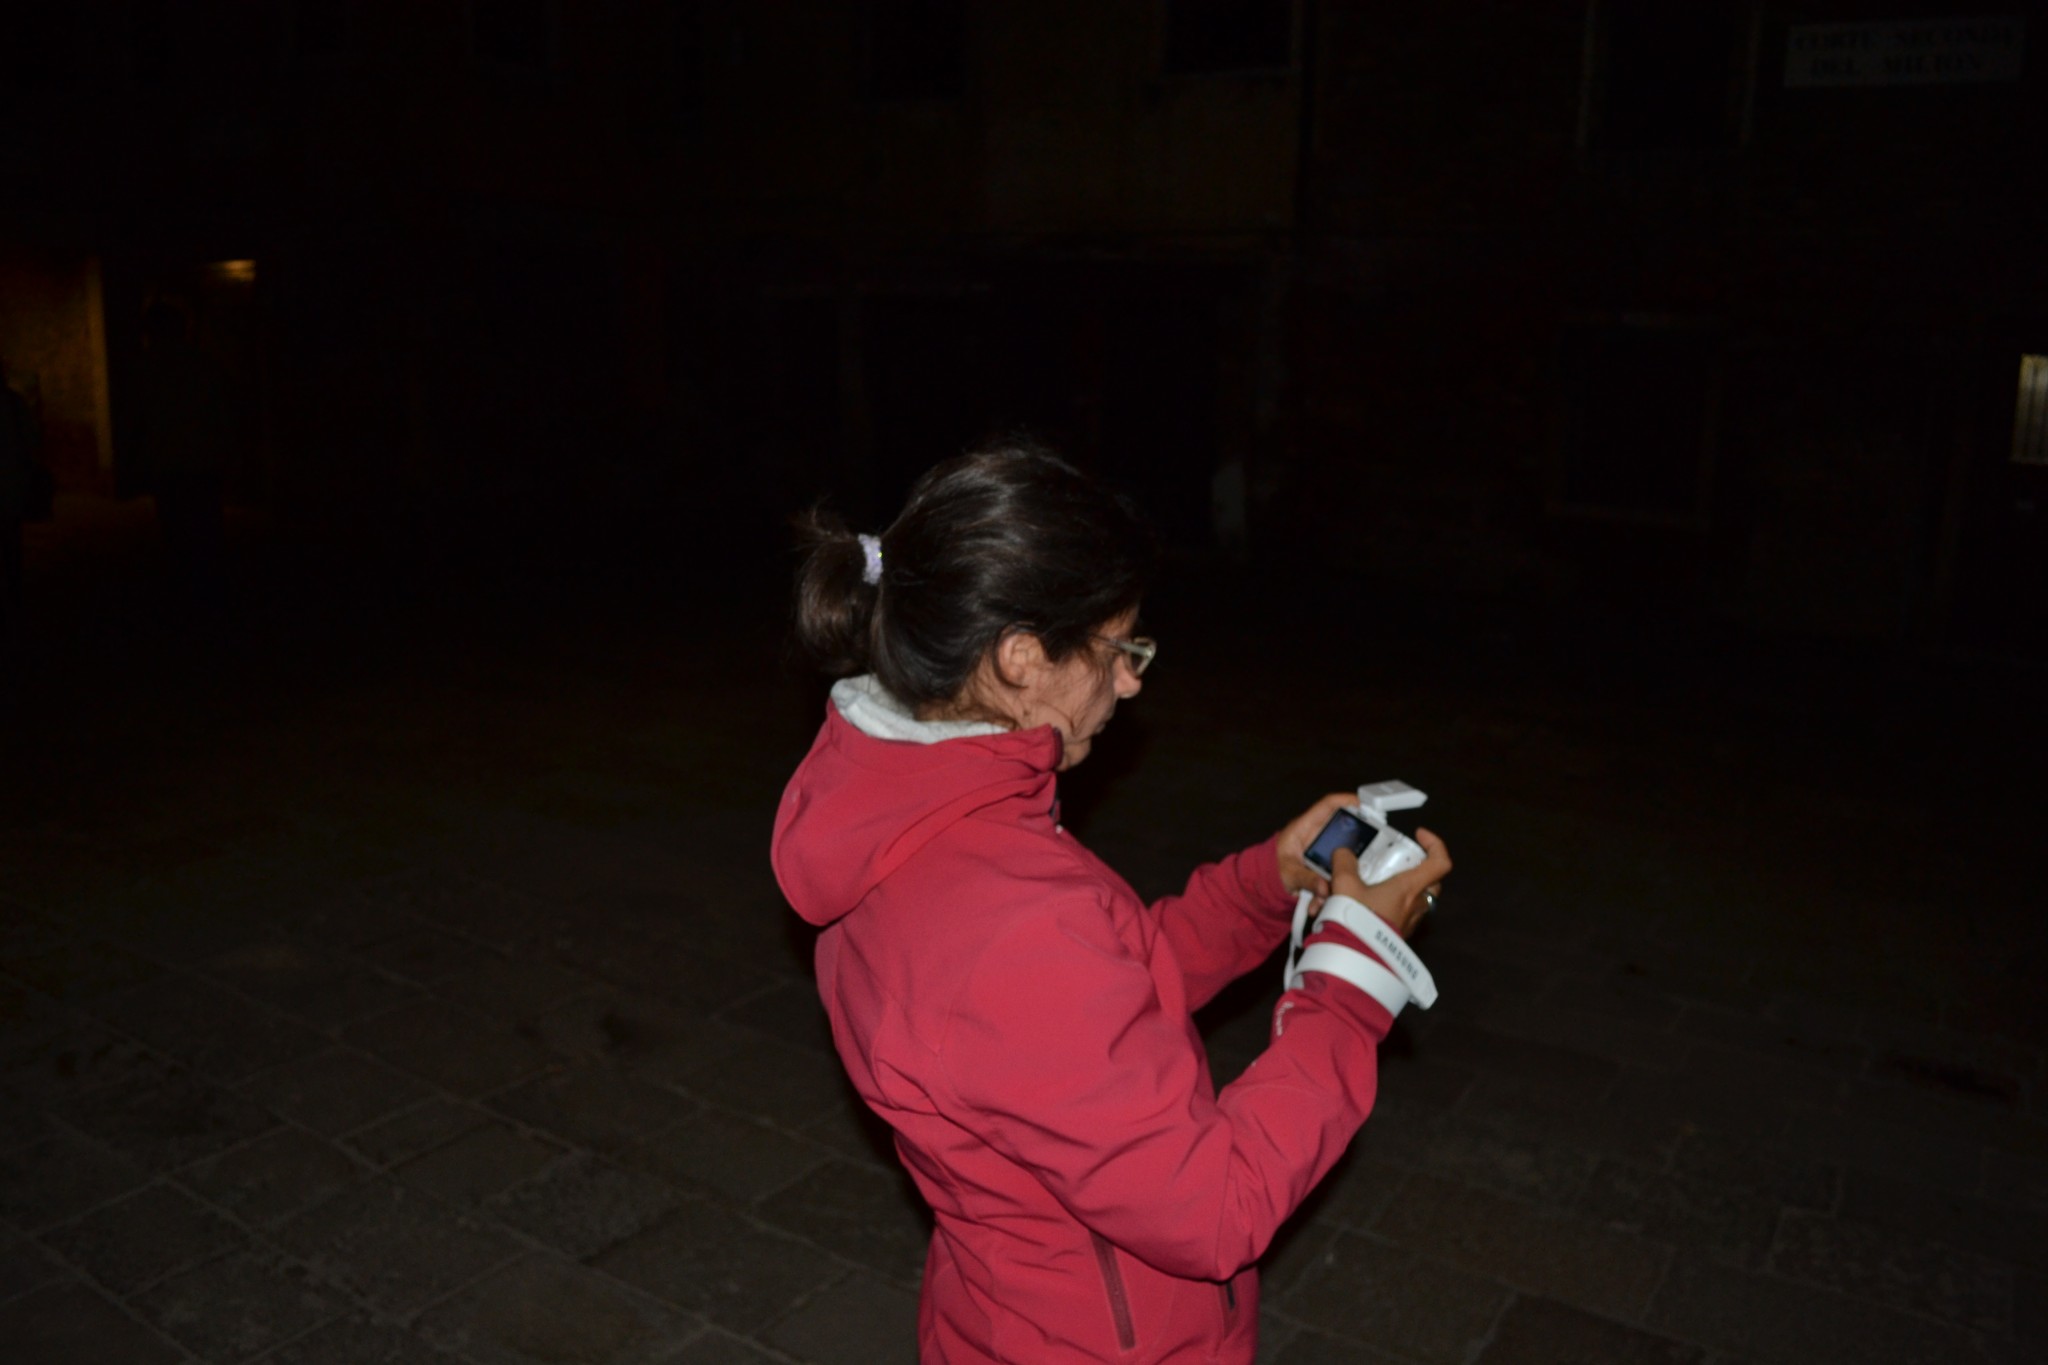
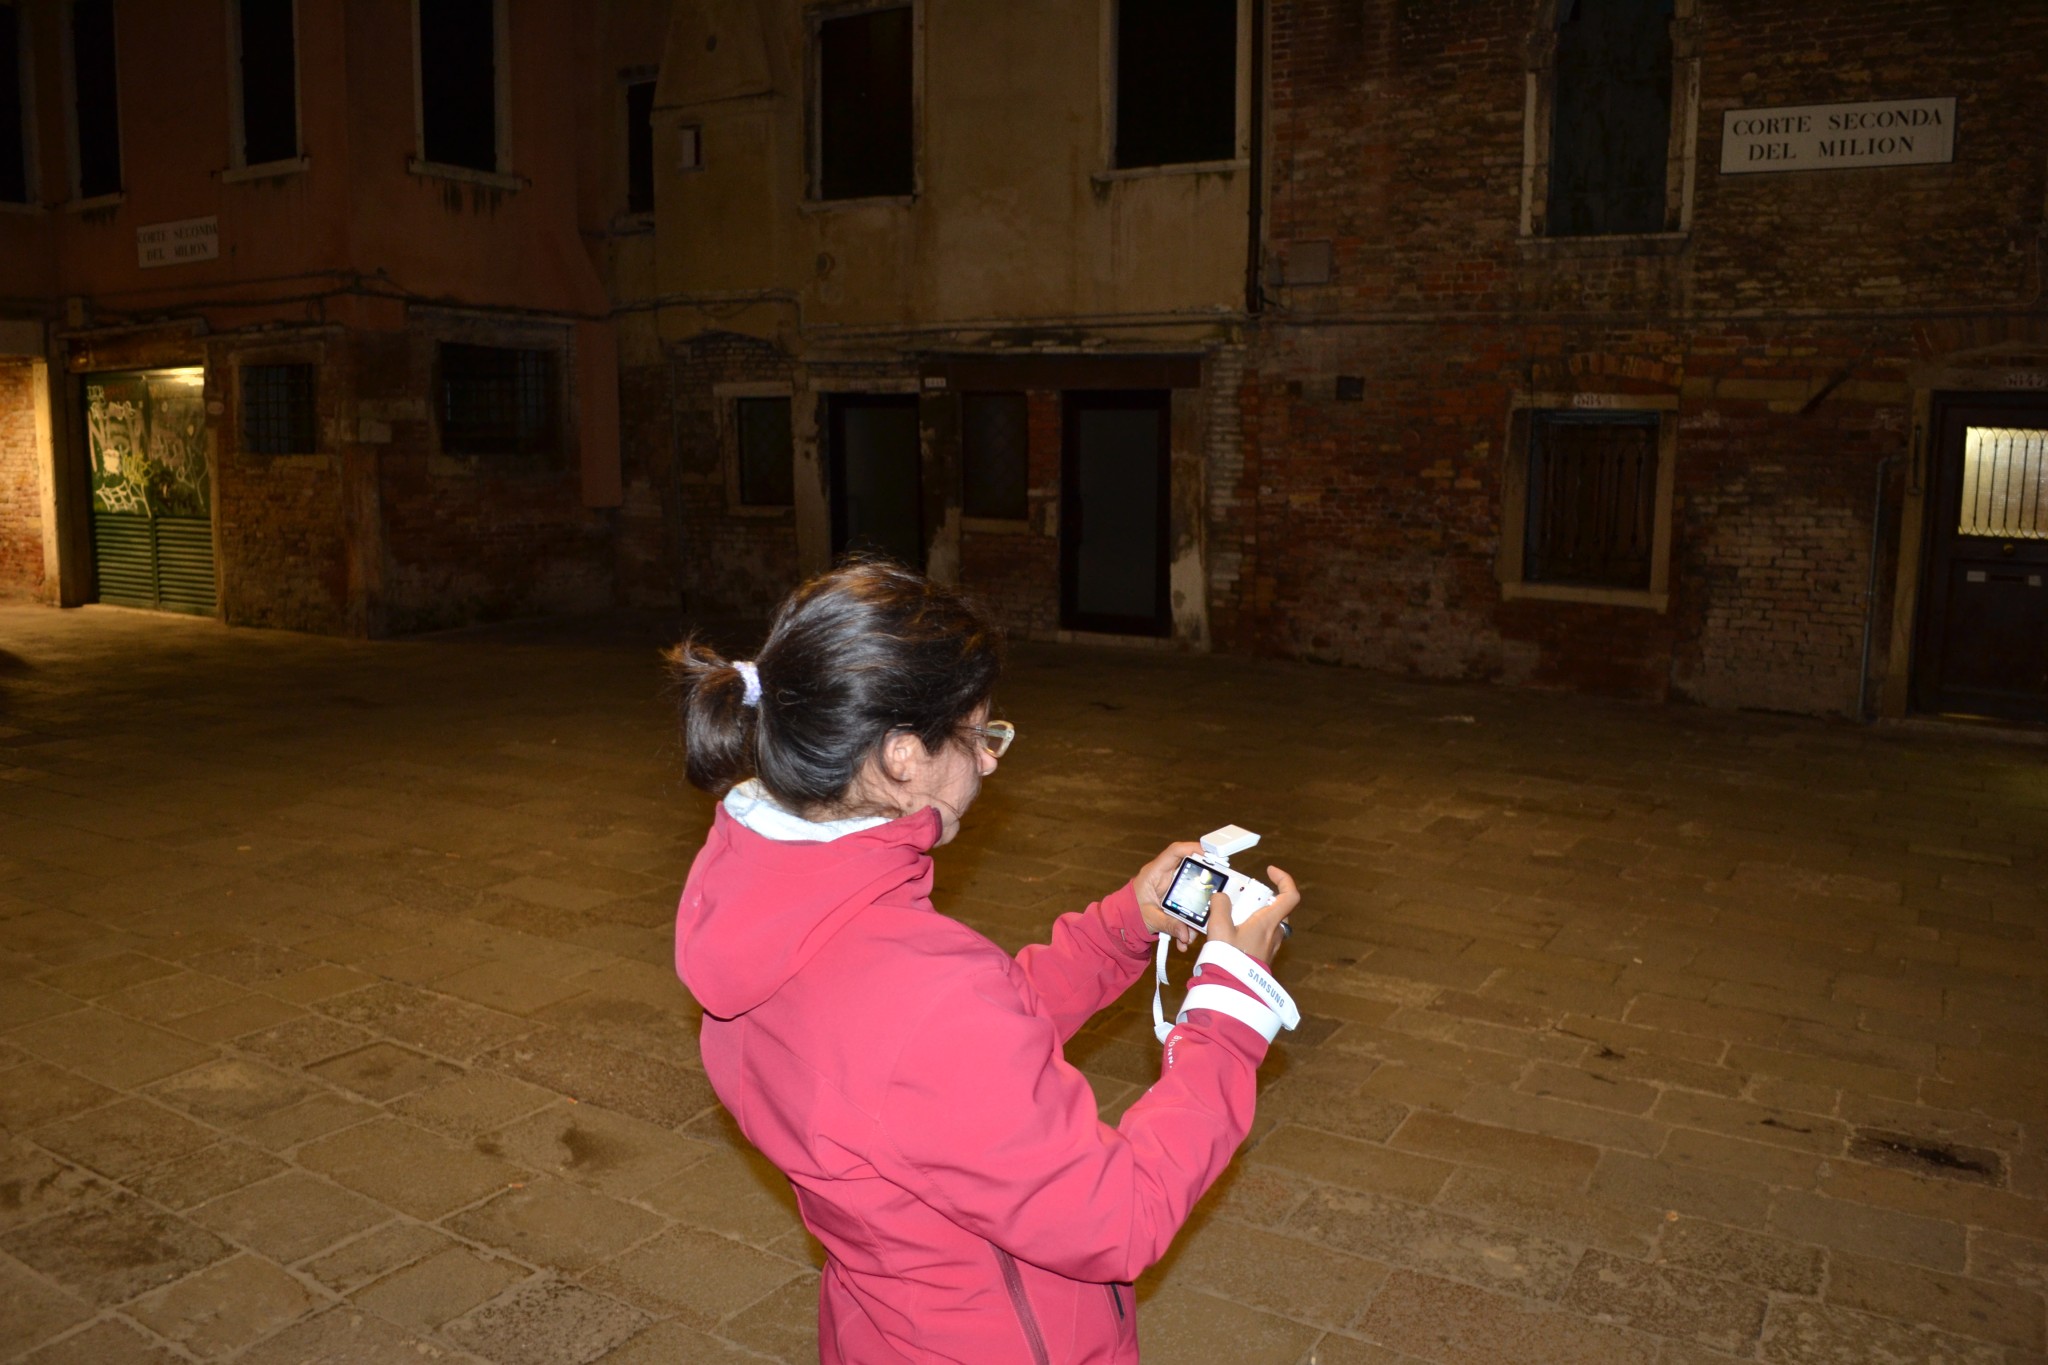
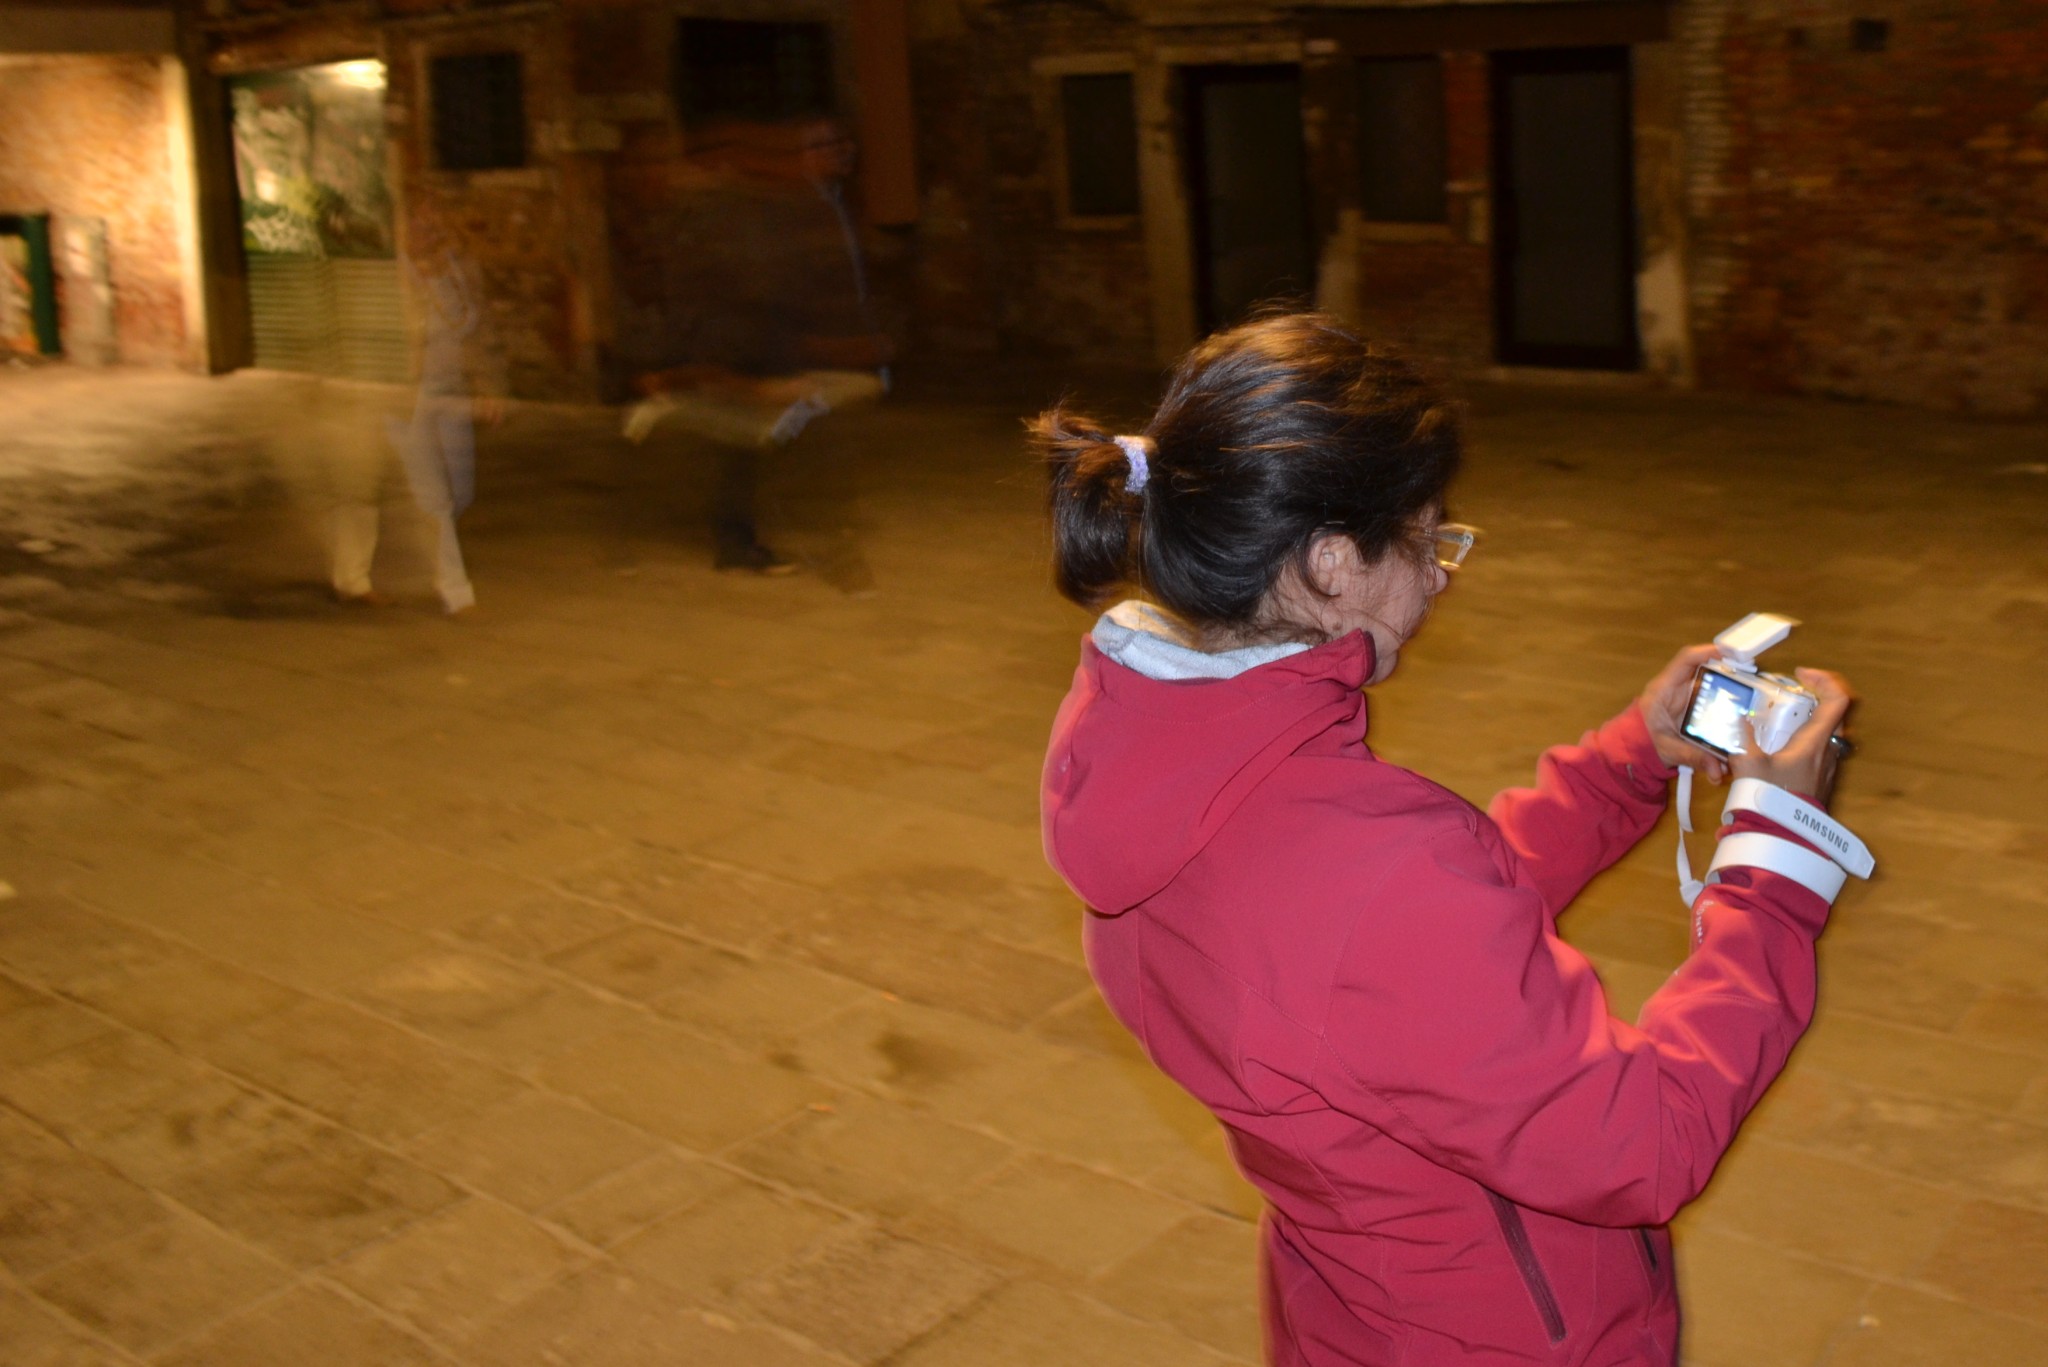
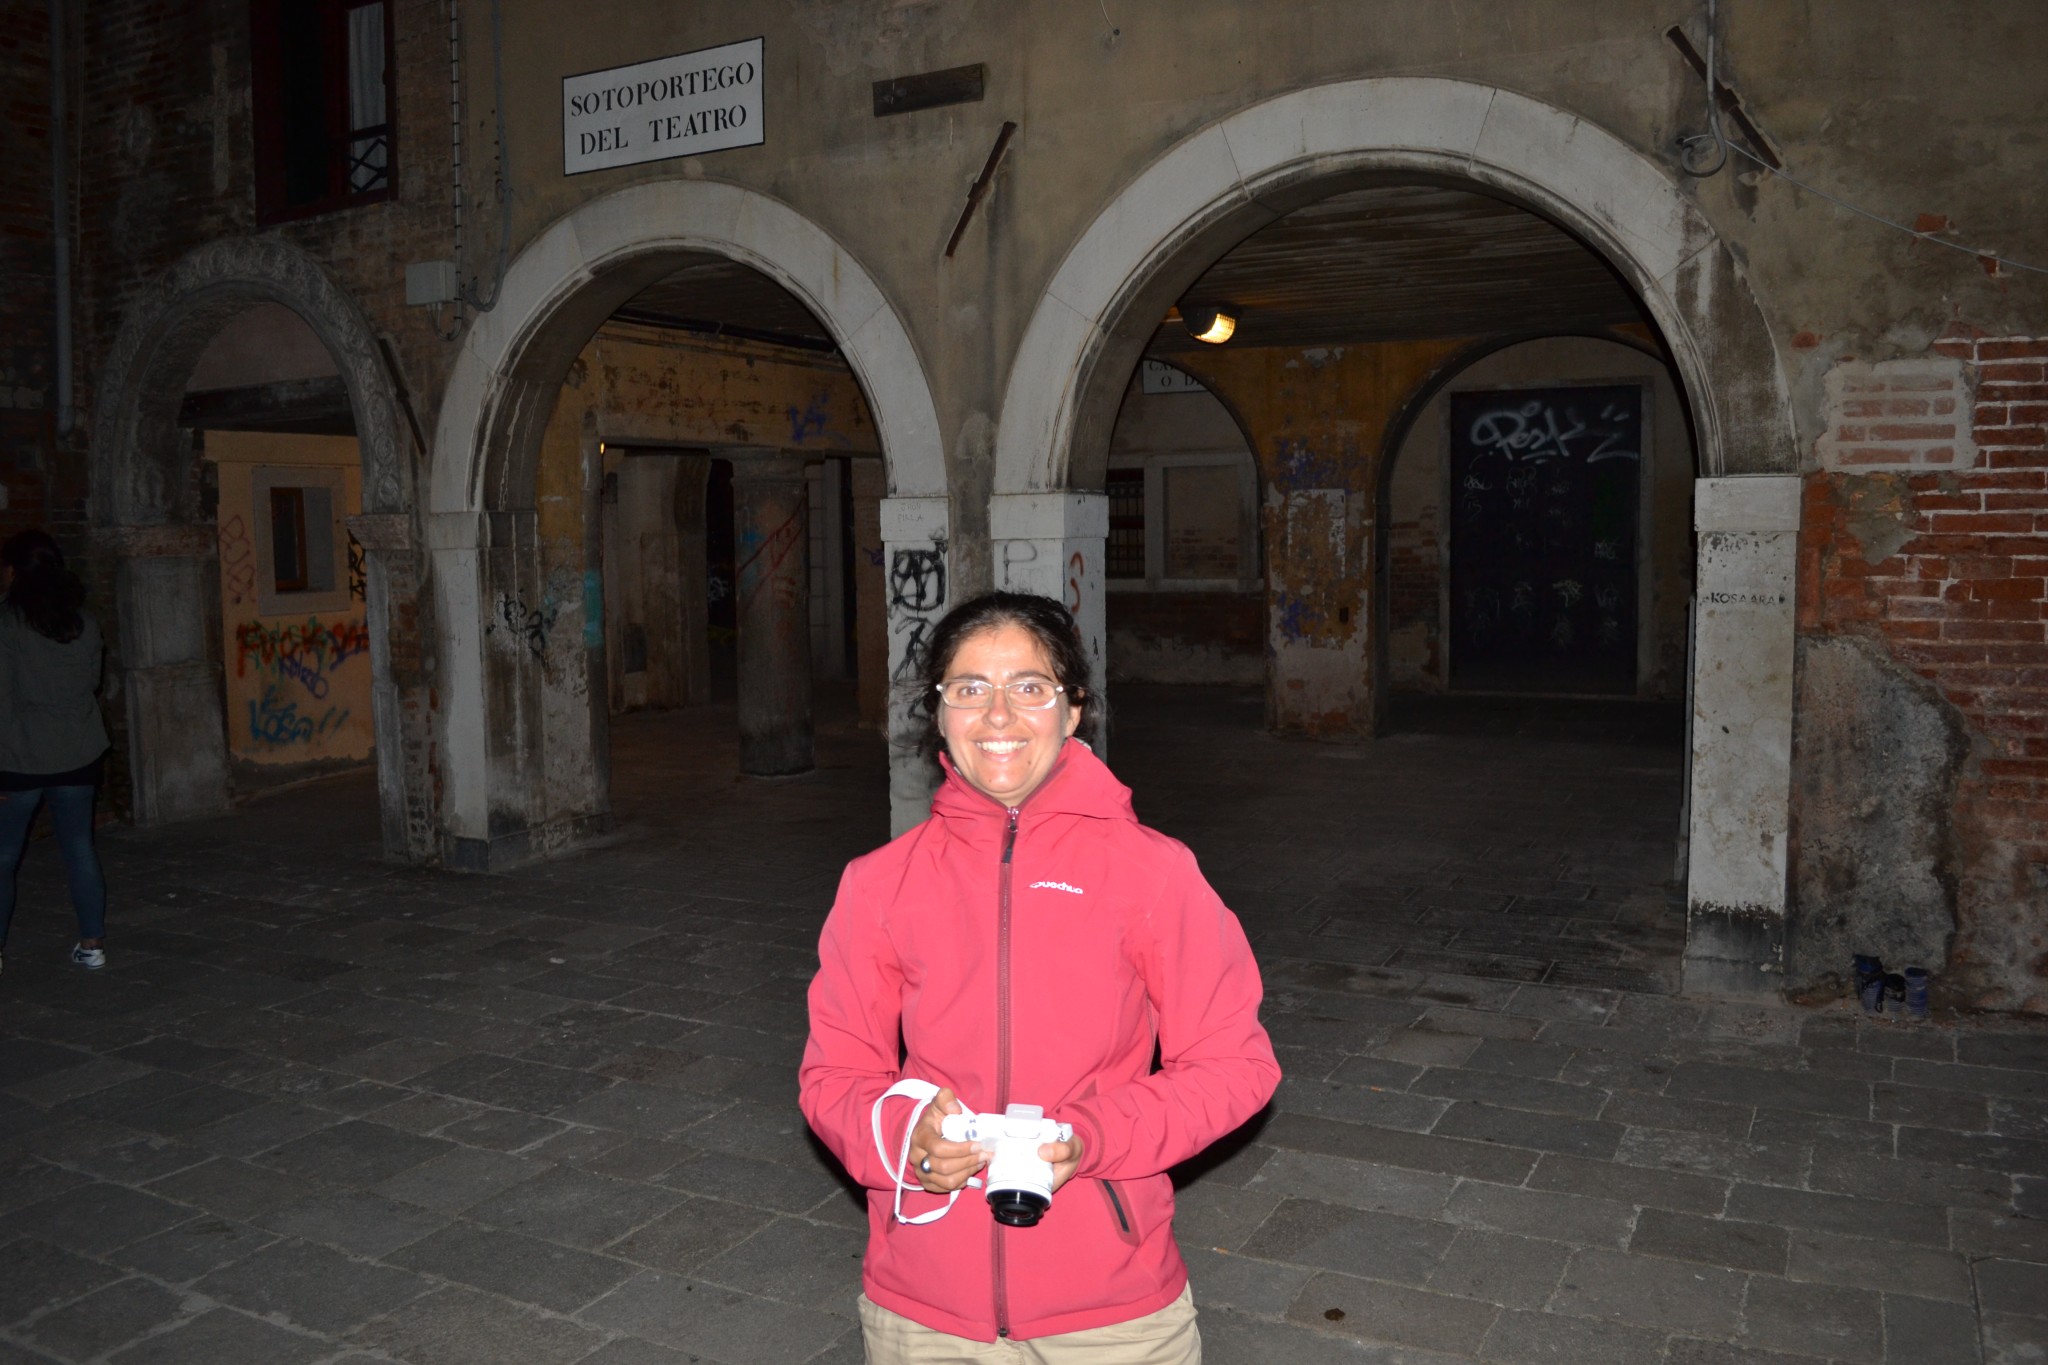
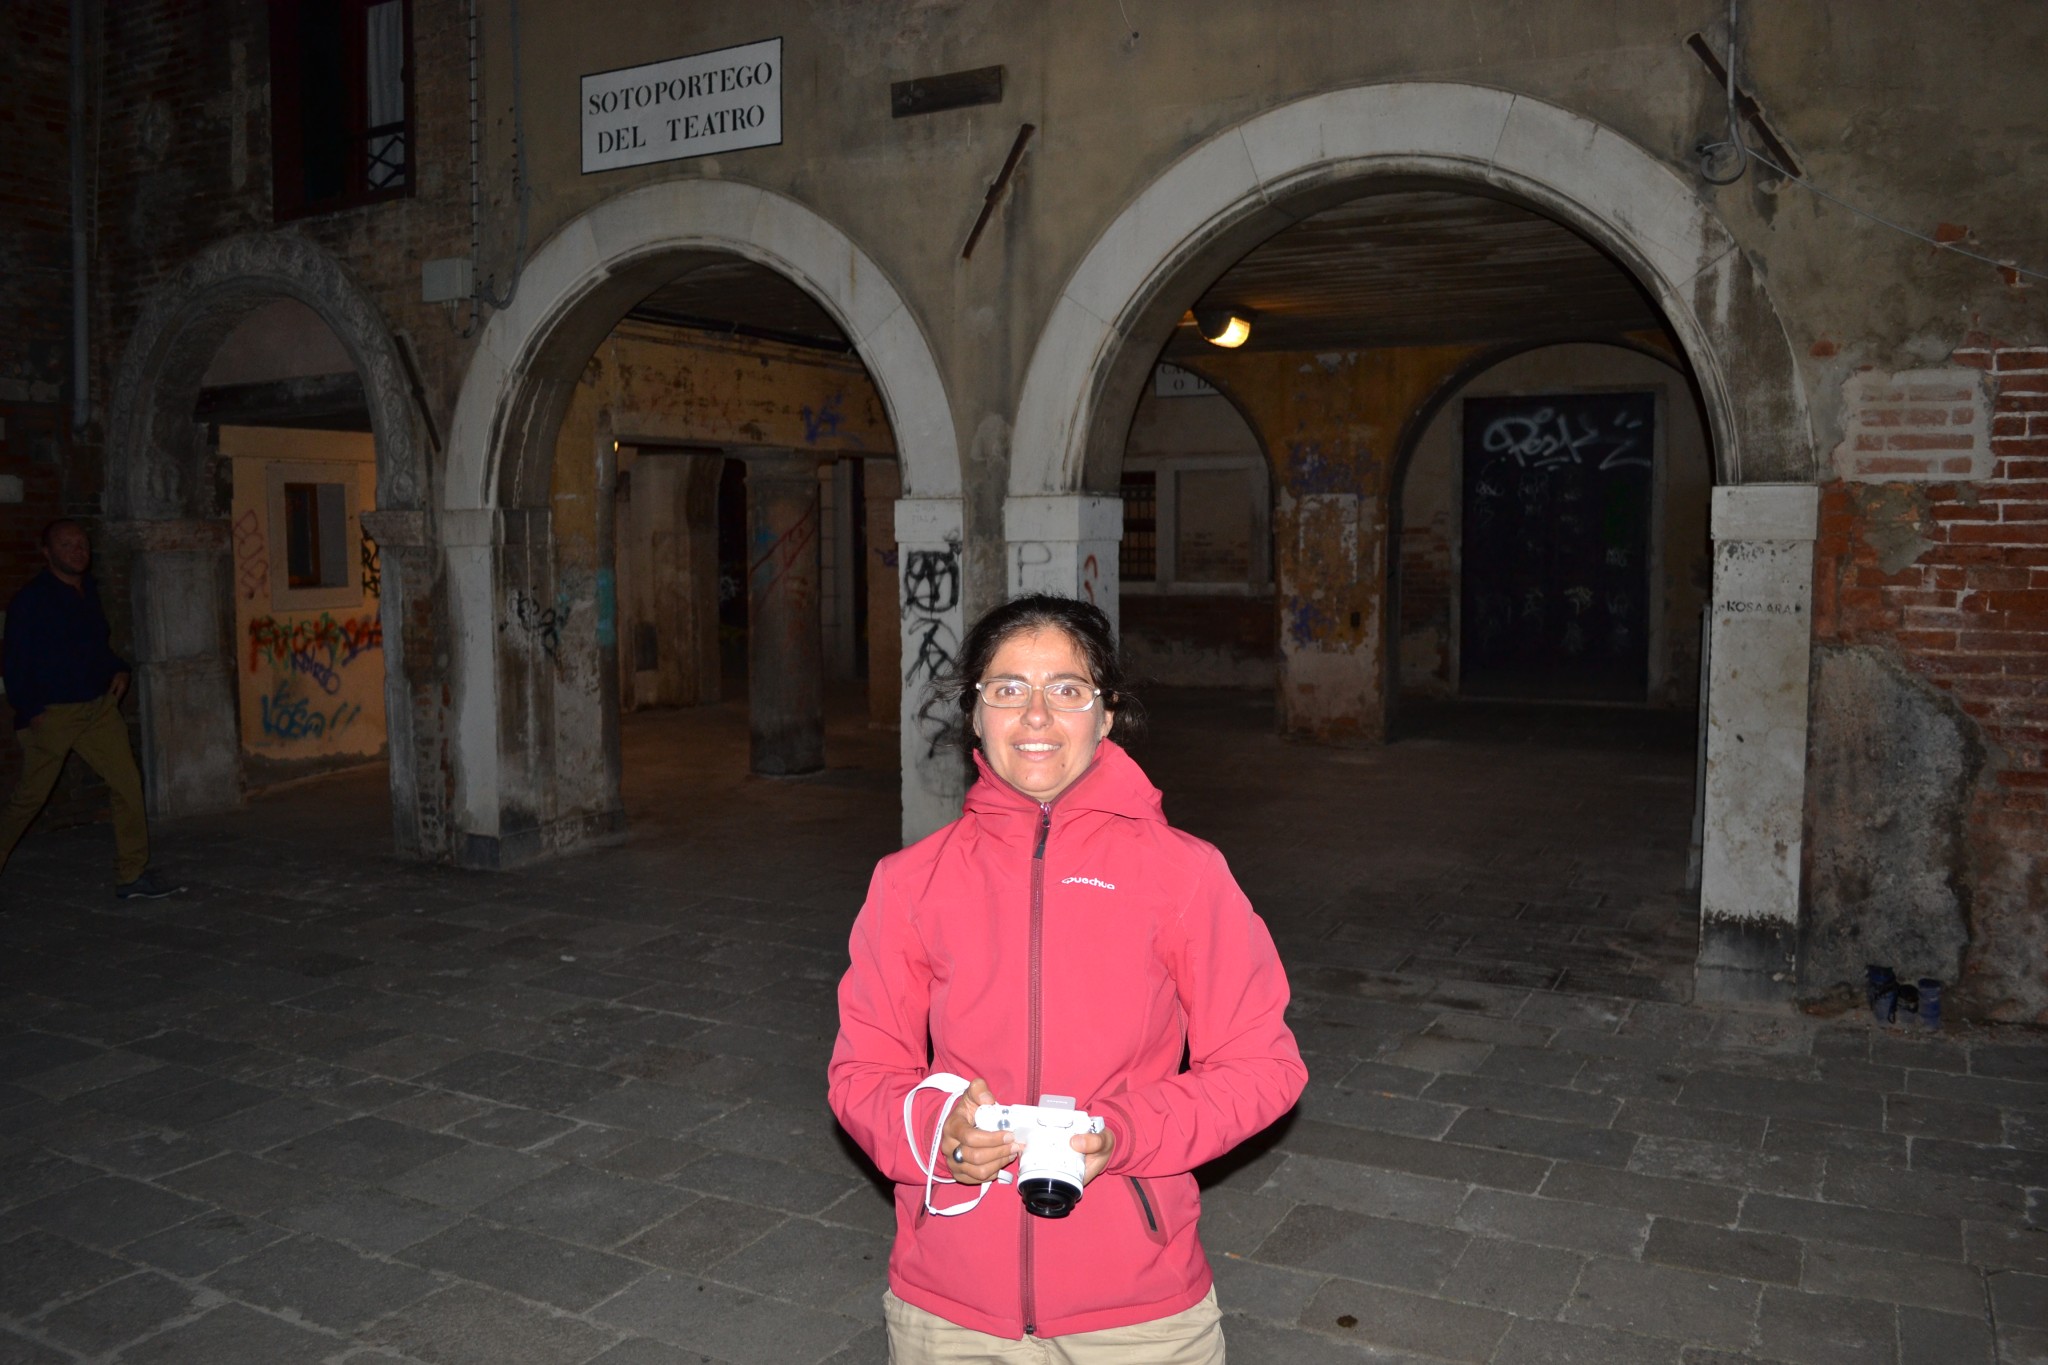
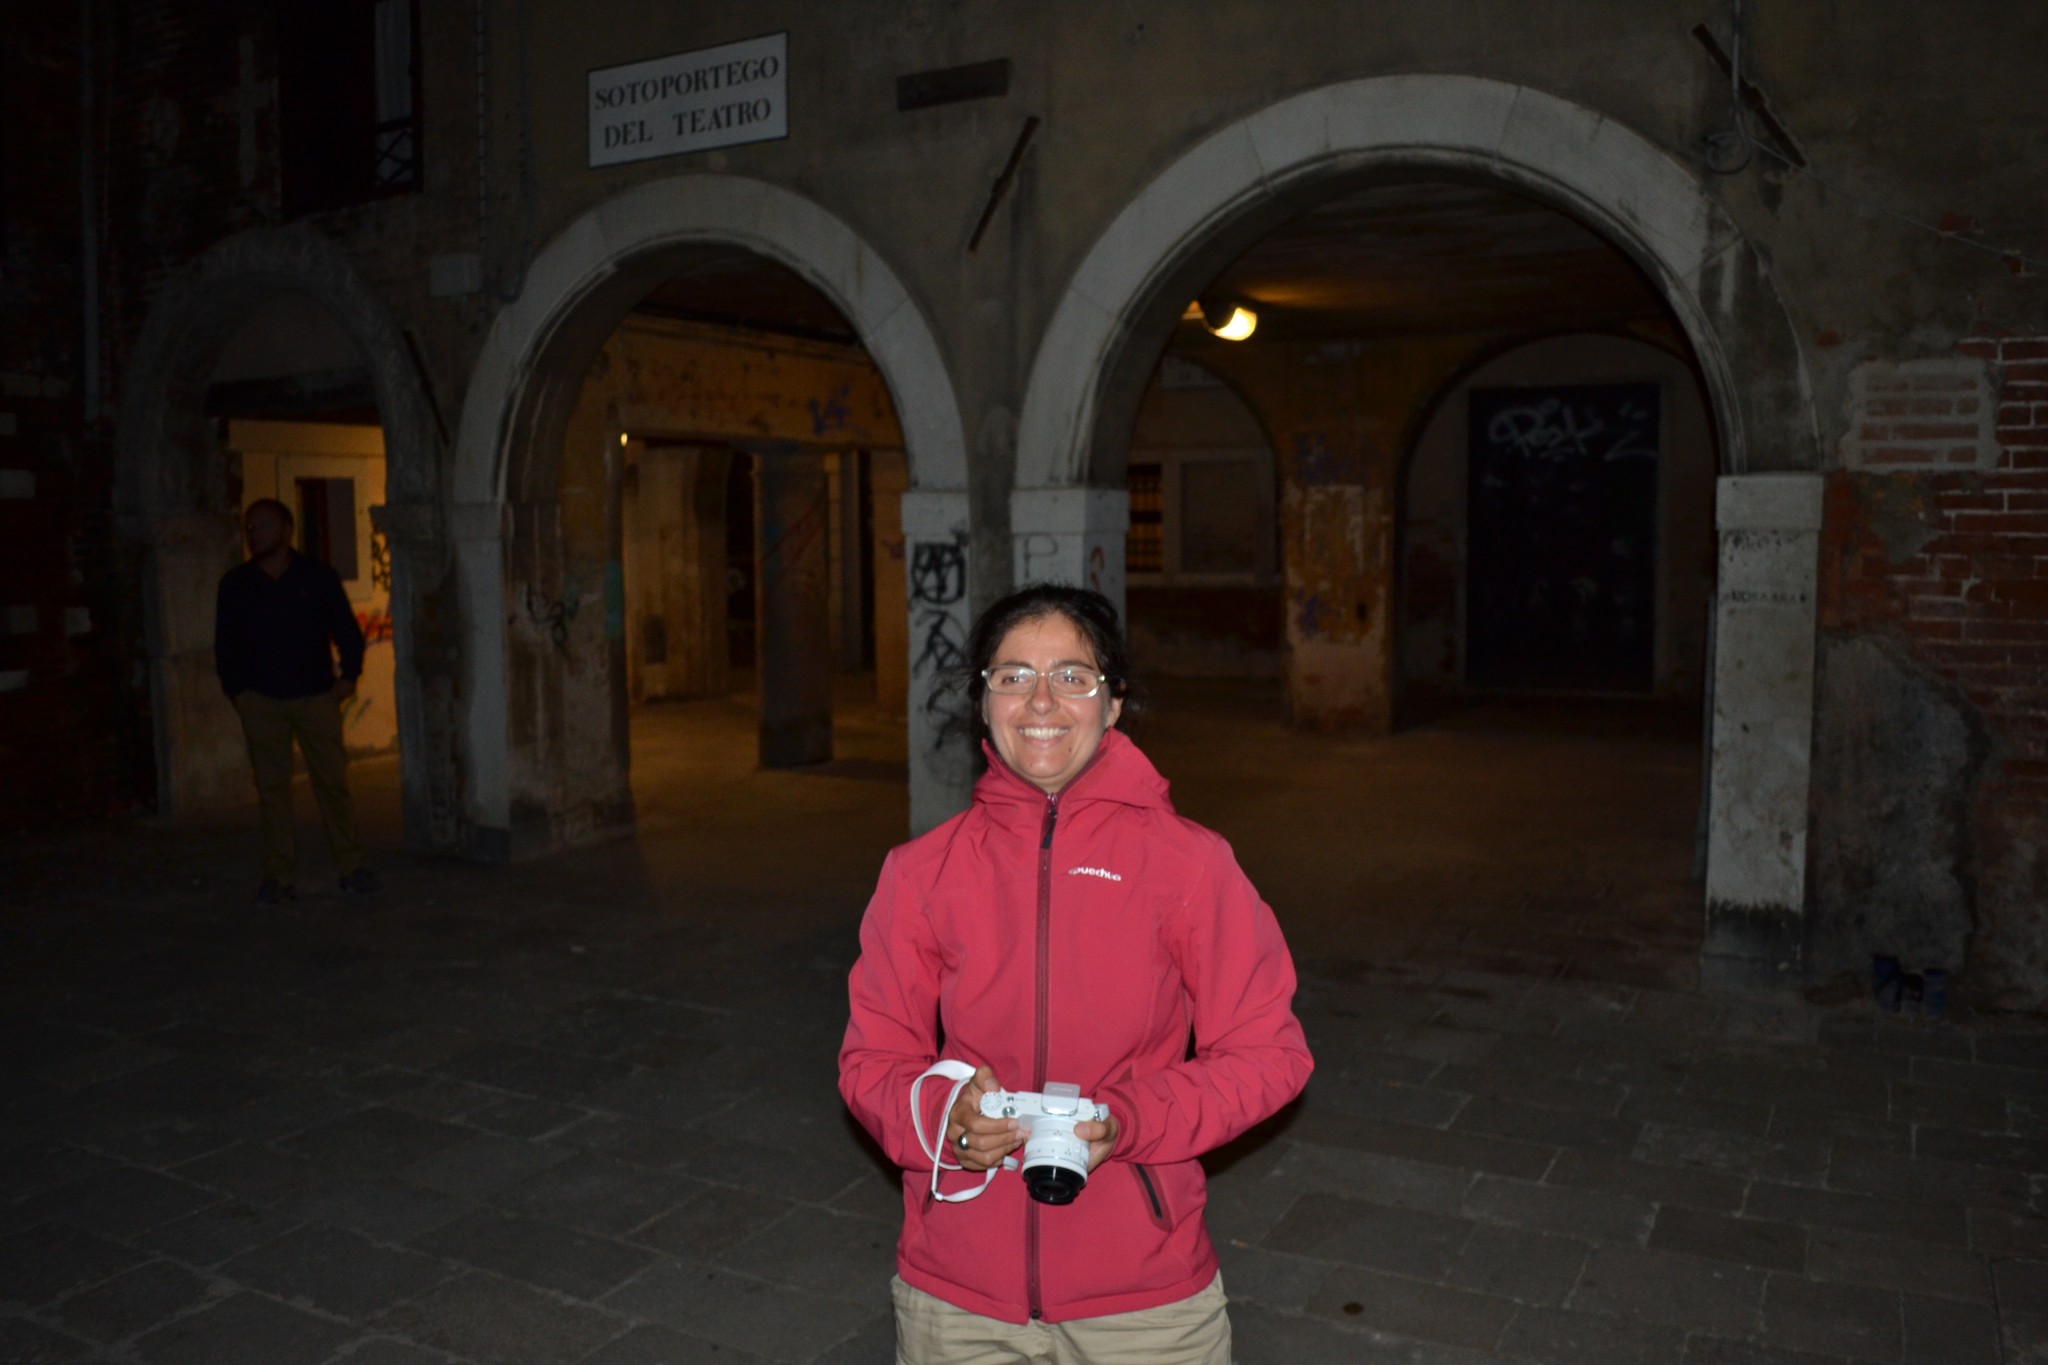

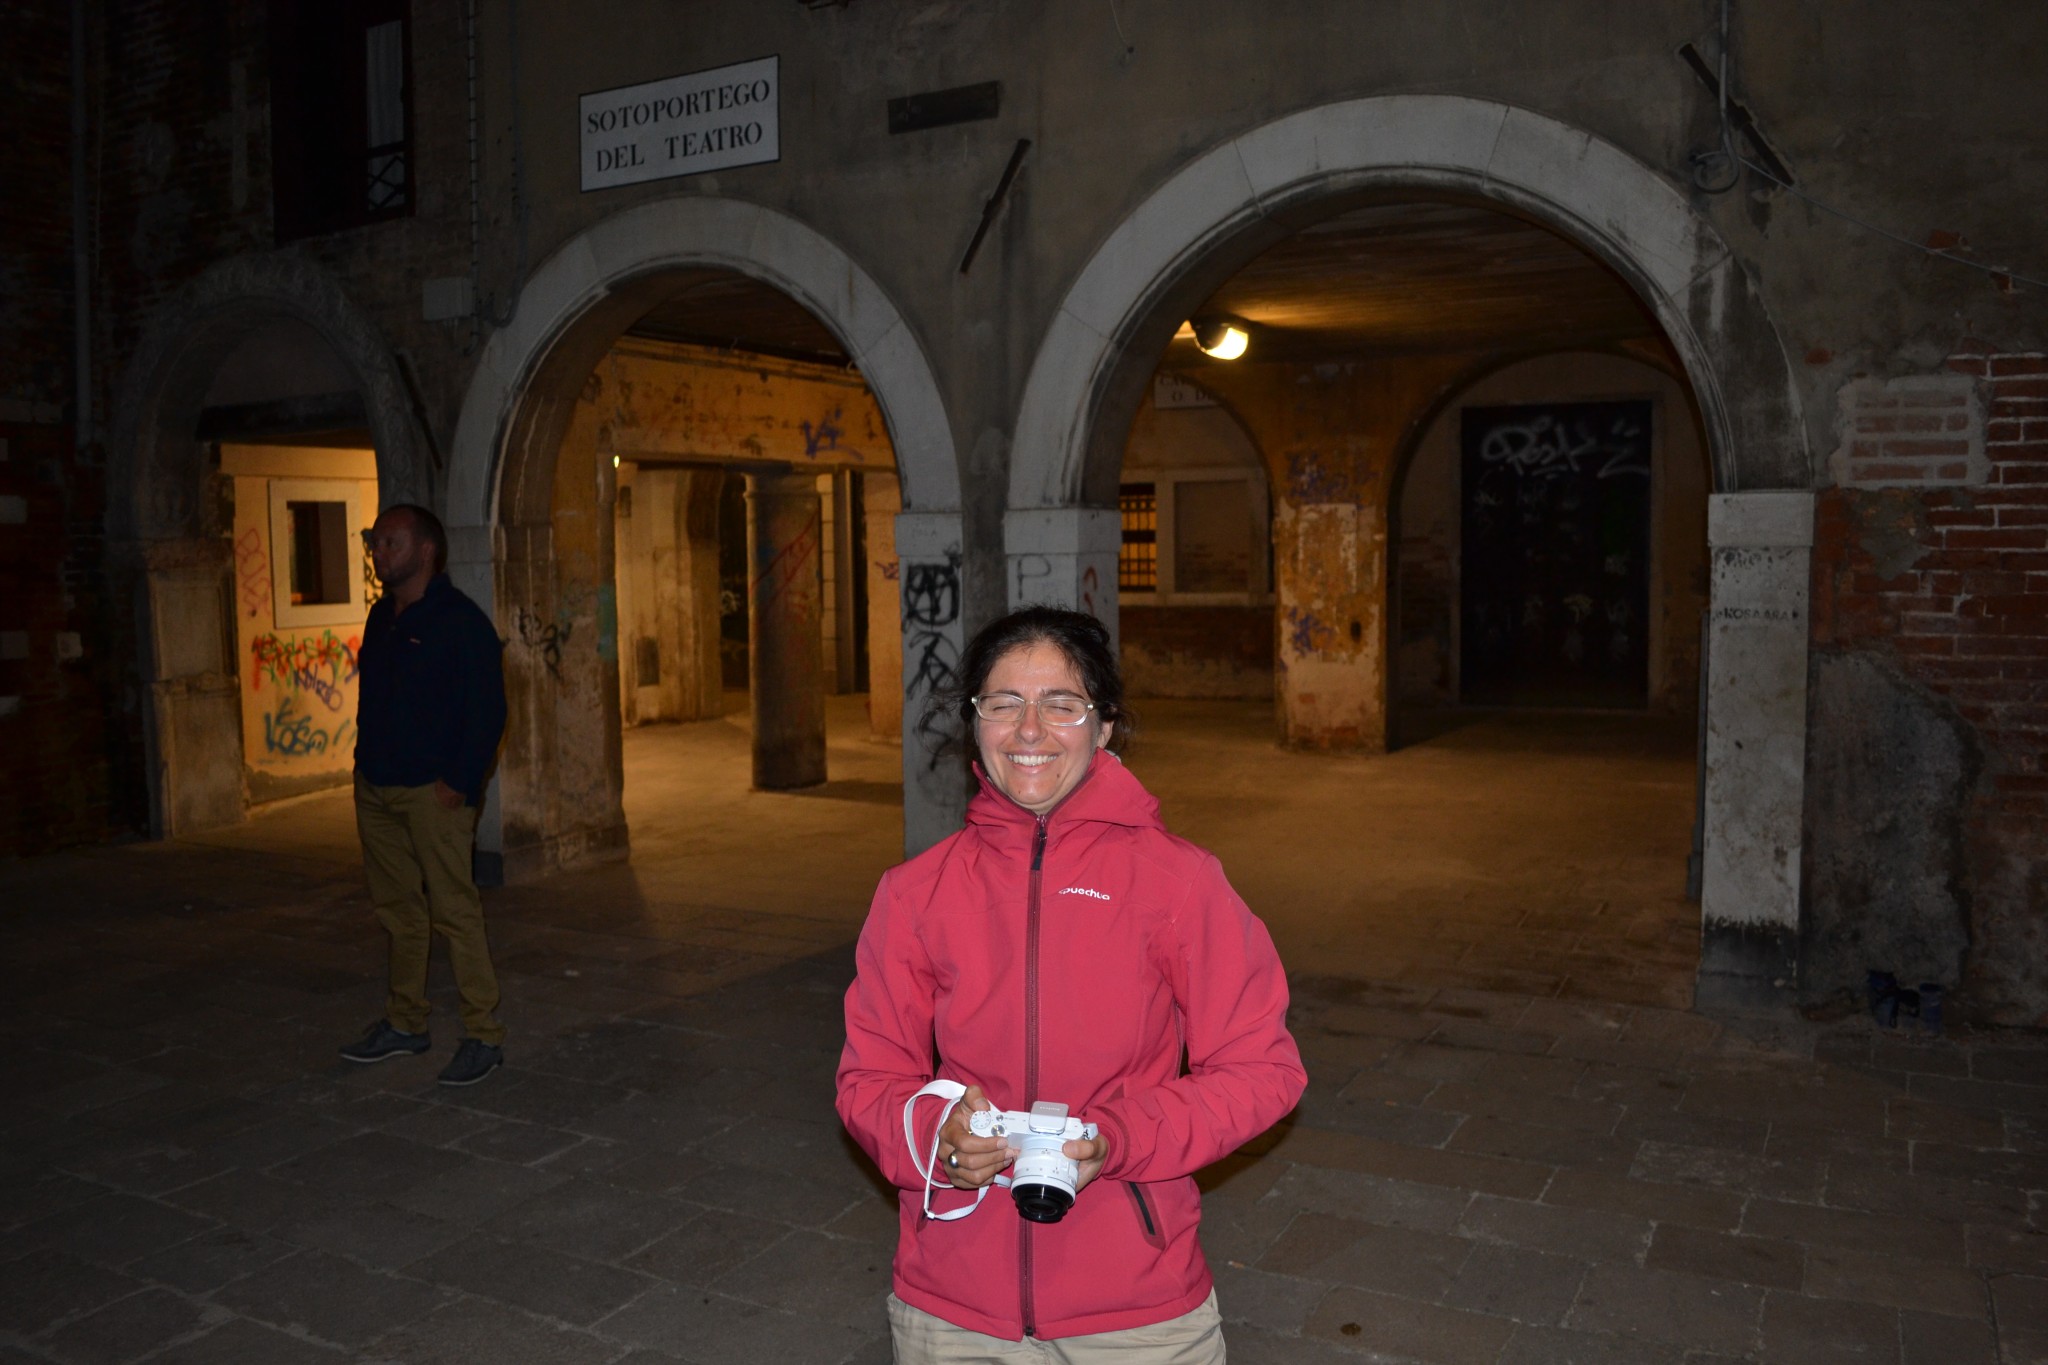
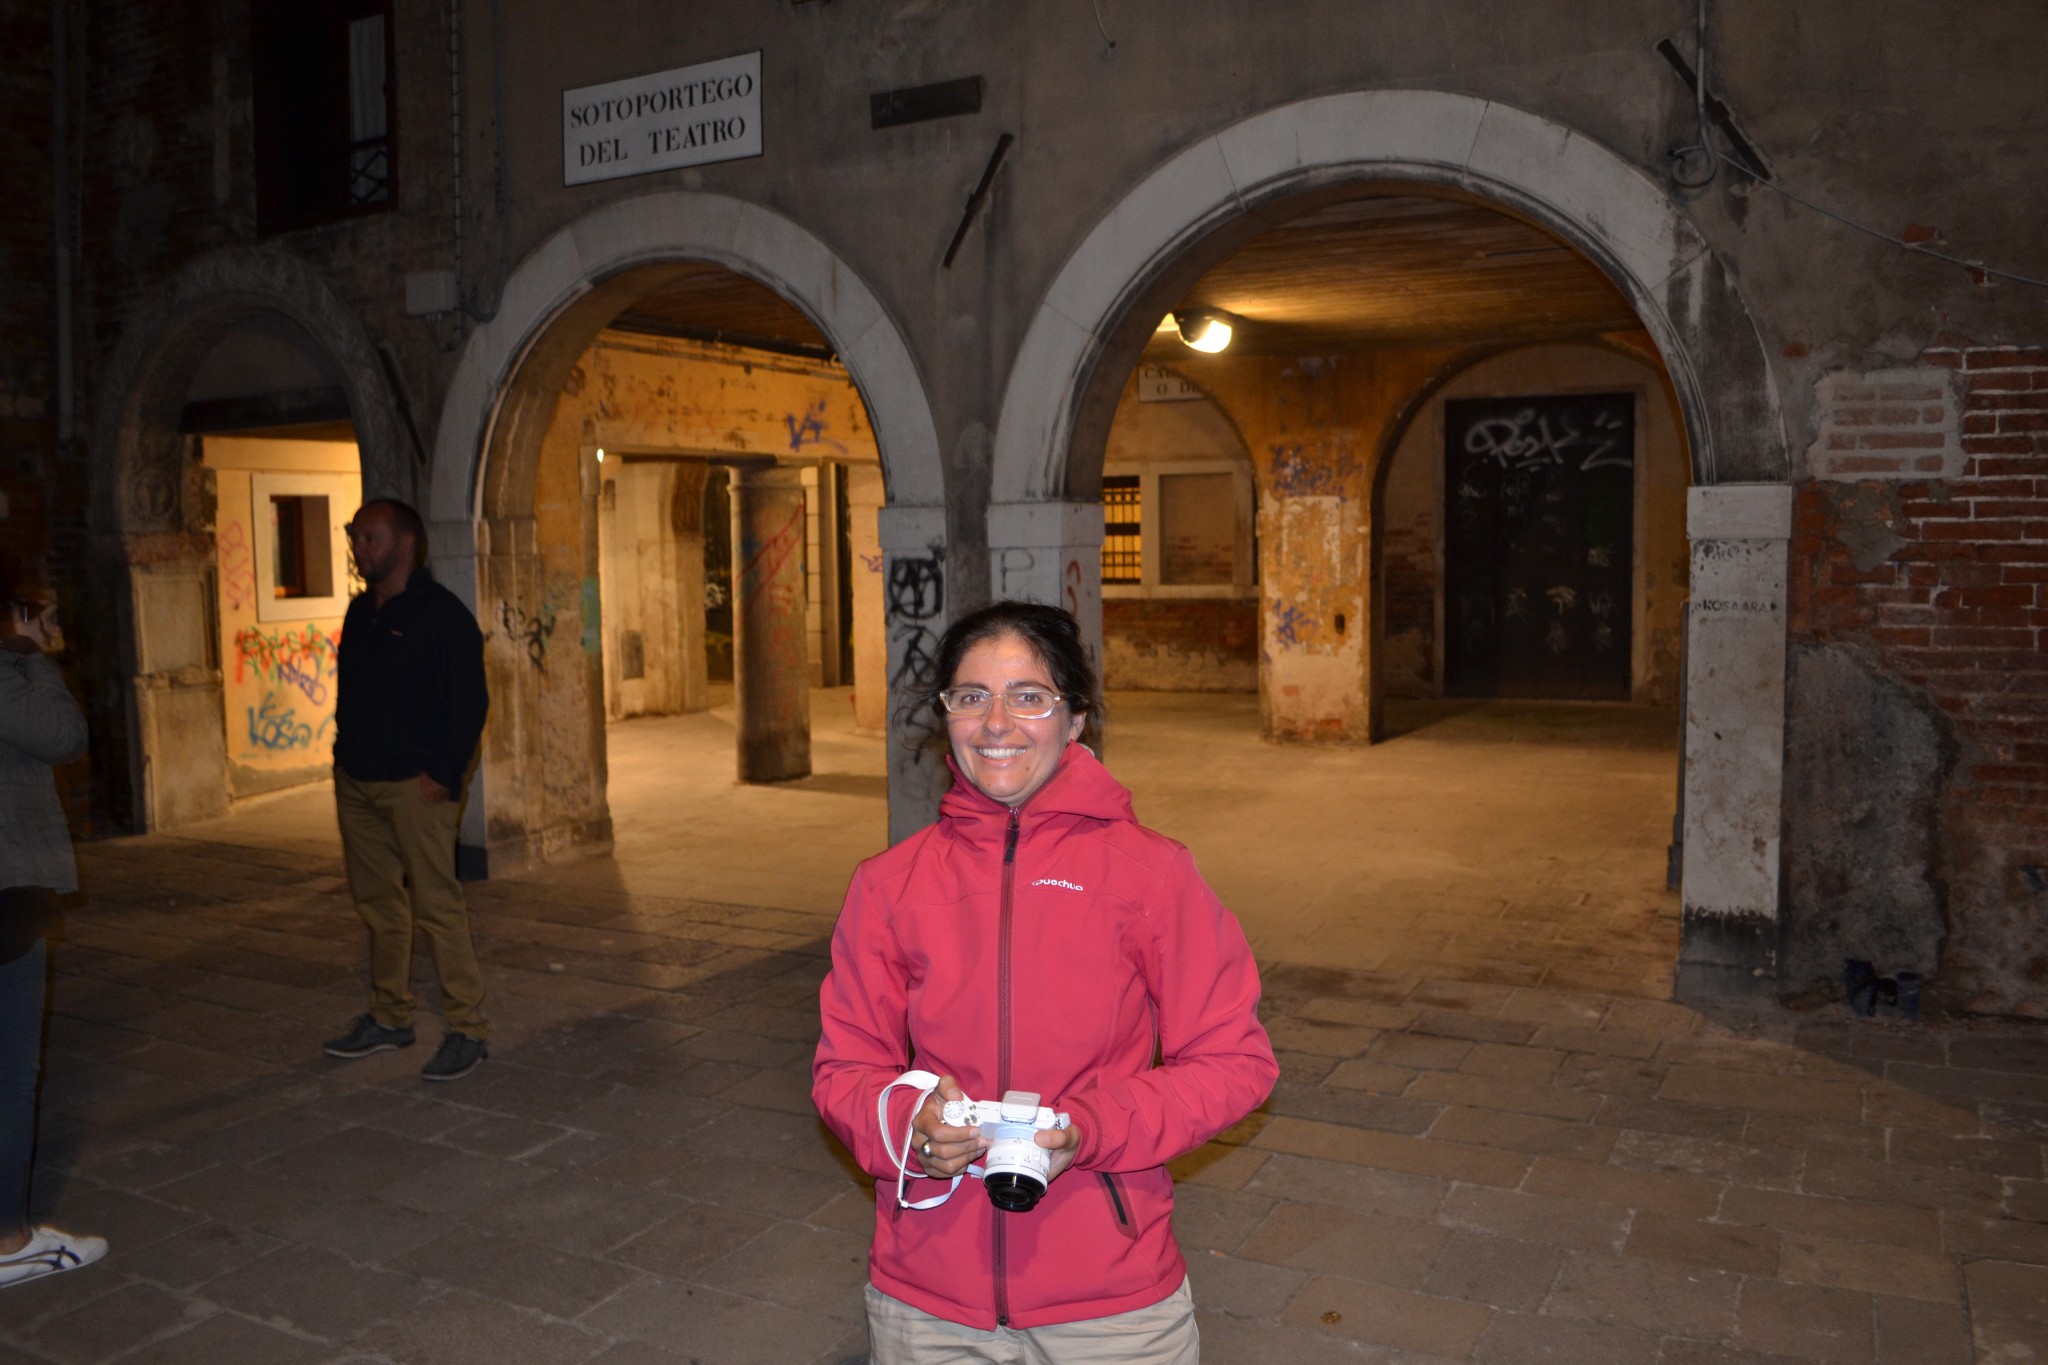
The location is the medieval Corte del Milion in Venice, where Marco Polo’s family lived in the 13th century.
Architecture
One evening we met at St.Mark’s to take photos of architecture and in low light situations, using tripods.
The lesson touched on a lot of subjects, such as looking for different angles at well known locations, horizontal and vertical lines and geometrical shapes in the composition, looking for hard to spot details, and naturally, focusing and exposing correctly for the light available.
At the same time the group was scattered around the square, and lots of things were happening at the same time, so I didn’t catch it all.
I did get this photo hurriedly before the group moved on to other activities.

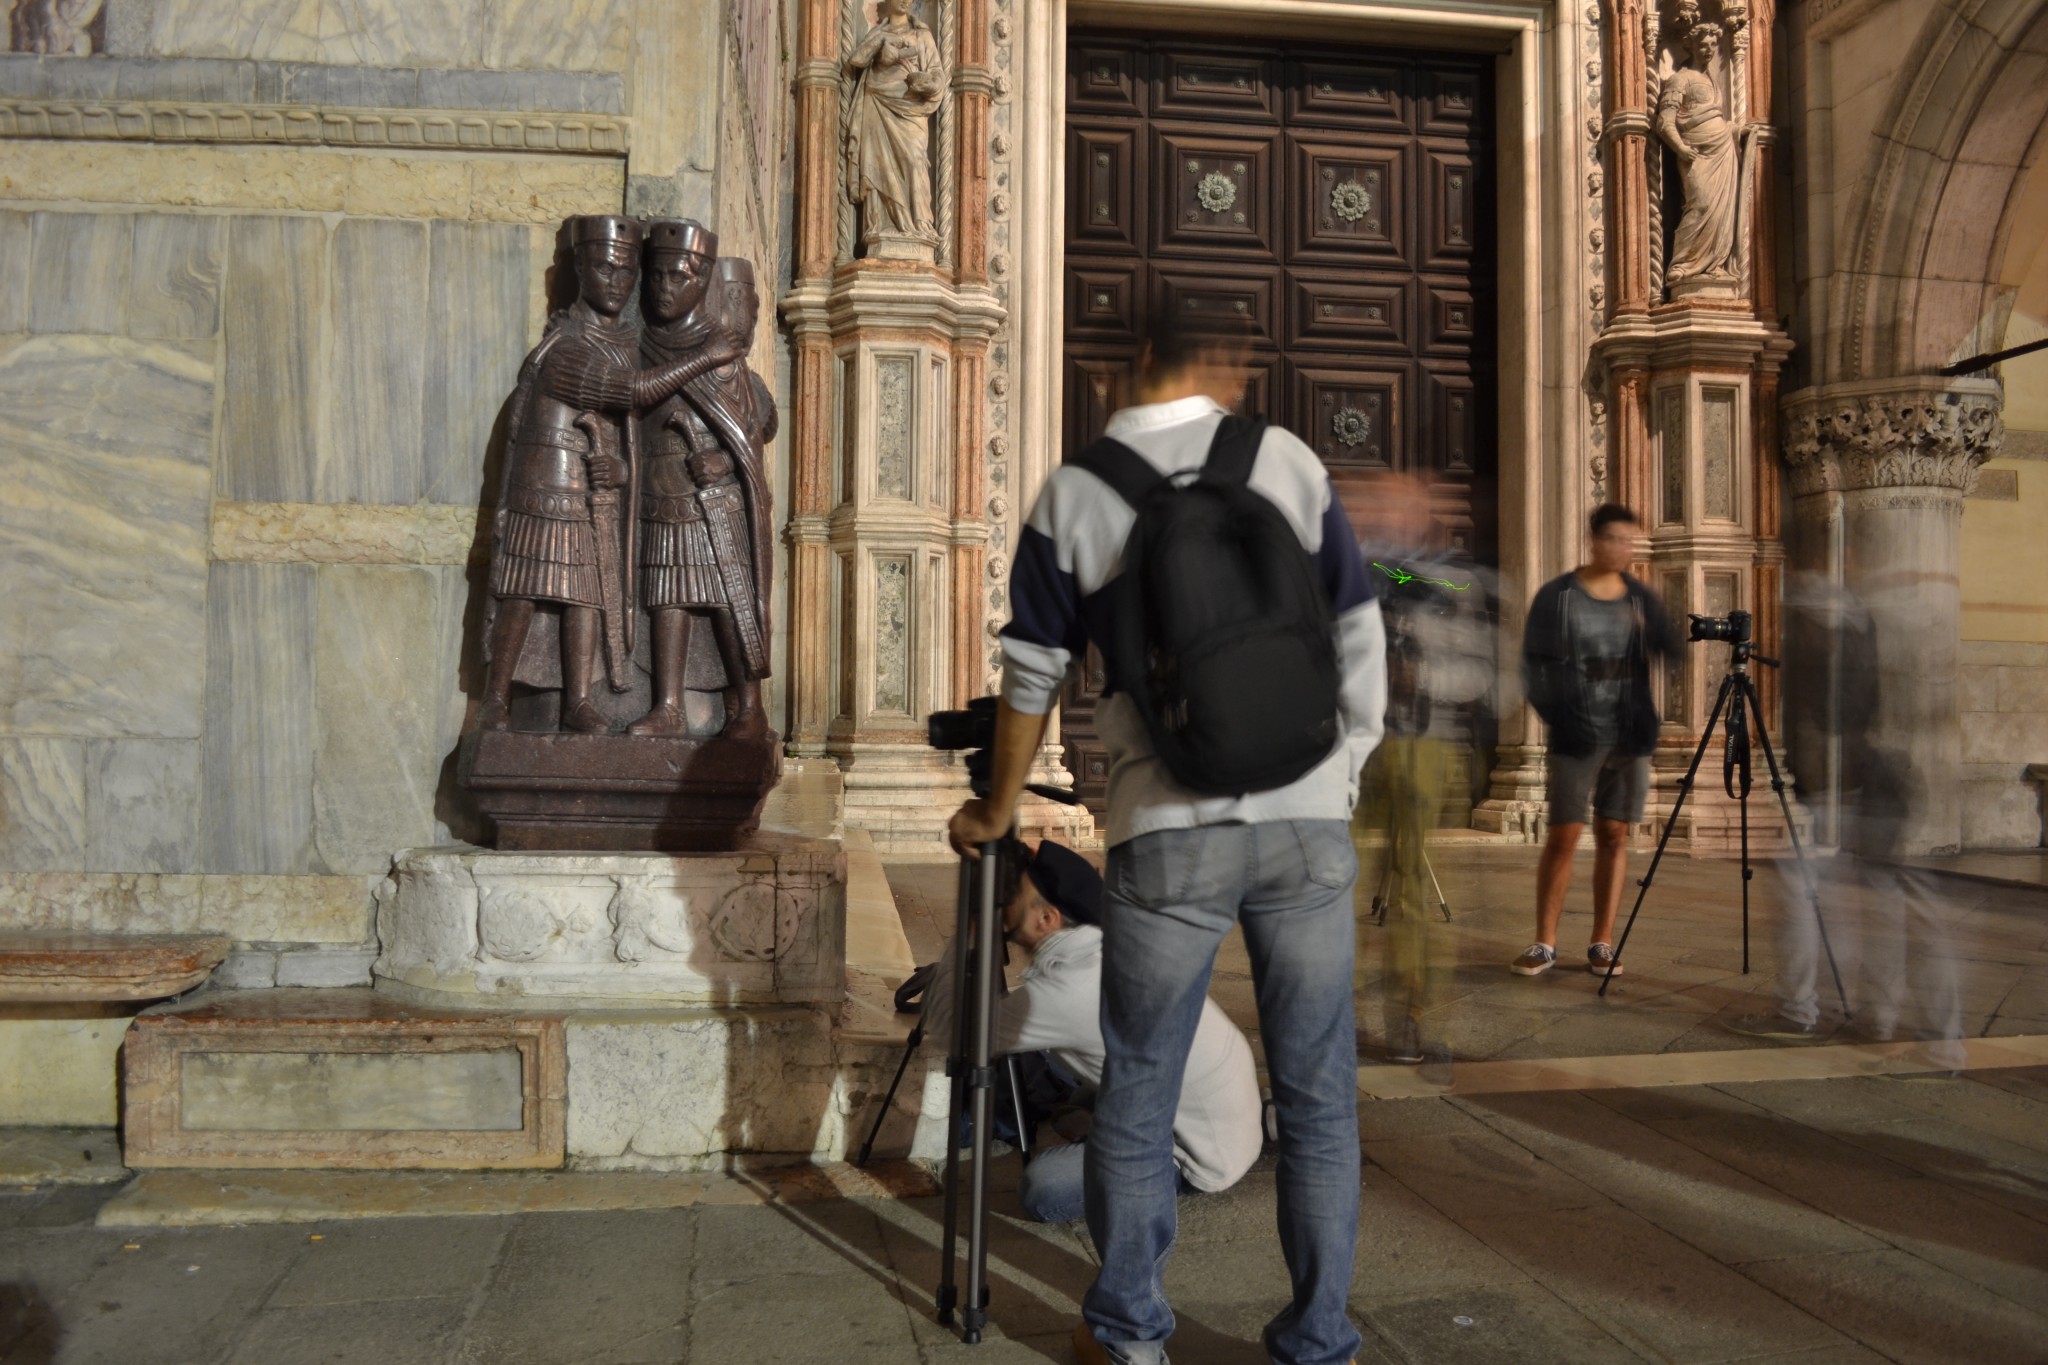
The next exercise was to take a ‘different’ photo of the Tetrachs.
I spent most of the time fighting with tripod and camera, and wasn’t very successful, but I got this photo of the others at work.
Low light photography
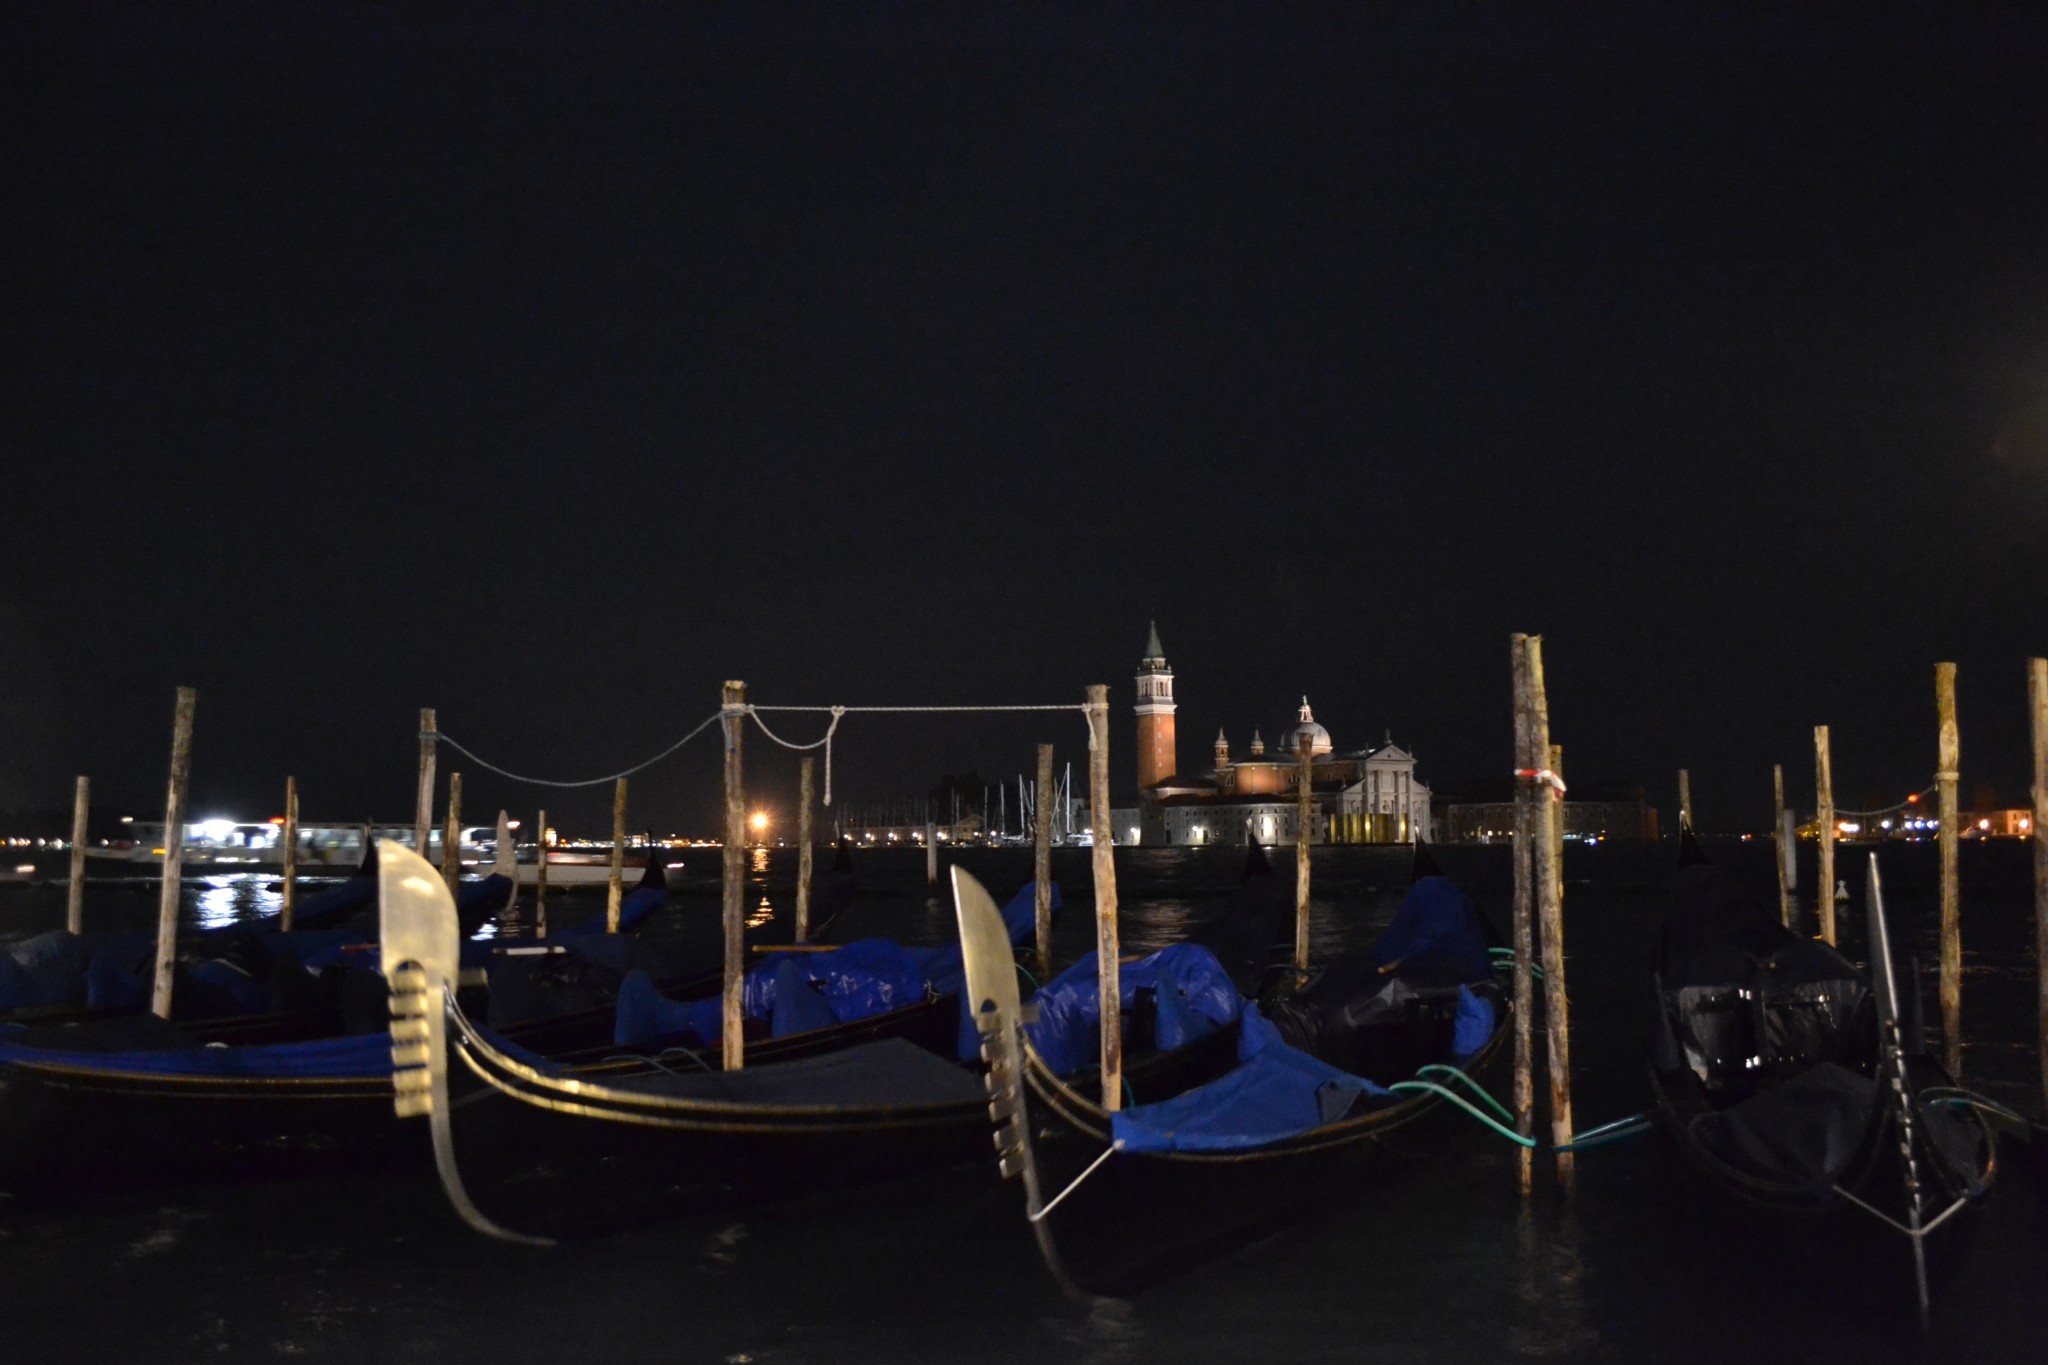
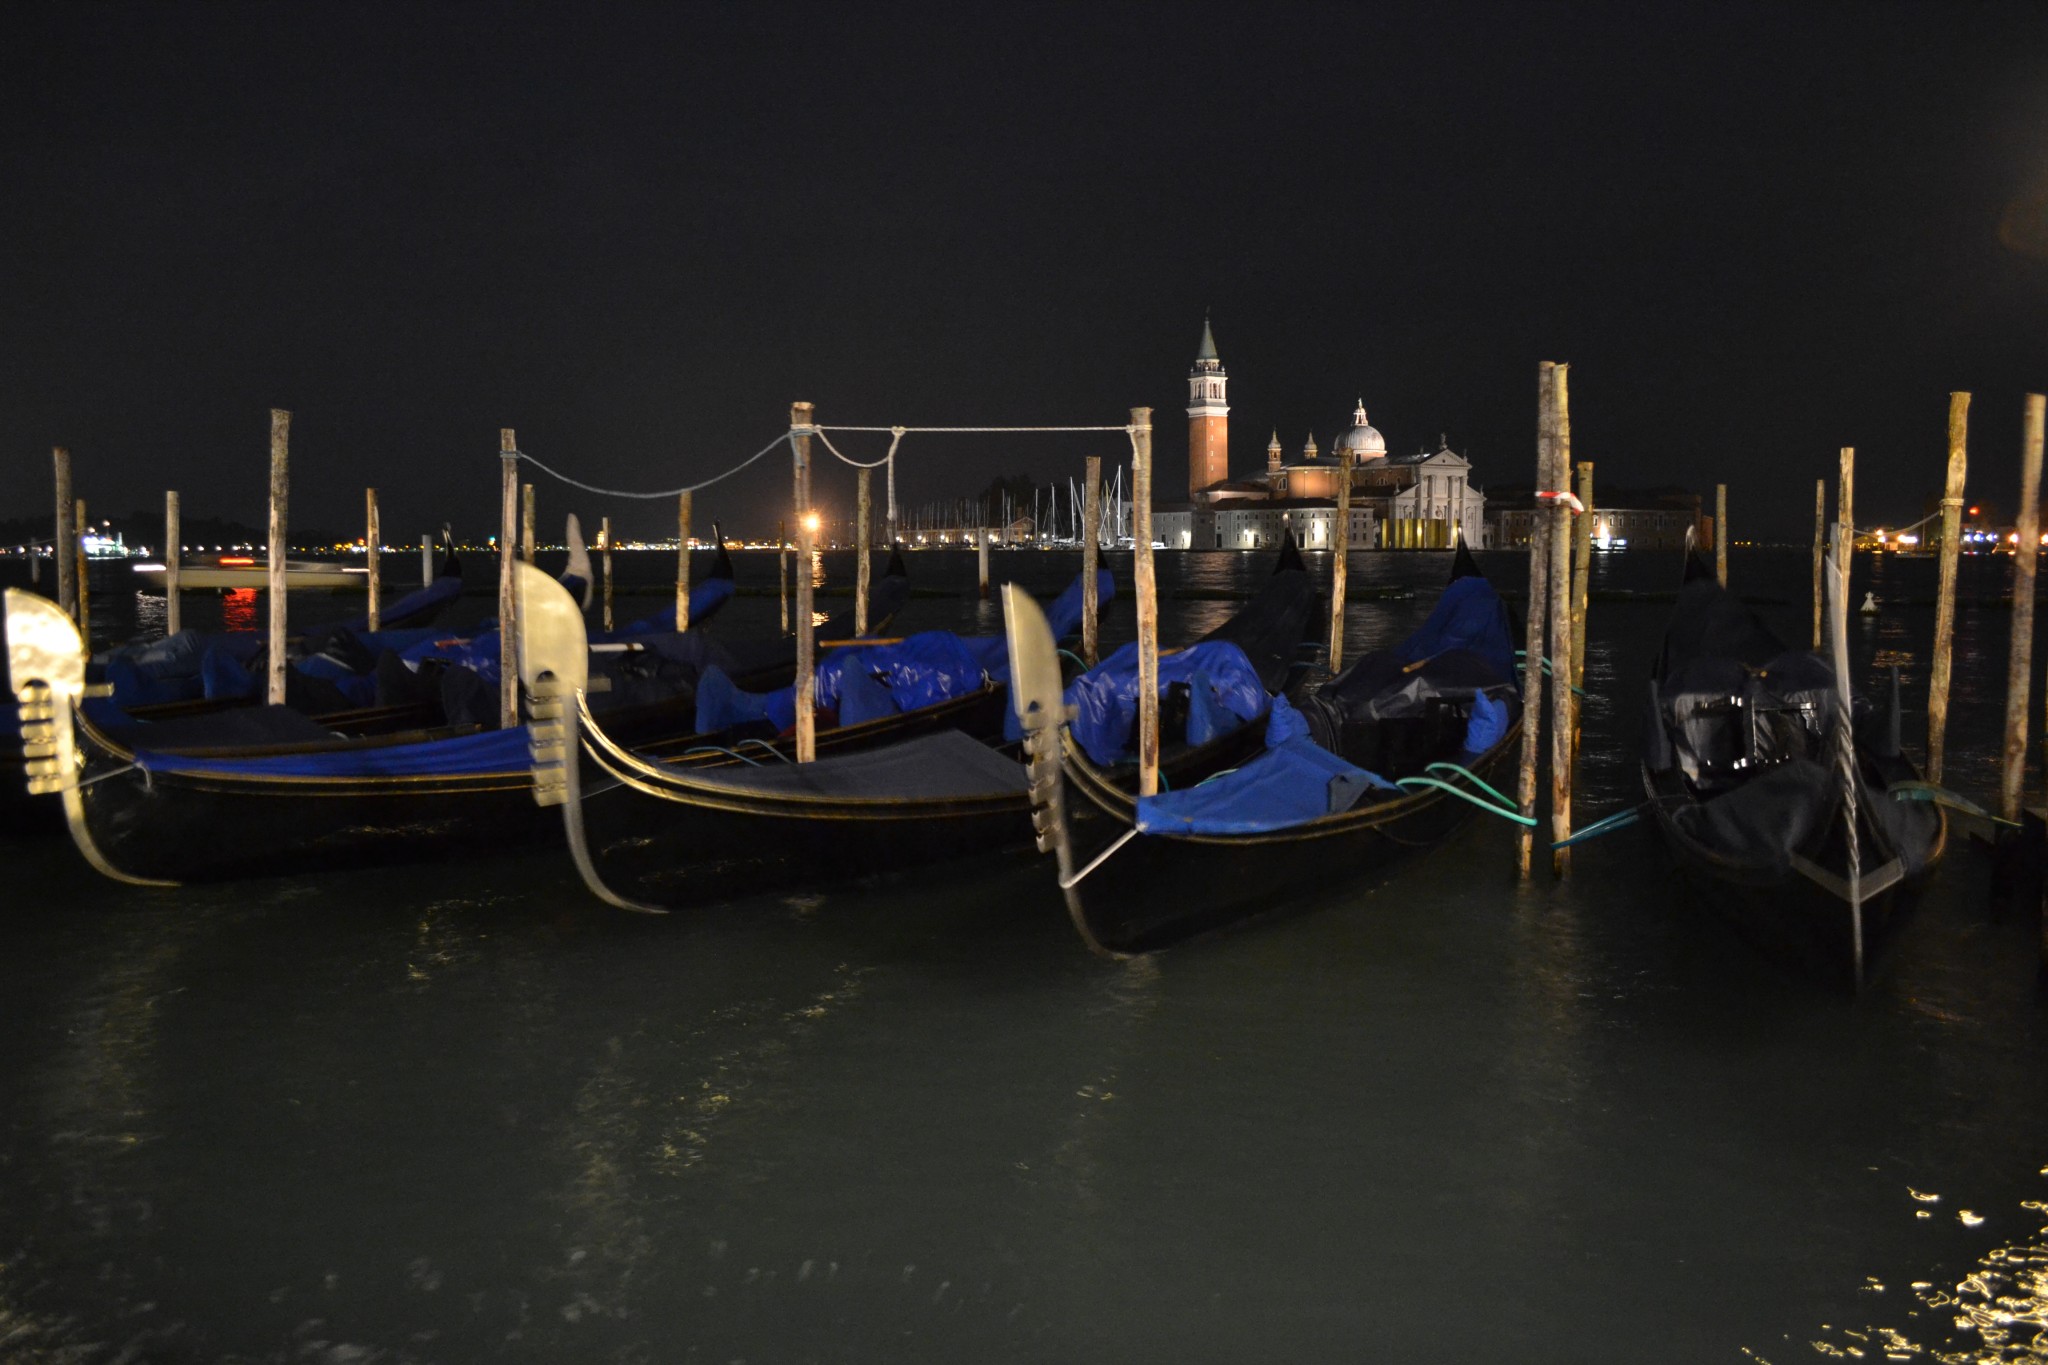
The final task on the evening at St.Mark’s was to take one of the classic photos of the gondolas in the water with the island of San Giorgio Maggiore in the background.
The problem here is that with little light you need to use a slower shutter speed, but at the same time the gondolas move and get blurred in confusing ways.
I did loads of experiments, and these two are the better photos from that exercise.
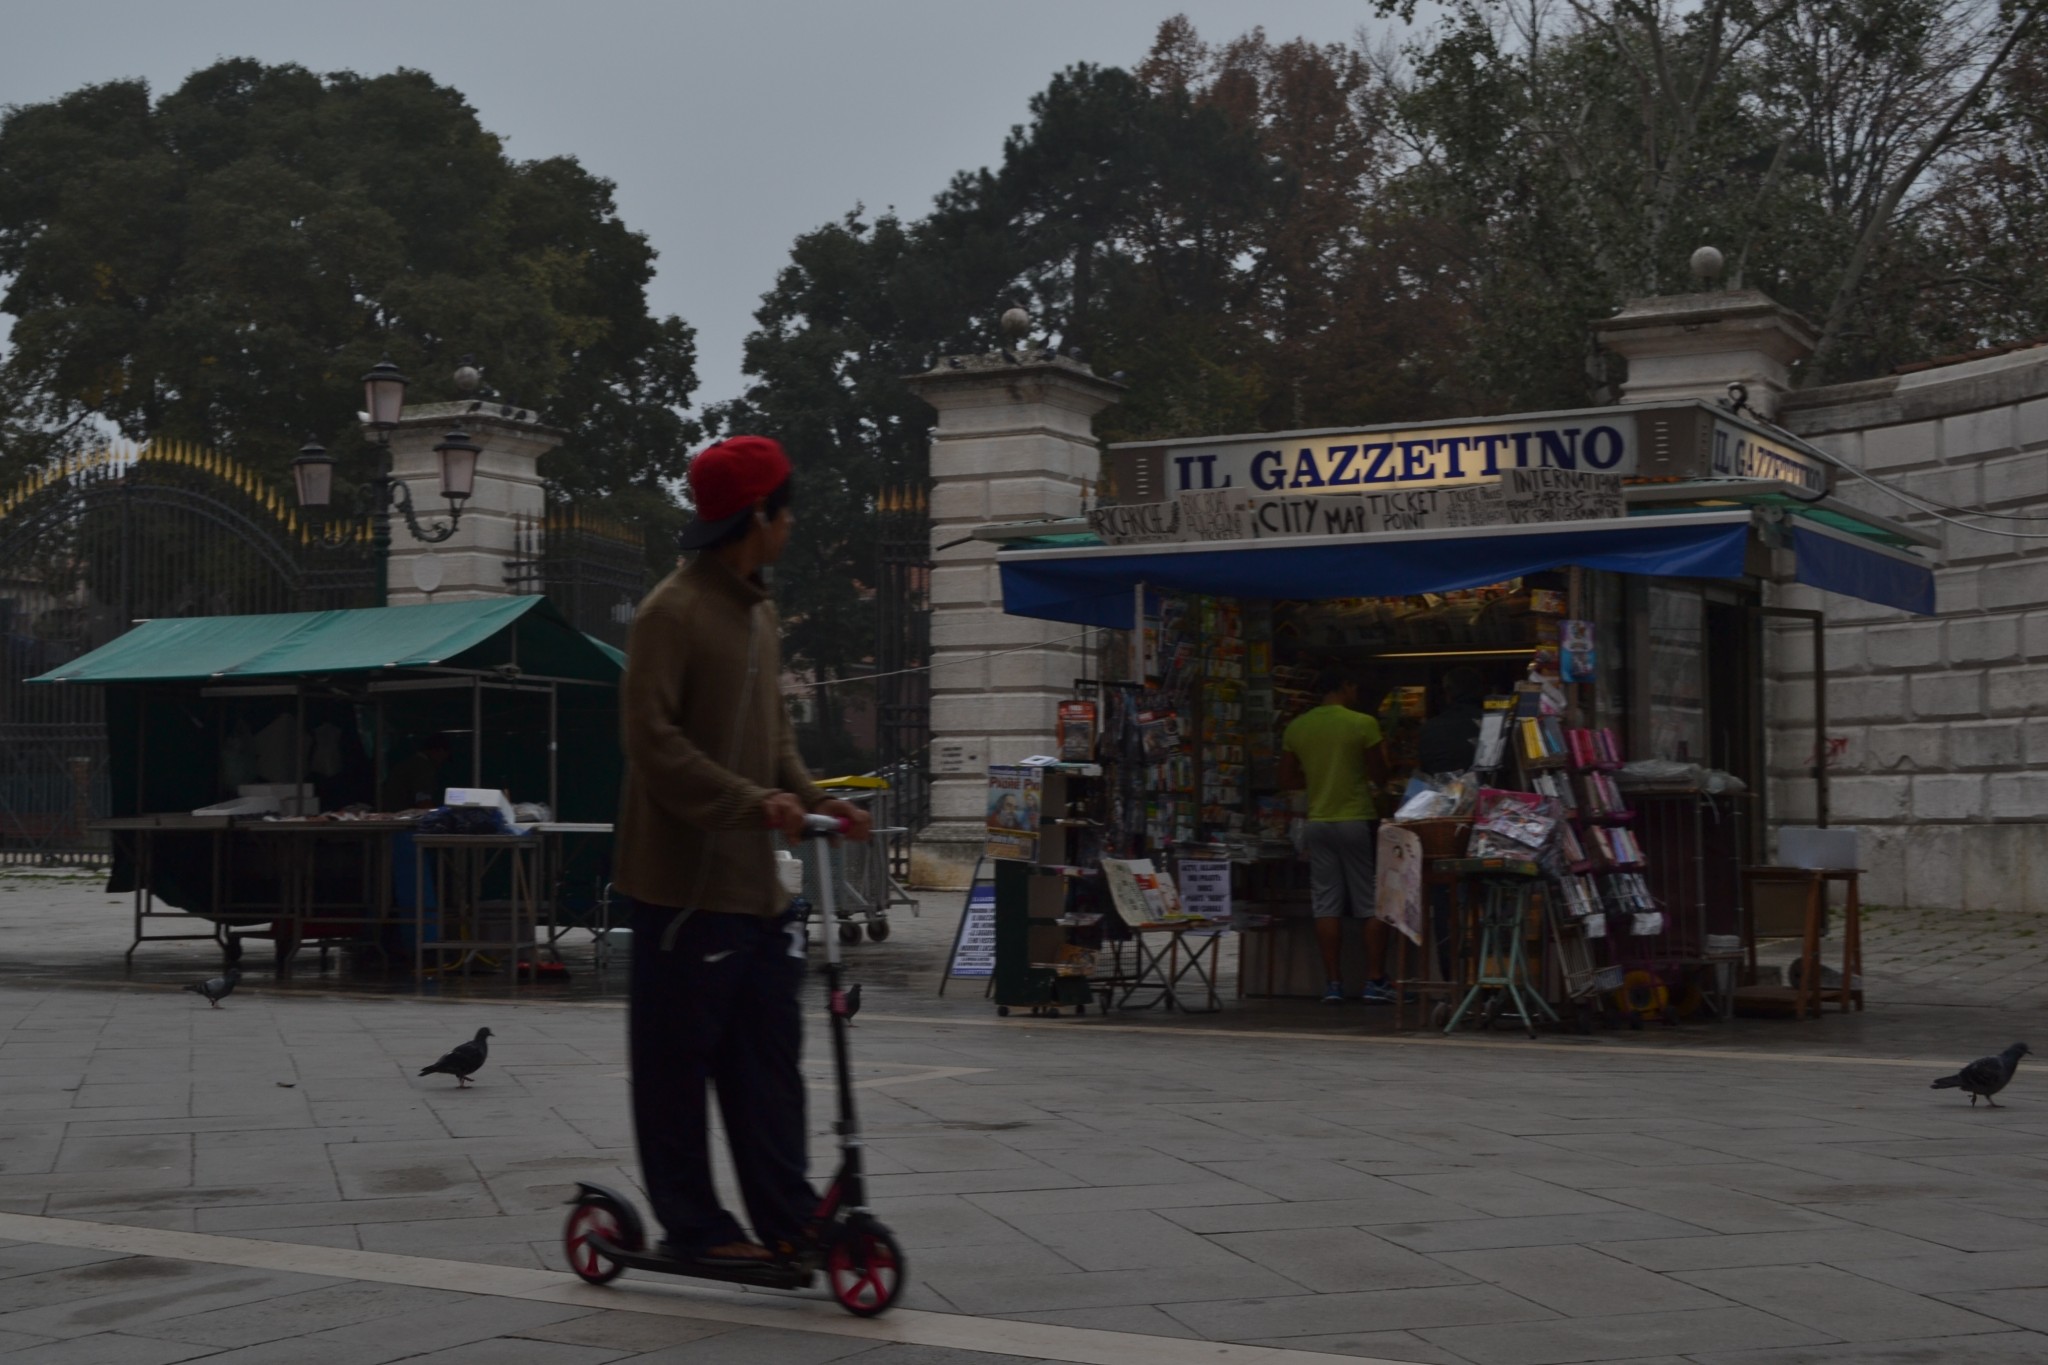
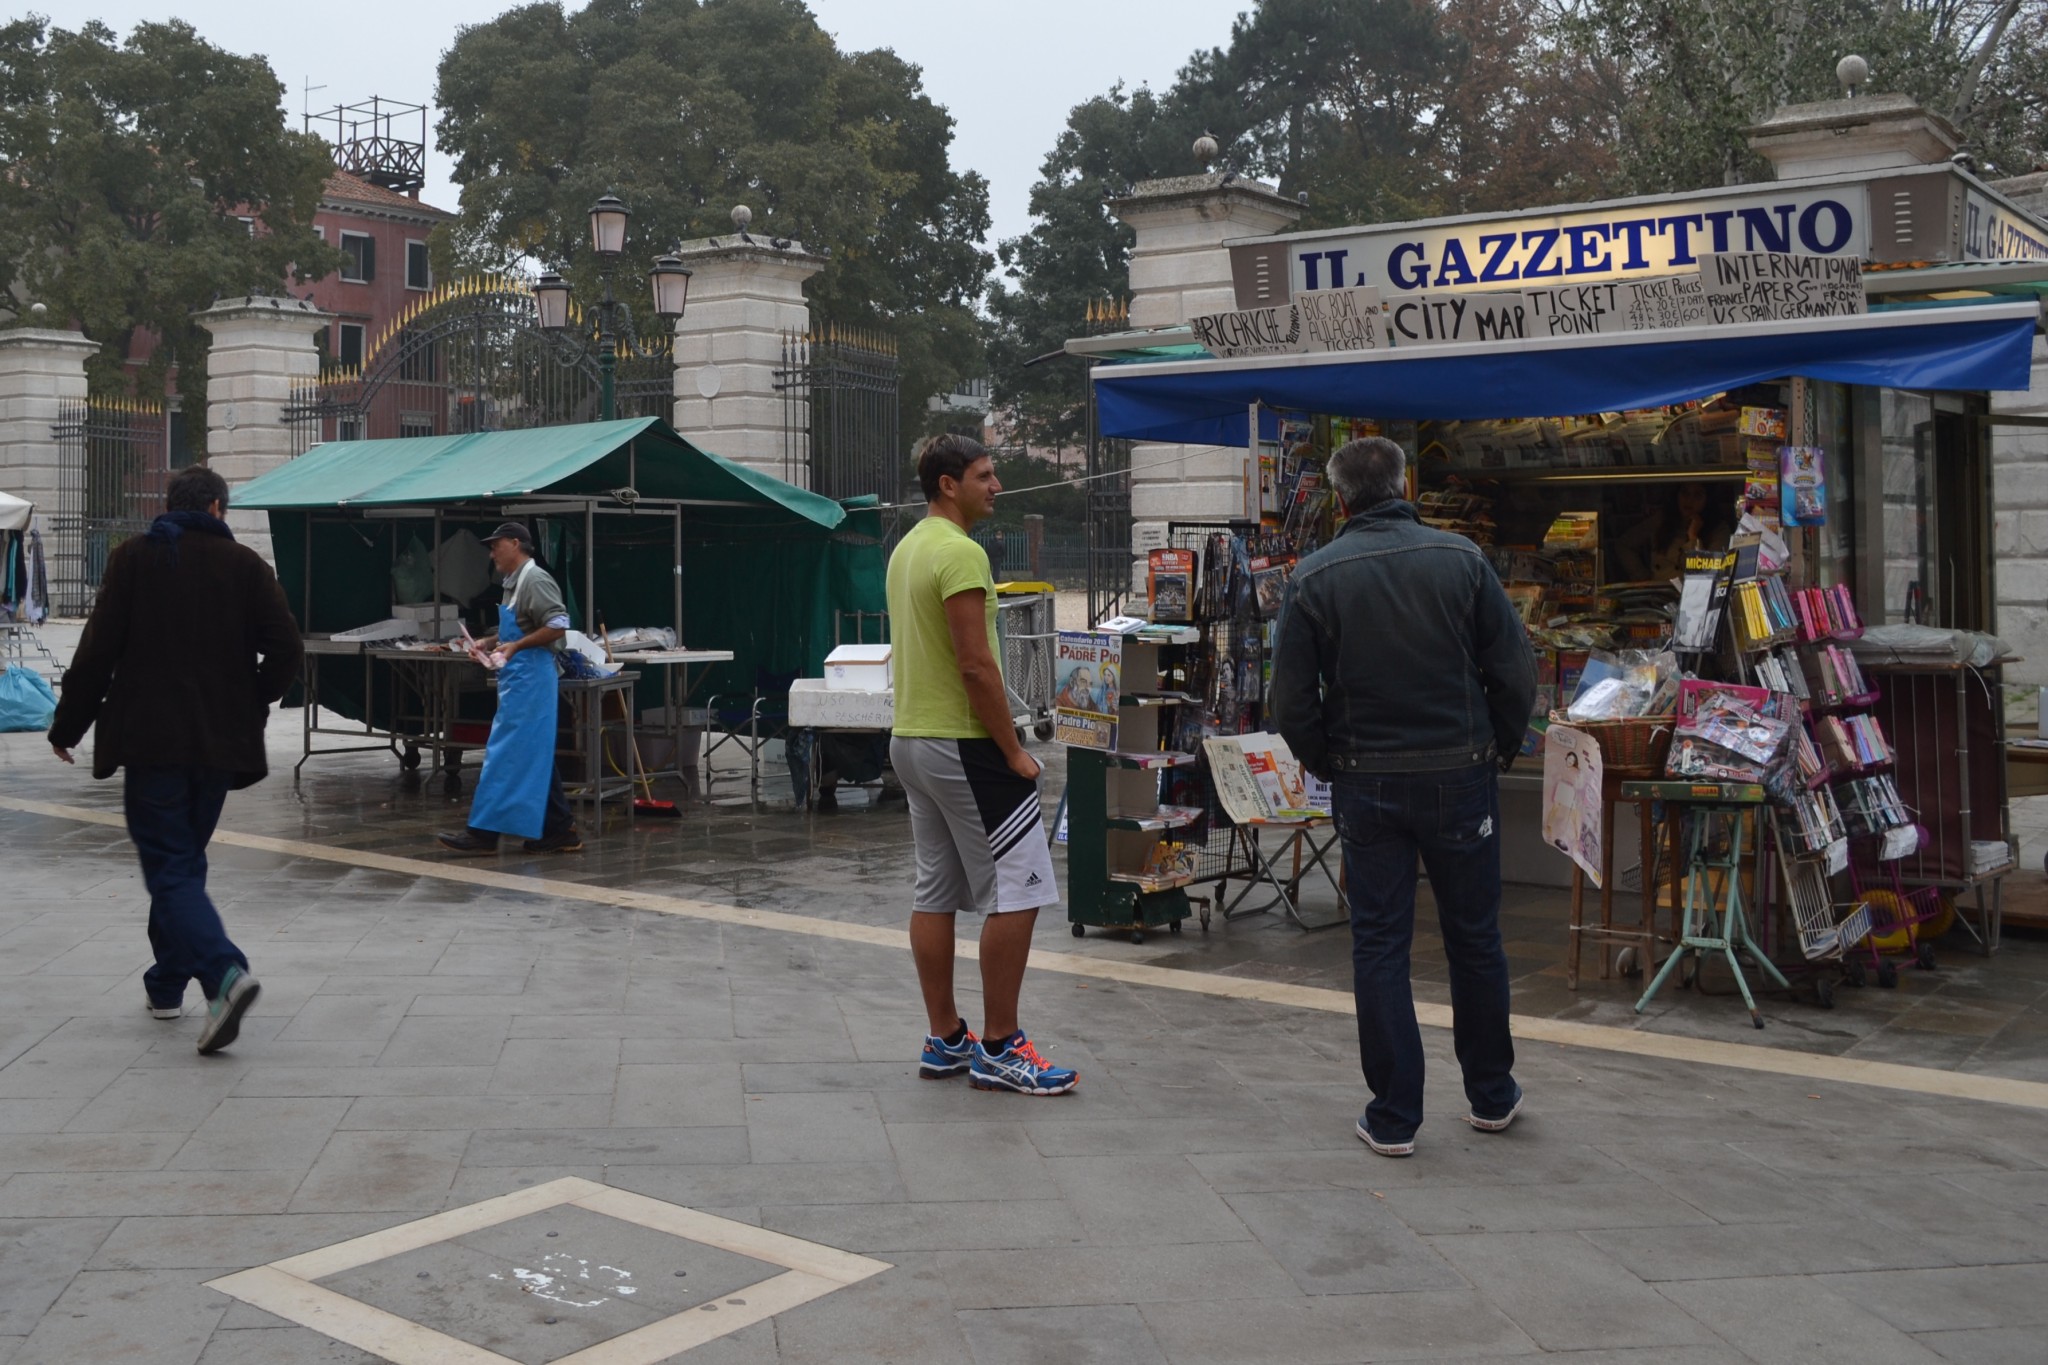
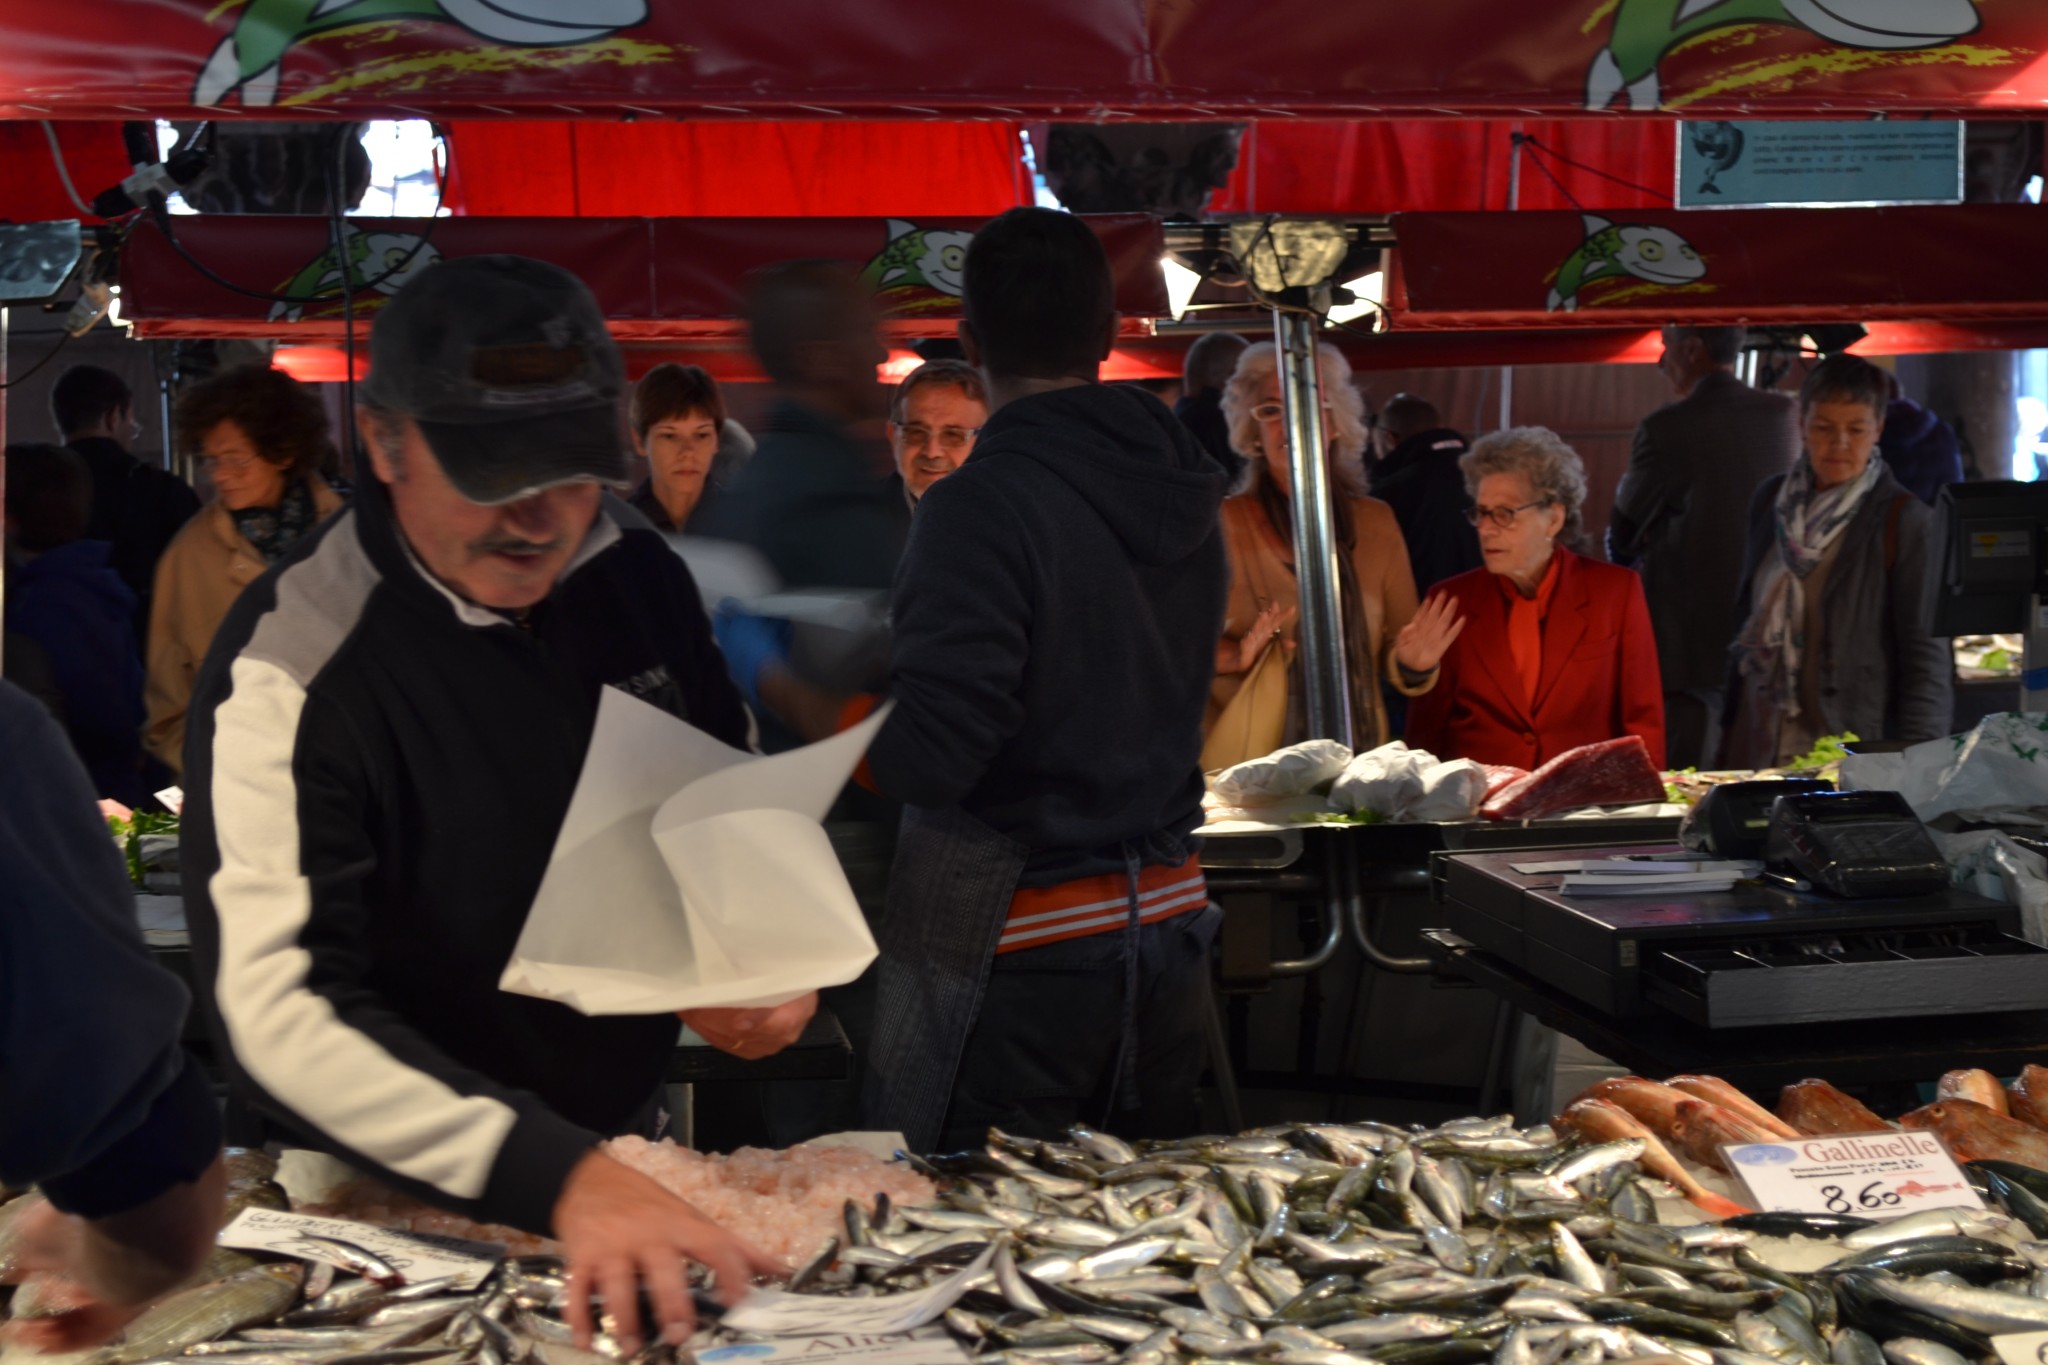
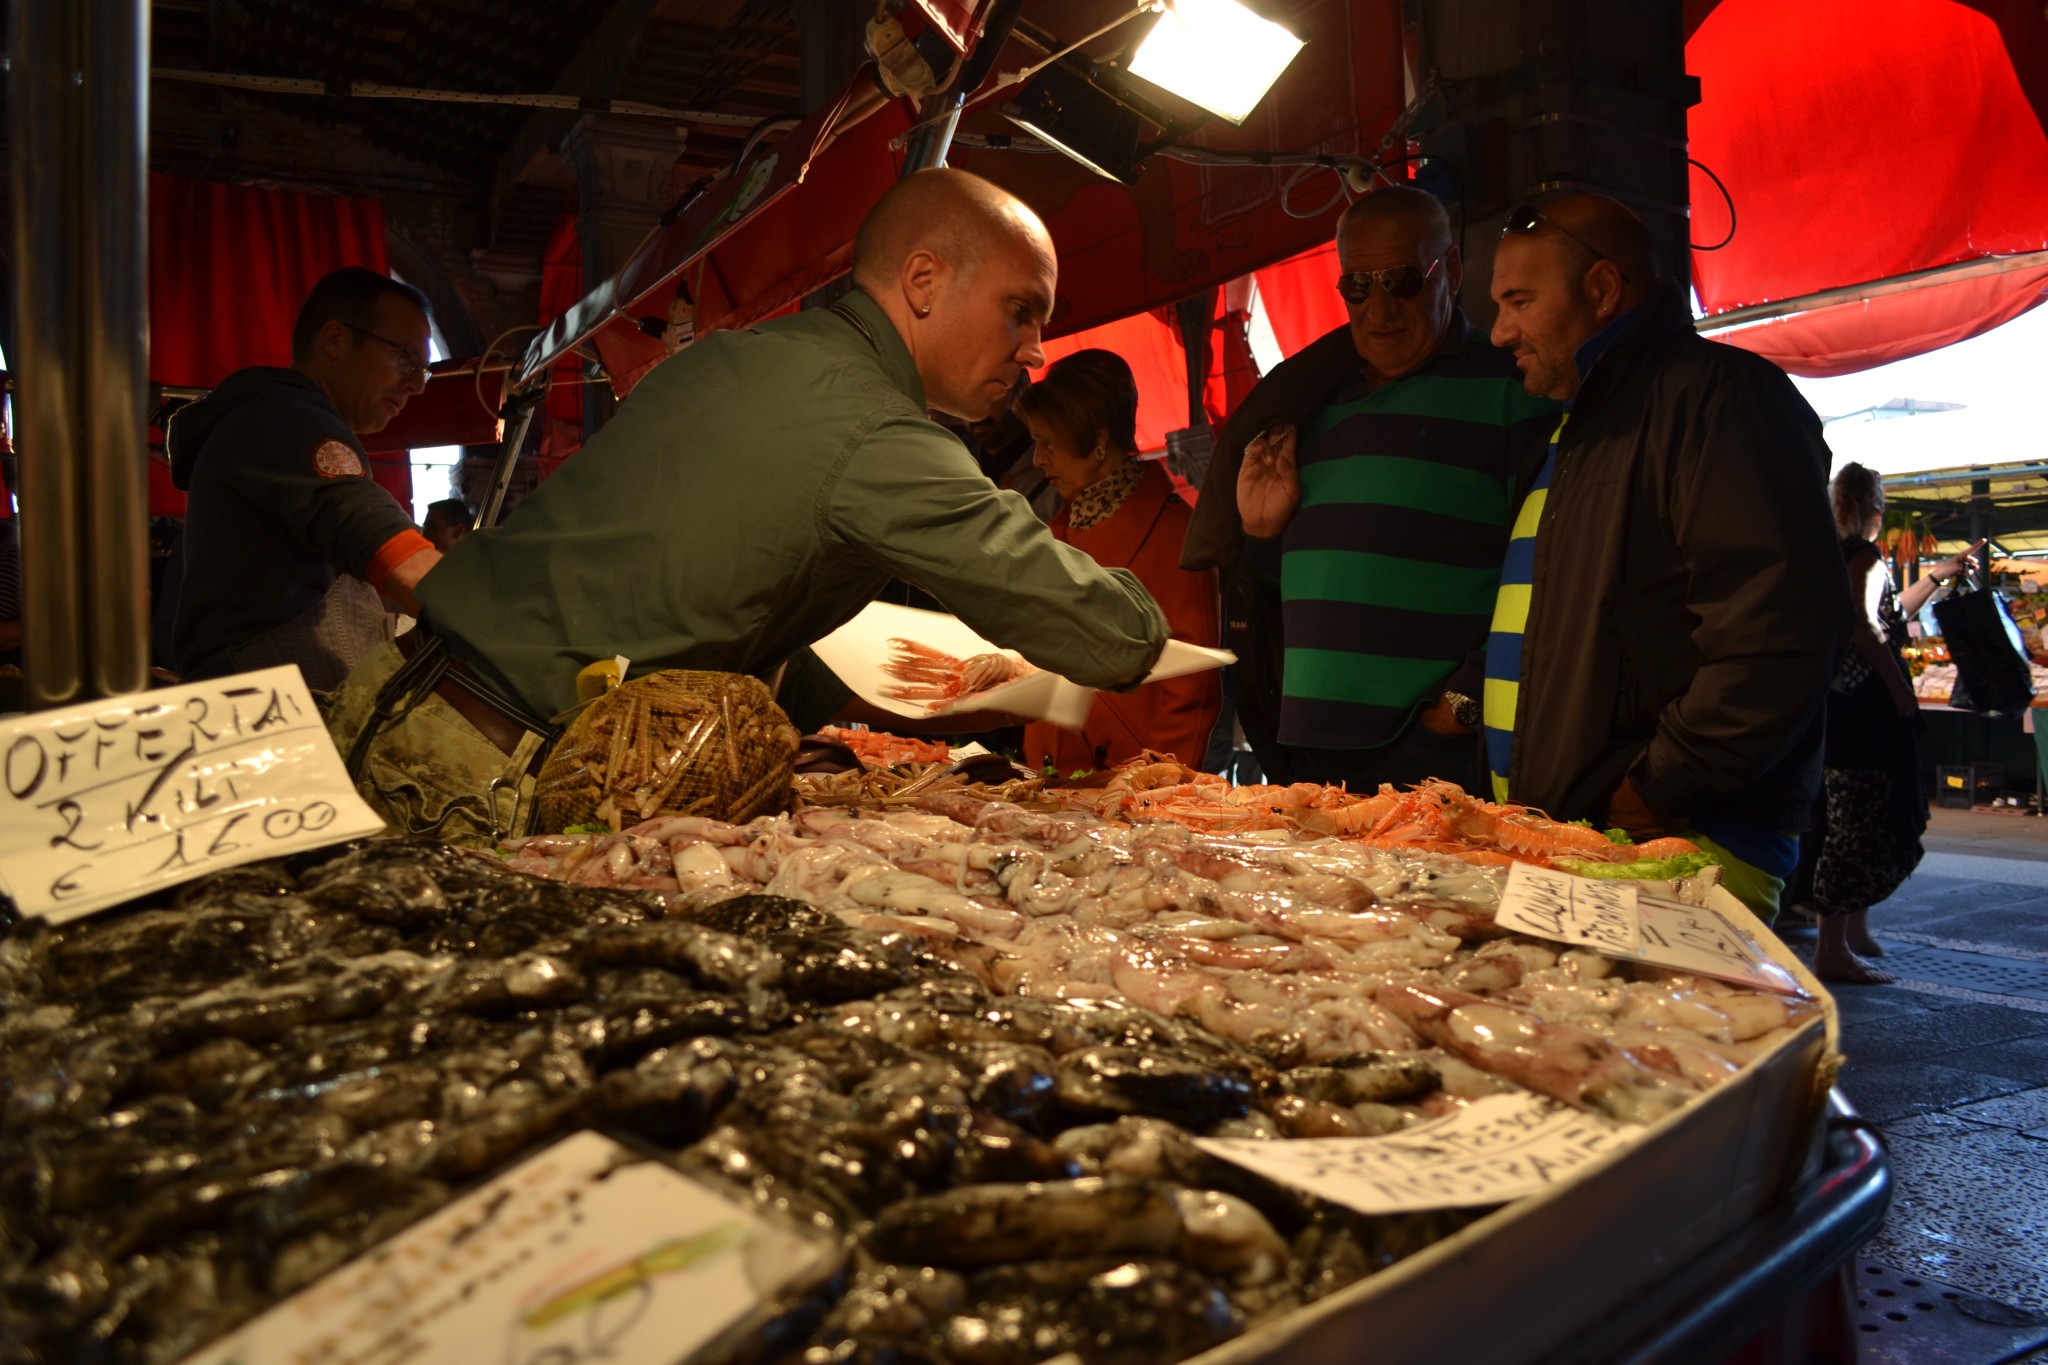
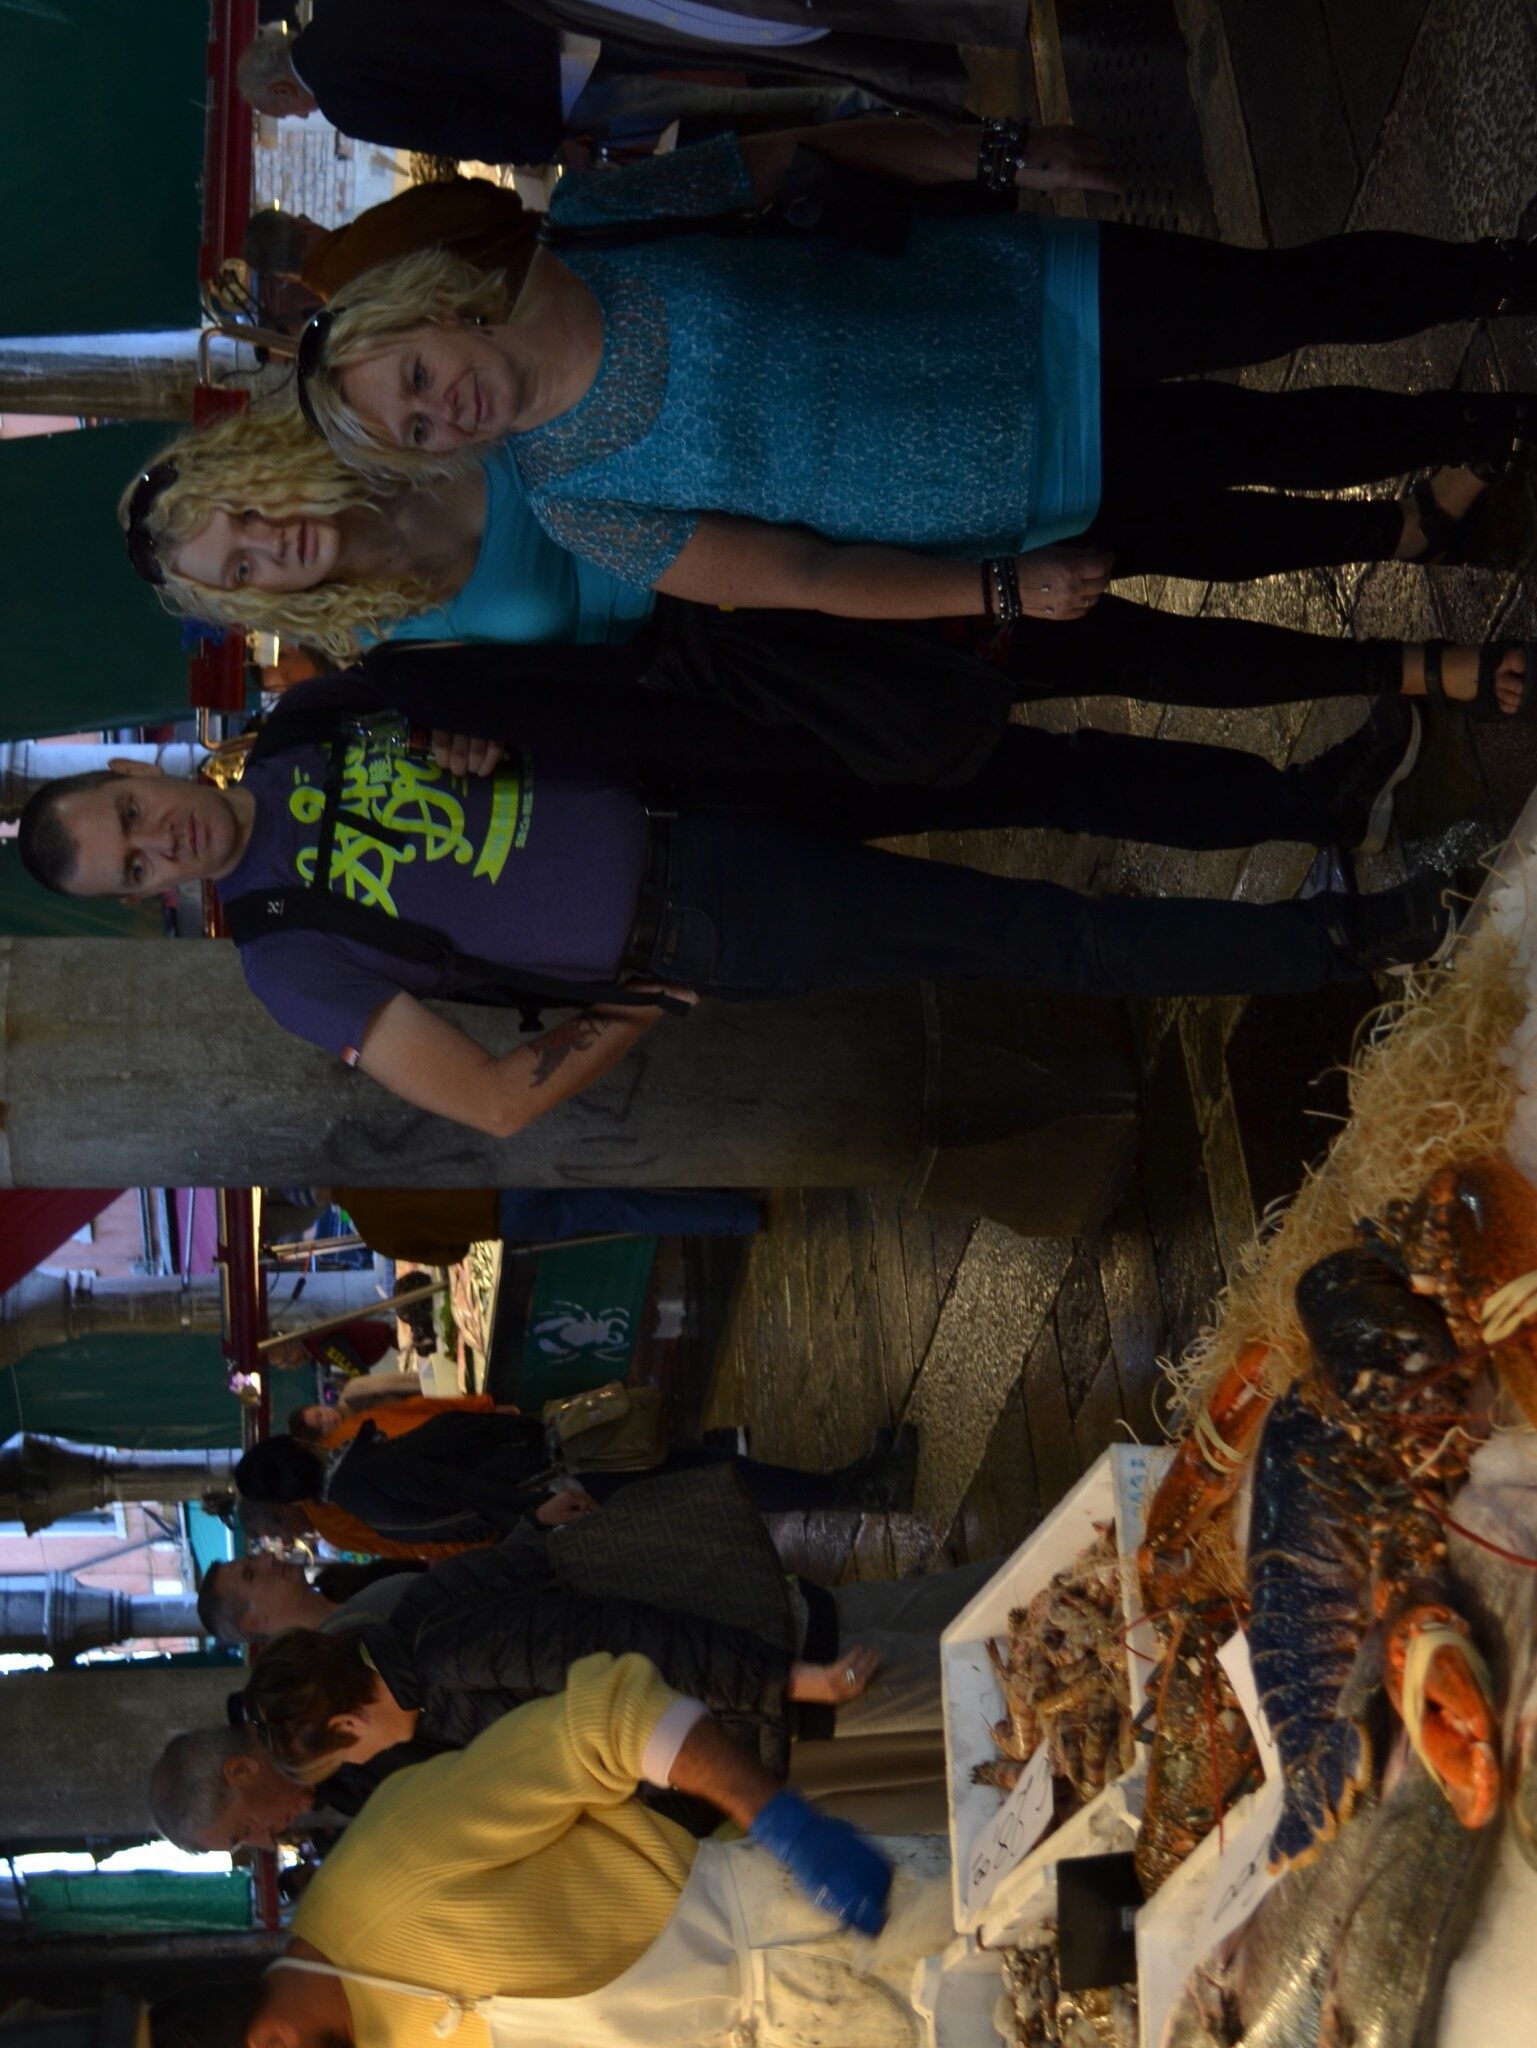
Street photography
Street photograhy in black and white is Marc’s great passion, and he has shown us a gazillion amazing photos where all sorts of things are going on at the same time.
His message was that a photo with one subject can work if the subject is strong and catches the viewer’s attention completely; a photo with two subjects will quickly get boring as the possible interactions are limited, while a photo with three or more subjects can get very interesting.
At the same time you need to take care of light and composition, lines and symmetry, movement in and out of the frame, etc etc.
The examples he showed us would often have one dominant subject, and then others around that the viewer would only notice after watching for a while.
This kind of photography is very hard, as you often need to get very close to people you don’t know. It is rather intimidating.
I have tried a bit, without great success, but here are a few.

Self portrait
The last task we were given was to make a self portrait in any way we wanted to.
I made this where I’m reading on my tablet in the dark.

Leave a Reply